
Using a manual breast pump effectively relies on mastering two key elements: establishing a proper vacuum seal and stimulating your body’s natural let-down reflex. Unlike electric models that run on automated cycles, a hand pump gives you complete control over the speed and suction depth. By learning how to transition from quick, light strokes to deeper, slower compressions, you can mimic your baby’s natural nursing pattern and encourage a more productive milk flow.
Many mothers appreciate the portability and quiet operation of a manual pump, but achieving a high milk yield requires practice and attention to detail. Whether you are expressing milk to build a freezer stash, relieving engorgement, or managing occasional separations from your baby, your technique directly impacts your comfort and output. Understanding how to prepare your body, position the equipment, and maintain your pump ensures a successful and pain-free experience.
Preparing for Your Pumping Session
Before you begin pumping, taking a few minutes to prepare your equipment and your surroundings can make a significant difference in your milk yield. The first and most critical step is ensuring your breast shield, also known as the flange, fits correctly. A flange that is too small can cause painful friction and restrict your milk ducts, while one that is too large may draw too much of the areola into the tunnel, reducing suction efficiency. You should check your nipple diameter against the manufacturer’s sizing guide to select the correct fit, ensuring your nipple moves freely in the tunnel during pumping.
Products mentioned in this guide
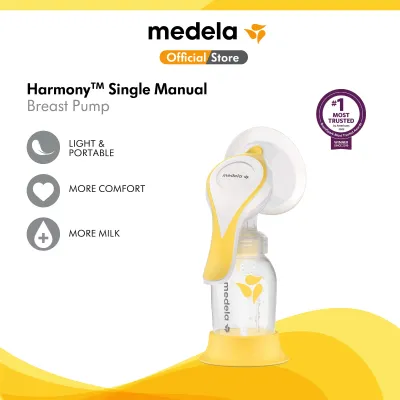
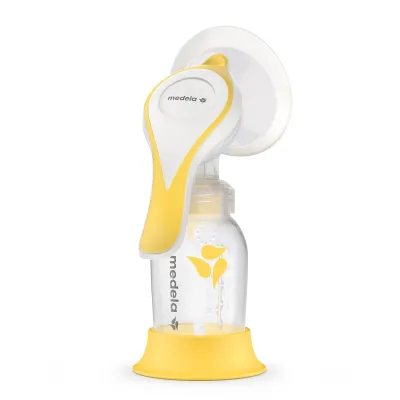
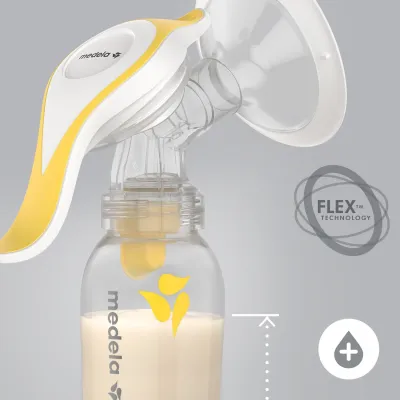
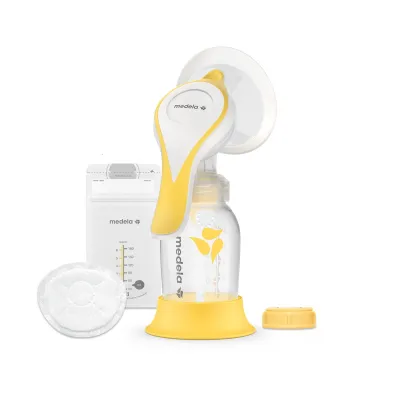
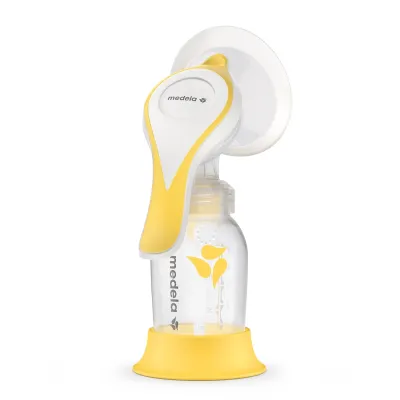

Prices are valid at publication and may change. Please refer to the product page for the latest price.
Next, assemble the pump components carefully, following the instructions in your specific user manual. Even a tiny misalignment of the silicone membrane or valve can cause a loss of vacuum pressure, making your pumping session highly inefficient. Ensure all parts are completely dry before assembly, as moisture can compromise the seal between the components. Press the valve and membrane firmly into place, and secure the handle to the stem to ensure a reliable, airtight connection.
Your physical comfort plays a direct role in triggering the release of oxytocin, the hormone responsible for the milk let-down reflex. Create a calm, comfortable space where you can sit upright without straining your back or shoulders. Keep a glass of water, a snack, and your phone or a book within arm’s reach so you do not have to interrupt your session. Dimming harsh lights, playing soft music, or looking at a photo of your baby can also help ease tension and encourage your milk to flow more readily.
Step-by-Step Guide to Using the Medela Hand Pump
To begin your pumping session, place the breast shield over your breast, ensuring your nipple is precisely centred within the tunnel. Hold the shield firmly against your skin to create an airtight seal, but avoid pressing so hard that you compress the underlying breast tissue. Your breast should fit naturally into the cone without any pinching or folding of the skin around the edges of the flange.

Once the pump is securely positioned, start with the stimulation phase to mimic your baby’s initial fast, shallow sucks. Medela manual pumps typically feature a two-phase expression technology, which is controlled by how you press the handle. Use the smaller, front part of the handle to perform quick, light squeezes. These rapid movements stimulate the nerves in your nipple, sending signals to your brain to release milk. Continue this fast-paced pumping for one to two minutes, or until you see the first drops of milk begin to drip or spray into the bottle.
As soon as your milk starts flowing steadily, transition to the expression phase. Switch your hand position to the longer, main part of the handle, which allows for deeper, slower compressions. Press the handle down fully, hold it for a brief second at the peak of the squeeze to maximise the suction duration, and then release it smoothly. This slower rhythm mimics the deep swallowing patterns of a satisfied baby and helps draw out the milk efficiently. Adjust the speed and depth of your squeezes to find a rhythm that feels comfortable and productive.
Pay close attention to your body’s signals to determine when it is time to switch sides or conclude your session. You will notice that the initial steady stream of milk eventually slows down to a slow drip, and your breast will begin to feel noticeably softer and lighter. For many mothers, pumping for about ten to fifteen minutes per breast is sufficient, but it is better to guide your session by milk flow rather than a strict timer. If you are pumping both breasts, switch to the other side once the flow on the first side diminishes, and consider alternating back and forth if you feel you can trigger a second let-down.
Techniques to Maximise Milk Output and Let-Down
If you find that your milk is slow to start flowing, incorporating gentle physical stimulation can help encourage a faster let-down. Applying a warm, damp compress to your breast for a few minutes before you begin pumping can help dilate the milk ducts and promote circulation. During the session, you can use your free hand to perform gentle breast massage, starting from the chest wall and moving down toward the nipple. This hands-on pumping technique helps empty the milk ducts more thoroughly and can noticeably increase your overall output.
Finding the right suction level is a balance between comfort and efficiency. More suction does not automatically equal more milk; in fact, setting the suction too high can cause pain, which inhibits the let-down reflex and reduces your yield. Experiment with the depth of your handle compressions to find a level of suction that feels like a firm, comfortable tug rather than a pinch or pull. If you feel any sharp pain or discomfort, immediately release the handle and adjust your positioning or reduce the force of your squeezes.
It is important to recognize the signs of ineffective pumping early so you can make the necessary adjustments. If you experience persistent pain, nipple blanching (where the nipple turns white during or after pumping), or if your milk yield is unusually low despite feeling full, your technique or equipment may need re-evaluation. Often, these issues are caused by an incorrectly sized breast shield or a worn-out valve. Take the time to re-measure your nipple and inspect your pump parts for any signs of damage or wear.
While adjusting your technique can resolve many common pumping challenges, you should not hesitate to seek professional guidance if you continue to struggle. If you experience ongoing pain, recurring clogged ducts, signs of mastitis, or persistent concerns about your milk supply, consult a certified lactation consultant or a healthcare professional. They can provide personalised advice, observe your pumping technique, and help you develop a plan that supports your breastfeeding goals safely and comfortably.
Cleaning, Maintenance, and Safe Storage
Maintaining strict hygiene standards is essential when handling breast milk and pumping equipment to protect your baby from harmful bacteria. Immediately after every use, disassemble all pump parts that have come into contact with your breast or breast milk. Rinse these parts thoroughly under cool, clean water to remove any remaining milk residue, then wash them in warm, soapy water using a mild dishwashing liquid. Avoid using harsh chemicals or abrasive brushes that could scratch the plastic or damage the delicate silicone components.
Sterilisation is another key step in keeping your equipment safe, especially for newborns or infants with compromised immune systems. Refer to the care labels and manufacturer’s instructions to choose an approved sterilisation method, such as boiling the parts in water for five minutes, using a steam steriliser, or utilising microwave sterilisation bags. The frequency of sterilisation depends on your baby’s age and health status; consult your paediatrician or healthcare provider for specific recommendations tailored to your child’s needs.
Regularly inspecting your pump parts is crucial for maintaining optimal suction and performance over time. Silicone valves and membranes are highly delicate and can develop tiny, invisible tears or accumulate moisture, which significantly reduces the vacuum pressure of the pump. Inspect these parts closely during cleaning, and replace them immediately if you notice any stretching, tearing, or loss of elasticity. Keeping a spare set of valves and membranes on hand prevents unexpected disruptions to your pumping routine.
Once all parts are thoroughly cleaned and sterilised, place them on a clean, unused paper towel or a dedicated drying rack in a well-ventilated area to air-dry completely. Avoid using cloth towels to dry the components, as they can transfer lint or bacteria onto the clean surfaces. Store the dry, disassembled parts in a clean, dust-free container until your next session. Additionally, ensure you follow safe storage guidelines for your expressed breast milk, labeling each container with the date and time of expression before placing it in the refrigerator or freezer.
Frequently Asked Questions (FAQ)
How long should a manual pumping session last?
A manual pumping session typically lasts between 15 to 20 minutes per breast, but the exact duration varies from person to person. Rather than watching the clock, it is more effective to focus on your milk flow and physical comfort. You should continue pumping until the steady stream of milk transitions to a slow drip and your breast feels soft and empty. Forcing yourself to pump past this point can cause unnecessary nipple irritation and discomfort without yielding more milk.
Can I use a Medela hand pump for exclusive pumping?
While a manual pump is an excellent tool for occasional use, travel, or relieving engorgement, it is generally not recommended as the primary tool for exclusive pumping. Exclusive pumping requires expressing milk multiple times a day to maintain a full supply, which can lead to significant hand fatigue and a substantial time commitment when using a manual model. If you plan to pump exclusively, an electric double pump is usually more efficient and less physically demanding. You may want to consult a lactation professional to discuss the best equipment setup for your specific long-term feeding needs.
Why is my milk output low when using the hand pump?
Low milk output can stem from several mechanical or physical factors. First, check your pump for any vacuum leaks, ensuring the silicone valve and membrane are intact, dry, and fitted securely. An incorrect breast shield size can also restrict milk flow, so verify that your nipple is not rubbing against the sides of the tunnel. Additionally, external factors such as stress, fatigue, dehydration, or pumping in a cold environment can temporarily suppress your let-down reflex. If you continue to experience low yields accompanied by pain or breast discomfort, stop pumping and seek advice from a lactation consultant.

Community discussion
Share your experience or ask a question. Comments are reviewed before publication.