
Experiencing a sudden drop in suction or noticing milk leaking from your wearable breast pump can be incredibly frustrating, especially when you are trying to maintain a consistent feeding or expression schedule. These performance issues are common with wearable devices like the eufy S1, where multiple small, interlocking parts must work in perfect harmony to create a secure vacuum. Fortunately, most suction and leakage problems do not indicate a broken motor; instead, they are usually caused by minor assembly misalignments, wet components, or natural wear on silicone parts. By systematically checking each component, you can quickly restore your pump’s efficiency and protect your expressed milk.
Identifying the Root Cause of Low Suction
When your breast pump is not drawing milk as efficiently as usual, the first step is to isolate where the vacuum pressure is escaping. Wearable pumps rely on a completely airtight environment to generate suction, meaning even a microscopic gap can cause a noticeable drop in performance. Begin by examining the physical connection between the breast shield and the main connector. These two components must align perfectly without any gaps along the edges; if they are pressed together unevenly, air will leak into the chamber and weaken the suction cycle.
Next, focus your attention on the silicone duckbill valve and the backflow protector, which are the most common culprits behind suction loss. The duckbill valve regulates the direction of the vacuum, while the backflow protector prevents milk from entering the motor assembly. Inspect both parts under a bright light for tiny micro-tears, warping, or structural stiffness. Over time, frequent washing and sterilization can cause silicone to lose its elasticity, preventing the valve from closing fully between suction cycles. Additionally, check for any dried milk residue or lint that might have settled inside the valve opening, as even a tiny particle can keep the valve propped open.
Products mentioned in this guide
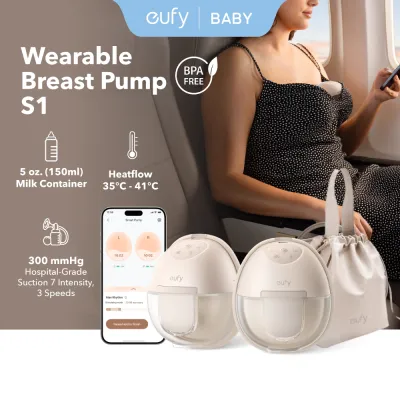
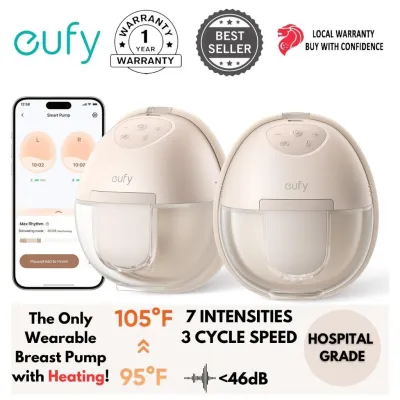
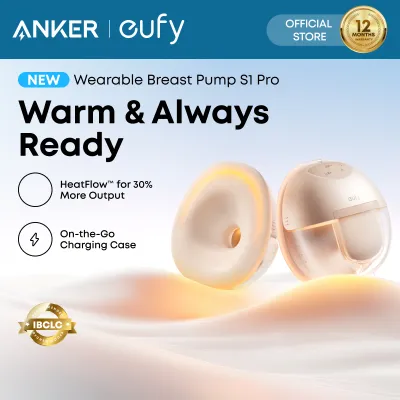
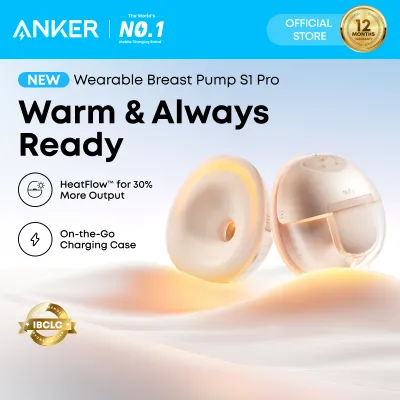
Prices are valid at publication and may change. Please refer to the product page for the latest price.
Finally, inspect the air pathways and any internal tubing for blockages or disconnections. If moisture or condensation finds its way into the air pathways, it can create a physical barrier that disrupts the vacuum pressure. Ensure that all tubing is dry, free of kinks, and firmly connected to both the motor unit and the collection assembly. If you notice any droplets of water inside the tubing, disconnect it immediately and allow it to air-dry completely before resuming your pumping session, as moisture can eventually damage the internal motor.
Step-by-Step Fixes for Milk Leakage
Milk leakage is not only wasteful but can also damage the electronic components of your wearable pump if left unaddressed. To stop leaks, start by verifying that you are using the correct flange size for your body. An improperly fitted breast shield can cause milk to pool around the edges of the flange rather than flowing smoothly down into the collection cup. If the flange is too large, excess areolar tissue is drawn into the tunnel, blocking the milk ducts and causing milk to back up and leak. Conversely, a flange that is too small restricts flow and causes friction, leading to pooling and eventual spills.

Once you have confirmed your fit, examine the assembly state of your silicone parts, ensuring they are completely dry before putting them together. When silicone components are assembled while still damp, the water acts as a lubricant, causing the duckbill valve or backflow membrane to slip out of its designated groove during operation. This slippage breaks the seal and allows milk to escape into areas it should not reach. Always pat your silicone parts dry with a clean paper towel or let them air-dry fully on a rack before assembling the pump.
Another critical area to check is the threading and seal of the collection cup or bottle. When attaching the collection cup to the pump housing, ensure the threads align smoothly without resistance. Cross-threading occurs when the parts are screwed together at an angle, creating a tilted seal that allows milk to drip out during movement. Avoid over-tightening the cup, as excessive force can warp the plastic edges and create tiny gaps. A gentle, firm twist is all that is required to secure the container and maintain a leak-free seal.
Troubleshooting Matrix: Symptoms, Causes, and Solutions
To help you quickly identify and resolve issues during a busy pumping session, refer to the troubleshooting matrix below to match your specific symptom with its most likely cause and solution.
| Symptom | Likely Cause | Recommended Action |
|---|---|---|
| Weak or inconsistent suction cycles | Worn, stretched, or dirty duckbill valve | Clean the valve to remove residue, or replace it if it appears stretched or warped. |
| Milk leaking from the top of the flange | Wet silicone parts or misaligned backflow protector | Dry all components thoroughly before assembly; ensure the membrane is seated flat. |
| Motor runs but generates zero vacuum | Disconnected tubing or cracked connector housing | Check all physical connections; inspect plastic parts for hairline cracks. |
| Milk backing up into the air pathways | Overfilled collection cup or damaged diaphragm | Empty the cup before it reaches maximum capacity; replace the backflow membrane. |
Daily Maintenance and Part Replacement Guidelines
Maintaining a consistent cleaning routine is the most effective way to prolong the lifespan of your breast pump parts and prevent sudden drops in suction. After every use, disassemble all parts that come into contact with breast milk and wash them in warm, soapy water. Avoid using harsh scrubbing brushes or abrasive pads on delicate silicone components like the duckbill valve, as these can easily cause micro-tears that ruin the vacuum seal. Instead, gently rub the parts between your fingers or use a soft sponge to clear away milk fat residue.
After washing, always allow the components to air-dry completely in a well-ventilated area on a clean drying rack. Avoid using cloth towels to dry silicone parts, as they can leave behind lint and fibers that interfere with the airtight seals. Implement a quick visual inspection checklist during your daily assembly: check for cloudiness in the silicone, loss of elasticity, stretched openings on the duckbill valves, or warped edges on the backflow protector. If any silicone part appears discolored, sticky, or fails to snap back into shape when gently pinched, it is time to replace it.
Silicone parts are consumable items that naturally degrade with regular use, heat exposure, and washing. If you pump multiple times a day, you should expect to replace your duckbill valves and backflow membranes every one to two months to maintain optimal suction. For occasional pumpers, these parts may last up to three months. Keeping a spare set of original manufacturer replacement parts on hand ensures that your pumping routine is never interrupted by a worn-out valve.
When to Contact eufy Customer Support
While most suction and leakage issues can be resolved through thorough cleaning, drying, and correct assembly, some situations point to an internal hardware issue that requires professional assistance. If your pump motor begins making unusual grinding, clicking, or rattling noises, this is a strong indicator of internal mechanical wear. Similarly, if the motor unit displays persistent error codes, becomes unresponsive, or fails to turn on even after being fully charged, you should stop using the device and contact customer support.
Battery performance issues also warrant professional attention. If your wearable pump fails to hold a charge for a standard pumping session, or if the battery drains rapidly despite being connected to the correct charger, the internal battery may have degraded. Do not attempt to open the motor housing or repair the internal electronics yourself, as this can void your warranty and compromise the safety of the device.
Before reaching out to the manufacturer’s customer support team, gather all necessary details to expedite your claim. Locate the serial number, which is typically printed on a small sticker on the motor unit or inside the battery compartment. Have your original proof of purchase or order confirmation ready to verify your warranty status. Preparing a brief description of the troubleshooting steps you have already tried will help the support team diagnose the issue quickly and determine if a replacement unit is necessary.
Frequently Asked Questions (FAQ)
Can I use third-party replacement valves with the eufy S1?
It is highly recommended to use only official replacement parts designed specifically for your pump model. While third-party silicone valves sold on online marketplaces may look similar, even a fraction of a millimeter difference in size or thickness can prevent an airtight seal. Using non-original parts often results in weak suction, frequent milk leaks, or backflow issues that can allow liquid to enter and damage the motor. Furthermore, using unauthorized third-party accessories may void your manufacturer’s warranty if they are found to have caused or contributed to a hardware failure.
How often should I sterilize the eufy S1 pump parts?
For healthy, full-term infants, sterilizing your pump parts once a day is generally sufficient, while daily cleaning with warm, soapy water should be performed after every single use. If your baby was born prematurely or has a compromised immune system, consult your pediatrician or a qualified healthcare professional for specific sterilization guidelines. Always separate the electronic motor unit from the washable components before cleaning; the motor must never be submerged in water or placed in a sterilizer. Ensure that plastic and silicone parts are compatible with your specific sterilization method, whether boiling or using a steam sterilizer, to prevent warping from excessive heat.

Community discussion
Share your experience or ask a question. Comments are reviewed before publication.