
Trimming a newborn’s nails can feel incredibly daunting for new parents, but using a specialized tool like a pigeon nail cutter with the correct physical technique makes the process safe and stress-free. The secret lies in choosing the right moment when the baby is still, peeling the finger pad away from the nail edge, and using short, controlled snips rather than a single forceful cut. By establishing a calm routine and understanding the safety features of your specific tool, you can protect your baby’s delicate skin while keeping their nails neat and scratch-free.
Why Trimming Newborn Nails Requires Special Care and Tools
Newborn nails are uniquely challenging to manage. They are paper-thin, remarkably soft, and grow at an astonishingly rapid rate. Despite being incredibly pliable, these tiny nails often develop sharp, jagged edges that can easily scratch a baby’s highly sensitive facial skin. In Singapore’s warm and humid climate, sweat can quickly irritate these minor facial scratches, making regular nail maintenance a vital part of daily infant hygiene.
Using standard adult nail clippers or household scissors poses a significant risk to an infant. Adult grooming tools are designed for thick, rigid nails and feature large blades that completely obscure your view of a tiny finger. They lack the precision required for a newborn’s microscopic fingers, making it far too easy to accidentally pinch, pull, or cut the delicate skin underneath the nail bed.
Products mentioned in this guide
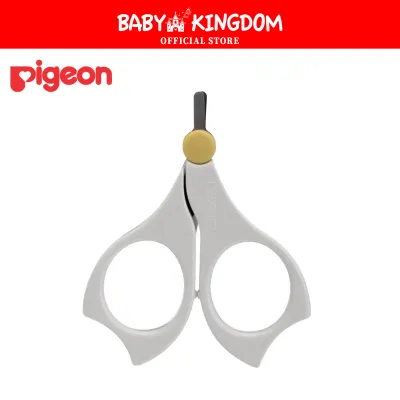
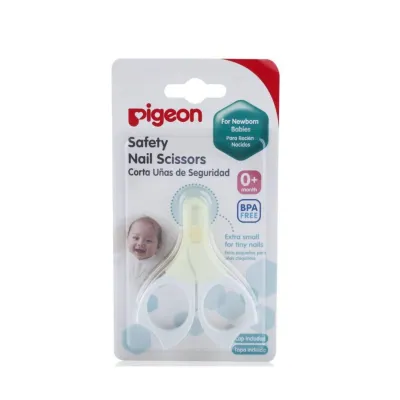
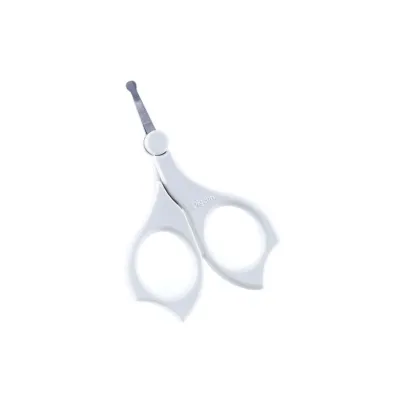

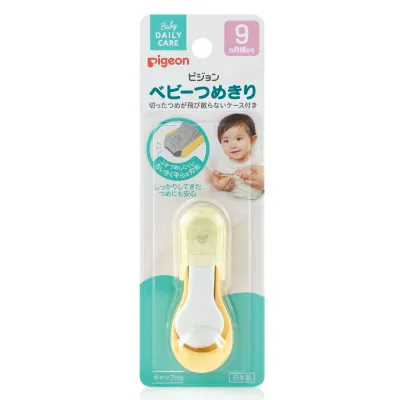
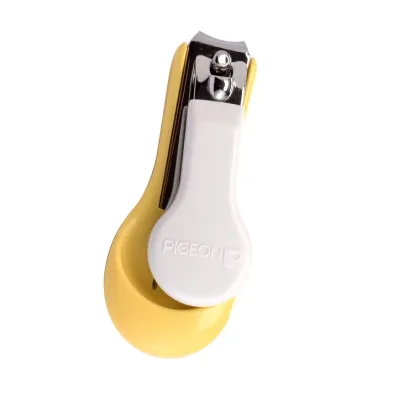
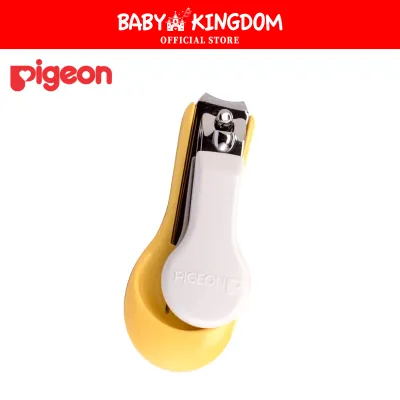
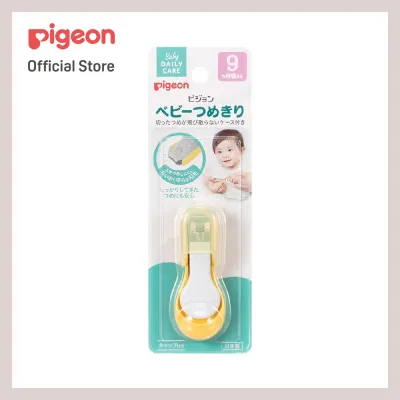
Prices are valid at publication and may change. Please refer to the product page for the latest price.
A dedicated infant nail tool, such as a pigeon nail cutter, is engineered specifically to address these anatomical challenges. These tools provide the precise scale, blade curvature, and visibility needed to navigate tiny hands safely. However, even the most thoughtfully designed tool requires the caregiver’s complete focus, a steady hand, and proper technique to ensure a safe and successful grooming session.
Understanding Your Pigeon Nail Cutter’s Design Features
Before starting, it is essential to understand the specific design elements of your tool. Pigeon offers different types of infant nail care implements, such as small, rounded-blade scissors for newborns and miniature clippers for older infants. The newborn scissors typically feature very short, thin blades with rounded tips to prevent accidental punctures, along with an ergonomic handle that allows caregivers to maintain a stable, comfortable grip.

Because product designs vary, always check the packaging and read the manufacturer’s instructions for your specific model before its first use. Some models are intended strictly for the first few weeks of life, while others are designed for older babies with slightly firmer nails. Verify the recommended age range and usage instructions on the official product label to ensure the tool matches your baby’s current developmental stage.
Remember that no tool is completely accident-proof on its own. The safety features of a baby nail cutter are designed to assist you, but they do not replace active caregiver supervision, excellent lighting, and a calm, methodical approach. Keeping the tool clean and storing it with its protective cover when not in use is also vital for maintaining long-term safety and hygiene.
Preparing for a Safe Nail-Trimming Session
Creating the right environment and choosing the optimal time are crucial for minimizing your baby’s movement. Trying to trim the nails of an active, hungry, or fussy newborn increases the risk of accidental nicks. Planning ahead ensures a smooth, stress-free experience for both you and your baby.
- Timing: The best time to trim a baby's nails is when they are relaxed or deeply asleep. Many parents find success right after a feed when the baby is drowsy, or during a nap. Another excellent window is immediately after a warm bath, as the nails are at their softest and the baby is typically relaxed.
- Environment: Choose a room with abundant natural light or a bright, direct lamp. In many Singapore homes, air-conditioning or overhead fans can create drafts that make a sleeping baby stir, so ensure the baby is comfortably dressed and draft-free. You must be able to clearly distinguish the pink nail bed from the translucent white edge of the nail.
- Positioning: Sit in a comfortable chair with solid back support. If your baby is awake, you may want to enlist the help of a partner or another caregiver to gently hold the baby’s other hand or provide a calm distraction.
- Mindset: Approach the task with patience and a calm demeanor. Infants are highly sensitive to their caregivers' emotions; if you are tense or anxious, your baby may become restless and pull away.
Step-by-Step Guide to Trimming Your Baby’s Nails
Positioning Your Baby and Holding the Cutter
To begin, secure a stable hold on your baby’s hand. Hold the individual finger you plan to trim between your thumb and forefinger. Gently but firmly press the fleshy pad of the baby’s finger downward and away from the nail. This simple action pulls the skin clear of the blades, exposing the nail edge and creating a safe gap for the cutter.
Grip the pigeon nail cutter comfortably with your dominant hand. If you are using the scissors-style cutter, place your fingers securely in the loops to ensure maximum control. Rest your elbows or forearms on a stable surface, such as a table or your lap, to eliminate hand tremors and stabilize your movements.
The Cutting Technique: Snipping Safely
When executing the cut, make small, highly controlled snips rather than trying to remove the entire nail edge in one single squeeze. For fingernails, follow the natural curve of the finger, but avoid cutting too deeply into the corners. For toenails, cut straight across to prevent the development of painful ingrown nails.
Always leave a tiny sliver of the white nail edge visible. Never attempt to cut the nail flush with the skin or dig into the sides of the nail bed, as this can damage the tissue and introduce bacteria.
Establish a strict stop condition: if your baby begins to cry, squirm, or pull their hand away, stop immediately. Do not force the session. It is completely fine to trim only one or two nails at a time and return to the rest when the baby is calm or asleep.
Smoothing the Edges
Even after a clean cut, newborn nails can remain surprisingly sharp. To prevent your baby from scratching their face, use a gentle, baby-safe emery board or nail file to smooth out any remaining rough or jagged edges.
Hold the finger securely and file in one direction, moving from the side toward the center of the nail. Avoid sawing back and forth, which can split the delicate nail layers.
Never use your teeth to bite or tear your baby’s nails. Human saliva contains a high concentration of bacteria, and biting the nails can easily introduce these pathogens into microscopic micro-tears in the baby’s skin, leading to painful infections like paronychia.
What to Do If You Accidentally Nick the Skin
If you accidentally nick your baby’s skin, do not panic. Minor cuts are very common, even for experienced parents, and infant skin heals remarkably fast. Staying calm helps keep your baby calm and allows you to apply first aid effectively.
First, rinse the area gently with cool, clean water to wash away any dirt or debris. Next, take a clean, sterile gauze pad or a soft, clean cloth and apply gentle, continuous pressure directly to the nick. Hold the pressure for a few minutes until the bleeding stops completely.
Do not apply adhesive bandages or plasters to a baby’s fingers or toes. Newborns frequently put their hands in their mouths, and a wet bandage can easily slip off, presenting a severe choking hazard.
Monitor the finger closely over the next few days. If the bleeding does not stop after several minutes of continuous pressure, or if you notice signs of infection—such as localized redness, swelling, warmth, or pus—consult a pediatrician or visit a local clinic immediately.
Common Mistakes to Avoid When Trimming Infant Nails
Avoid using adult nail clippers or standard household scissors. These tools lack the safety guards, rounded tips, and micro-scale precision necessary for tiny fingers, significantly increasing the risk of injury.
Do not cut the nails too short or dig into the lateral nail folds. Over-trimming exposes the sensitive nail bed, causes discomfort, and invites bacterial infections.
Never force a nail-trimming session when your baby is hungry, overtired, or actively resisting. Forcing the issue increases the likelihood of sudden movements and accidental cuts.
Always clean and sanitize your pigeon nail cutter before and after each use. Wipe the blades with an alcohol swab and let them dry completely before storing the tool in its protective cover to prevent the buildup of bacteria.
Frequently Asked Questions (FAQ)
How often should I trim my newborn's nails?
A newborn’s fingernails grow incredibly fast and may require trimming once or twice a week to prevent scratching. In contrast, toenails grow much slower and typically only need to be trimmed once or twice a month. Check your baby’s nails daily and trim them as soon as they grow past the fleshy tip of the finger.
Can I use a Pigeon nail cutter on a premature baby?
Premature infants have exceptionally thin, delicate skin, and their nails may still be fused to the underlying nail bed. Before using any metal clippers or scissors on a premature baby, consult your pediatrician or a neonatal nurse. In the early weeks, gently filing the nail edges with a soft emery board or allowing dry edges to peel away naturally under professional guidance is often the safest approach.
Community discussion
Share your experience or ask a question. Comments are reviewed before publication.