
In tropical climates, protecting your little one from mosquito bites is a year-round priority. A mosquito tent or crib net offers a physical barrier against pests without relying on chemical repellents. However, installing this accessory requires meticulous attention to detail. If set up incorrectly, loose netting or unstable frames can pose serious safety hazards, including entanglement or suffocation.
By understanding the specific design of your mosquito tent and following a systematic installation process, you can create a secure, insect-free sleeping environment for your baby. This guide outlines the essential steps to prepare, install, and maintain different types of crib netting safely.
Pre-Installation Checks and Preparation
Before assembling any baby gear, always begin by identifying the specific type of mosquito tent you have purchased. These products generally fall into three categories: freestanding frames that sit over or around the crib, hanging nets suspended from a ceiling or wall bracket, and clip-on models that attach directly to the crib rails. Each type has distinct structural requirements, making it essential to read the manufacturer’s instruction manual thoroughly before proceeding.
Products mentioned in this guide
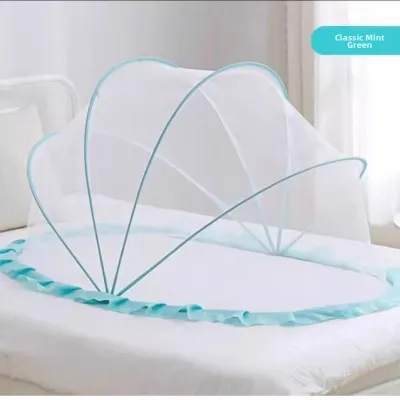


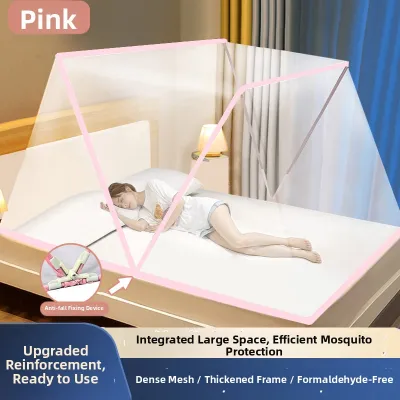


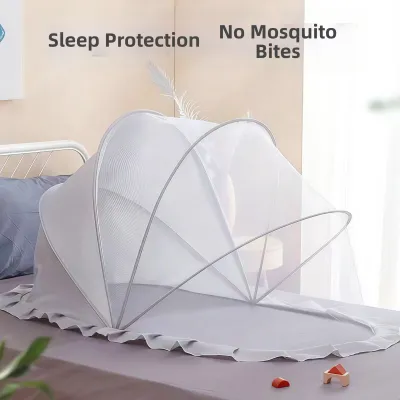
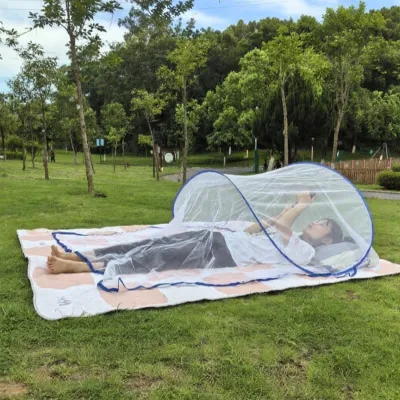
Prices are valid at publication and may change. Please refer to the product page for the latest price.
Next, inspect your baby’s crib structure. Look for stable, secure attachment points that will not compromise the crib’s structural integrity or interfere with any adjustable parts. Ensure that the crib rails are sturdy enough to support any clip-on brackets without warping or slipping. If you are using a freestanding frame, check that the floor space around the crib is level and free of obstructions, allowing the frame to stand completely upright without leaning against the crib walls.
Gather all necessary tools and hardware before starting the installation. Depending on your tent’s design, you may need sturdy mounting clips, non-damaging wall anchors, or specific screws. Avoid substituting parts or using makeshift fasteners, as these can fail under tension. If your installation requires drilling into the ceiling or wall for a hanging net, ensure you have the correct drill bits and wall plugs suitable for your home’s wall material, such as concrete or drywall, which are common in modern apartments.
Step-by-Step Installation Guide
Setting up a mosquito tent requires a methodical approach tailored to its specific design. Whether you are assembling a rigid frame or suspending a delicate canopy, following the correct structural path is vital to prevent the netting from collapsing into the sleeping area.

Installing a Freestanding Frame Mosquito Tent
A freestanding frame mosquito tent relies on a self-supporting structure that surrounds or arches over the crib. Begin by laying out all the frame poles and connectors on a clean, flat surface. Assemble the poles according to the manufacturer’s step-by-step diagrams, ensuring that every joint is fully inserted and locked into place. A partially connected joint can cause the frame to sag or collapse unexpectedly under the weight of the netting. Once the frame is assembled, test its stability by gently shaking the base to ensure it does not wobble or tip easily.
Carefully position the assembled frame around the crib. It is critical to place the frame so that it does not press directly against the crib’s wooden slats or fabric sides. Pressing against the crib can create friction that damages the finish or, worse, creates tight gaps where a baby’s limbs or fingers could become trapped. Maintain a clear, consistent boundary between the frame poles and the crib structure, ensuring the frame remains entirely independent and upright.
Once the frame is securely positioned, drape the mosquito netting evenly over the top. Pull the fabric gently to ensure there is no excess slack sagging into the crib’s interior. Locate the bottom edges, ties, or elastic bands provided with the tent. Secure these fasteners tightly to the outer base of the frame or the lower exterior of the crib, keeping all knots, clips, and loose fabric completely outside the baby’s reach. Never allow any part of the netting or its securing ties to hang loosely inside the sleeping area.
Attaching a Hanging or Clip-On Mosquito Net
Hanging and clip-on mosquito nets offer a lightweight alternative but require robust anchoring to prevent fall hazards. When installing a suspended net, selecting the right mounting hardware is the most critical step. Do not rely on standard adhesive hooks for overhead installations, even if they claim high weight capacities. High indoor humidity can weaken adhesive backings over time, causing the hook and the heavy netting to fall directly into the crib. Instead, use screw-in ceiling hooks or heavy-duty wall anchors designed for permanent installation.
Install the chosen anchor point securely into the ceiling or wall directly above the center of the crib. Before attaching the net, test the weight-bearing capacity of the hook by applying a firm downward pull. The anchor must easily withstand far more than the weight of the net to account for accidental tugs. If you are using a clip-on model that attaches to the crib rail, clamp the bracket tightly to the rail and verify that it cannot slide, tilt, or rotate when gentle pressure is applied.
Hang the mosquito tent from the secure anchor and adjust the suspension length. The canopy should hang high enough to provide ample clearance above the crib mattress, preventing the fabric from draping near the baby’s face. Once the height is set, pull the excess netting downward and tuck it securely around the outside of the crib frame or mattress base. Ensure the netting is taut and that all fabric remains on the exterior of the crib slats, preventing the baby from pulling the material inward.
Critical Safety Checks After Installation
Once the installation is complete, you must conduct a thorough safety audit before placing your baby in the crib. First, examine the netting itself. It must be pulled taut across the frame or suspension lines, with absolutely no sagging sections. The fabric must remain well out of your baby’s reach, even when they stretch their arms upward. If the netting drape looks loose or hangs low over the mattress, adjust the tension immediately to eliminate any potential suffocation risk.
Next, inspect the entire setup for loose cords, strings, or long fabric ties. Many mosquito tents feature decorative ribbons or functional drawstrings to adjust the opening. These elements pose a severe strangulation hazard if they hang inside or near the crib. Ensure all ties are knotted securely on the outside of the netting, away from the slats, and trim any excessively long cords according to the manufacturer’s safety guidelines.
Test the physical stability of the entire installation by applying gentle, realistic pressure. Shake the freestanding frame or tug lightly on the hanging net to simulate a child grabbing the fabric. The frame should remain firmly in place without tipping, and the hanging anchor must not show any signs of loosening. If the structure shifts or sags during this test, disassemble the unit and reinforce the mounting points before proceeding.
Finally, consider your baby’s developmental movements. Even if your infant is not yet crawling, rolling or kicking can cause them to migrate to the edges of the crib. Verify that these movements will not allow your baby to contact the netting through the crib slats. If a baby can grab the mesh from inside the crib, they may pull the entire structure down, creating an immediate entrapment hazard. The netting must remain completely inaccessible from the interior of the sleeping space.
Maintenance and Daily Usage Guidelines
Maintaining a safe sleeping environment requires ongoing vigilance and daily habits. Before placing your baby in the crib for every nap or bedtime, perform a quick visual inspection of the mosquito tent. Check that the ceiling hooks remain firmly anchored, the frame joints are secure, and the netting has not developed any tears or holes. Small tears not only let mosquitoes inside but can also snag tiny fingers or enlarge rapidly, compromising the safety of the tent.
Regular cleaning is necessary to keep the netting free of dust and allergens. Always consult the manufacturer’s care label before washing the fabric. Most mosquito nets require gentle hand washing or a delicate machine cycle in cold water, followed by air drying. Avoid using high heat in a tumble dryer, as this can shrink the synthetic mesh or warp the elastic borders, making it impossible to reinstall the tent with the proper tension.
It is crucial to recognize the stopping condition for using a crib mosquito tent. You must permanently discontinue use as soon as your baby reaches milestones that allow them to interact with the tent. If your baby can sit up, pull themselves to a standing position, or reach the netting, the risk of entanglement increases dramatically. At this stage, the physical barrier becomes a hazard, and you should transition to alternative insect protection methods.
Frequently Asked Questions (FAQ)
Can I use a mosquito tent if my baby can already stand up?
No, you should not use a mosquito tent once your baby can stand up. When a baby reaches the milestone of standing or pulling themselves up, they can easily reach the netting, pull it down into the crib, or use the structural frame to climb. This creates a severe risk of entanglement, suffocation, or falls. Once your baby can stand, transition to other safe mosquito control methods, such as installing window screens, using baby-safe room diffusers approved by pediatricians, or keeping the nursery doors closed.
Are adhesive hooks safe for hanging a mosquito net over a crib?
No, standard adhesive hooks are not safe for suspending a mosquito net directly over a baby’s crib. The warm, humid climate can cause adhesive backings to degrade, dry out, or lose their grip over time. If the adhesive fails, the hook and the entire canopy can fall directly onto your sleeping baby, posing an immediate suffocation and strangulation hazard. For overhead installations, always use secure, screw-in ceiling hooks or manufacturer-approved mounting hardware that physically anchors into the ceiling or wall.
Community discussion
Share your experience or ask a question. Comments are reviewed before publication.