
Storing breastmilk safely is one of the most important aspects of your breastfeeding journey. Using a dedicated medela breastmilk bag helps preserve the vital nutrients, antibodies, and vitamins your baby needs while offering a convenient, space-saving storage solution. To maintain the integrity of your liquid gold, you must follow a precise process of preparation, filling, sealing, and thawing. By mastering these steps, you can prevent leaks, avoid bacterial contamination, and ensure your baby receives high-quality milk with every feed.
While breastmilk storage bags are designed to be user-friendly, simple mistakes like overfilling or improper sealing can lead to spilled milk or freezer burn. Taking a systematic approach to handling these bags protects your hard work and ensures your storage system remains hygienic. Whether you are building a back-to-work freezer stash or storing milk for occasional bottle feedings, following best practices will give you peace of mind.
Preparing Your Workspace and Checking the Bags
Before you handle any breastmilk storage equipment, establishing a clean environment is essential to prevent the introduction of harmful bacteria. Start by washing your hands thoroughly with warm water and soap for at least 20 seconds, paying close attention to the backs of your hands, between your fingers, and under your fingernails. Dry your hands with a clean, single-use paper towel rather than a shared family hand towel, which can harbor microscopic pathogens.
Products mentioned in this guide
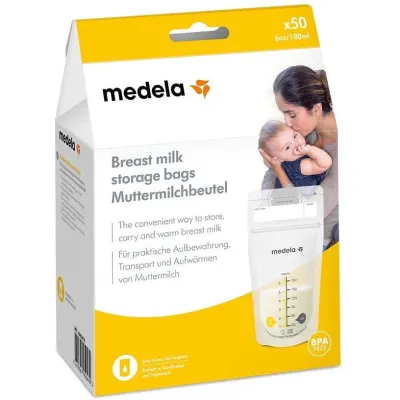
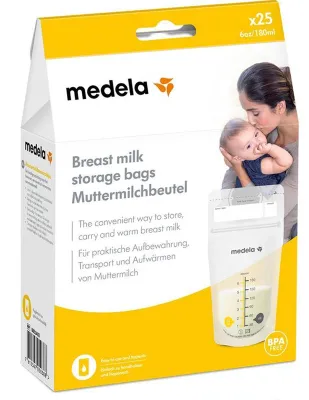
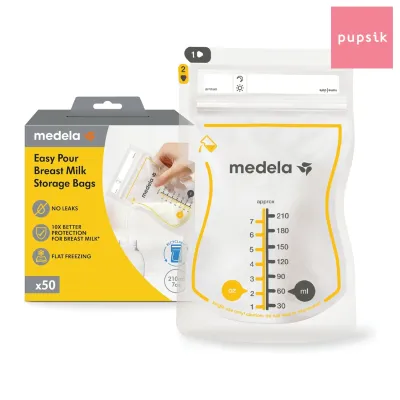
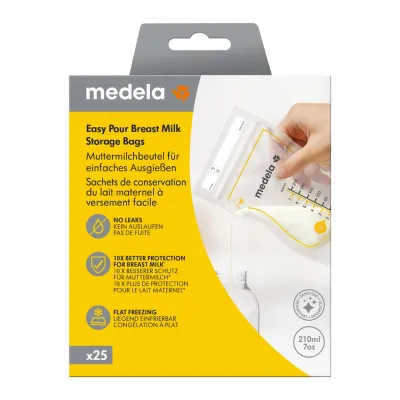
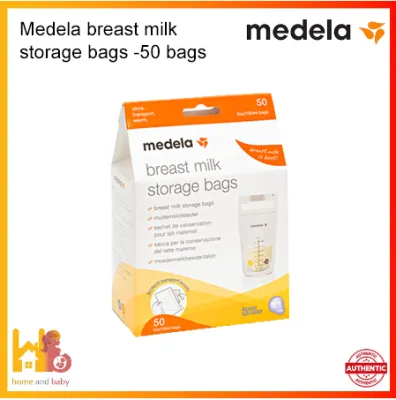
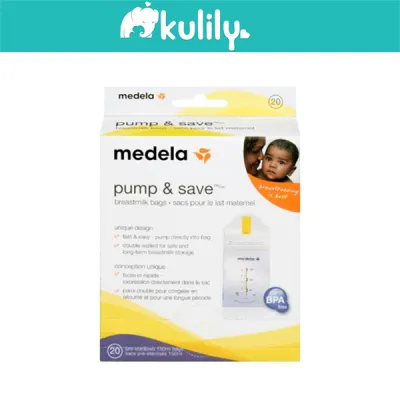
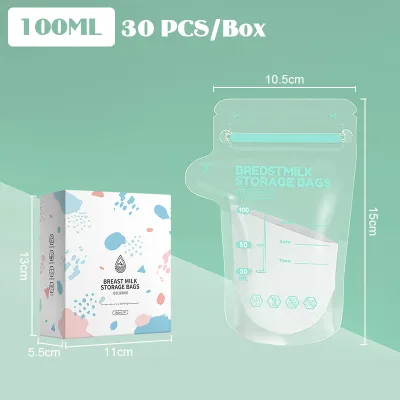
Prices are valid at publication and may change. Please refer to the product page for the latest price.
Next, prepare a clean, flat surface in your kitchen or prep area. Wipe down the countertop with a food-safe sanitizing spray or wipe, and allow it to air dry completely before placing your pumping equipment or storage bags on it. If you have recently washed your breast pump parts, ensure they are fully dry and assembled according to the manufacturer’s instructions. Any moisture left on pump parts can become a breeding ground for bacteria or interfere with the vacuum seal during expression.
Once your workspace is ready, retrieve your storage bags and inspect the packaging. Medela breastmilk bags are pre-sterilized for safety, but you must verify that the outer packaging and the individual bag’s tamper-evident seal are completely intact. Check the bag carefully for any visible tears, punctures, or manufacturing defects along the side seams. If a bag appears compromised, discard it immediately and select a fresh one to ensure your stored milk remains sterile.
Filling and Sealing the Bags Without Spills
Transferring expressed breastmilk into a storage bag requires a steady hand and attention to detail to avoid costly spills. If you are pouring milk from a collection bottle, place the storage bag flat on your clean surface or hold it securely near the neck. Gently open the zipper seal by pulling the tabs apart, making sure not to touch the inside of the bag or the zipper track with your fingers, as this can introduce bacteria to the sterile interior. Slowly pour the milk into the center of the opening, keeping the bag upright to prevent overflow.

One of the most critical steps in this process is observing the maximum fill line printed on the side of the bag. Breastmilk, like any liquid, contains a high percentage of water and will expand significantly as it freezes. If you fill the bag beyond the designated limit, the expanding ice will put immense pressure on the plastic seams, often causing them to split or burst in the freezer. Always leave a small amount of empty space at the top of the bag to accommodate this natural expansion.
Before sealing the bag, you must remove excess air to prevent freezer burn and preserve the quality of the milk. To “burp” the bag, place it on a flat surface and gently slide your hand upward from the bottom of the milk line toward the zipper, pushing the trapped air out of the opening. Be careful not to squeeze too hard, which could force the liquid out of the top. Removing this air pocket also allows the bag to lay flatter, optimizing your freezer space.
Once the air is removed, secure the double zipper completely. Press your thumb and forefinger firmly together at one end of the zipper track and slide them slowly to the opposite end. Repeat this motion two or three times to ensure the tracks are fully interlocked. You can verify the seal by gently tilting the bag horizontally over a clean container or sink to check for any slow drips or gaps along the closure.
Labeling and Storing Milk to Preserve Nutrients
Proper organization is key to managing your breastmilk supply and ensuring your baby consumes the oldest milk first. Always write the date, time, and exact volume on the designated label area of the bag before you fill it with milk. Writing on an empty bag prevents you from accidentally puncturing the plastic with the sharp tip of a pen or marker. Use a permanent, non-toxic marker that will not smudge or fade when exposed to condensation or moisture in the refrigerator or freezer.
To maximize your freezer space and ensure rapid, even freezing, lay the filled and sealed bags completely flat on a flat surface in your freezer, such as a baking sheet or a dedicated freezer organizer. Once the bags are frozen solid into flat, compact blocks, you can stack them vertically or arrange them like files in a storage bin. This method not only saves space but also ensures that the milk thaws quickly and evenly when you are ready to use it.
When deciding where to place the bags, always store them in the coldest part of your refrigerator or freezer. Avoid placing breastmilk bags in the door shelves, as these areas are subject to frequent temperature fluctuations every time the door is opened. Instead, push the bags toward the back of the main shelves. For exact storage durations at room temperature, in the refrigerator, or in the freezer, consult standard pediatric health guidelines, such as those provided by local health authorities or your pediatrician, to ensure safety.
Safely Thawing and Warming Stored Breastmilk
Thawing frozen breastmilk requires a gentle touch to protect its delicate immunological properties and nutritional value. The safest and most recommended method is to transfer the frozen bag from the freezer to the refrigerator overnight, allowing it to thaw gradually over several hours. If you need to thaw the milk more quickly, place the sealed bag into a bowl of lukewarm water, ensuring the water level does not reach the zipper seal to prevent any potential contamination.
Never use a microwave or boiling water to thaw or warm breastmilk. High heat destroys the beneficial proteins, enzymes, and antibodies that make breastmilk so unique. Additionally, microwaves heat liquids unevenly, creating dangerous “hot spots” that can easily burn your baby’s sensitive mouth even if the outside of the bottle feels cool. Stick to gentle, low-temperature warming methods to keep the milk safe and nutritious.
As breastmilk sits in storage, it naturally separates into a watery layer and a thick, creamy fat layer that rises to the top. Before feeding, gently swirl the bag or bottle in a circular motion to recombine these layers. Avoid shaking the bag vigorously, as aggressive shaking can break down the delicate molecular structures of the milk’s protective proteins. A gentle swirl is all that is needed to distribute the fat evenly throughout the liquid.
Once breastmilk has been completely thawed, it must be stored in the refrigerator and used within the timeframe recommended by standard pediatric guidelines. Never refreeze breastmilk once it has thawed, as this increases the risk of bacterial growth and degrades the quality of the nutrients. If your baby does not finish a bottle of warmed milk within two hours of the feeding, the remaining portion should be discarded to prevent contamination from oral bacteria.
Troubleshooting Leaks and Seal Failures
Experiencing a leaked bag of breastmilk can be incredibly frustrating, but most seal failures can be prevented by identifying common user errors. One frequent cause of leaks is milk residue becoming trapped inside the zipper track during the pouring process. If milk gets into the grooves, it acts as a barrier that prevents the plastic tracks from interlocking fully. To fix this, simply wipe the inside of the zipper track with a clean, dry paper towel before pressing the seal closed.
Another common issue stems from how the protective tear-off tab is handled. When opening a new bag, ensure you tear the top tab along the perforated line cleanly and evenly. If the tab is ripped carelessly, it can stretch or distort the plastic near the zipper, making it difficult to achieve a hermetic seal. Taking your time during this initial step protects the structural integrity of the bag’s closure mechanism.
Finally, always double-check your storage volumes to ensure you are not overfilling the bags. Even if a bag appears to hold more than the printed maximum line when upright, the expansion of freezing liquid will test the limits of the plastic seams. Keeping your fill levels strictly at or below the maximum line, combined with removing all excess air, is your best defense against seam bursts and lost milk during the freezing process.
Frequently Asked Questions (FAQ)
Can I pump directly into the storage bag?
Yes, depending on the specific model of your breast pump, you can often pump directly into the storage bag to minimize transfer steps and reduce the risk of contamination. Many pumps require compatible adapters or feature built-in strap designs that secure the bag directly to the breast shield connector. Always check your pump’s user manual to verify compatibility and ensure the connection is completely secure before you begin expressing, as an insecure attachment can lead to accidental spills.
How long can breastmilk stay in the fridge or freezer?
To determine the exact safe storage durations for your expressed milk, you should consult the manufacturer’s packaging instructions alongside standard local pediatric or health authority guidelines. Storage times depend heavily on the stability of your appliance’s temperature. Generally, milk stored in a deep freezer remains safe longer than milk stored in a standard refrigerator-freezer combi unit, but verifying these timelines with official health resources ensures your baby’s safety.
Can I reuse a breastmilk storage bag?
No, breastmilk storage bags are strictly designed for single-use and must not be washed, re-sterilized, or reused. Reusing these bags compromises their sterile environment, significantly increasing the risk of bacterial contamination that can make your baby sick. Additionally, the plastic material and zipper tracks are not engineered to withstand multiple washings, which can lead to structural degradation and leaks. If you prefer an eco-friendly option, look for reusable silicone pouches designed specifically for breastmilk storage.
Community discussion
Share your experience or ask a question. Comments are reviewed before publication.