
Using a hands-free breast pump system can transform your daily routine, offering flexibility and convenience while maintaining your milk expression schedule. To achieve optimal results with the Spectra Handsfree Cup, proper positioning, a secure seal, and correct pump settings are essential. When these elements align, you can express milk comfortably and efficiently without needing to hold the cups in place.
Getting the most out of your hands-free setup requires a systematic approach to assembly, fitting, and garment selection. Misalignment or an improper seal can lead to reduced milk output, physical discomfort, or leaks that disrupt your session. By understanding how to prepare your equipment, verify your flange size, and secure the cups within a supportive bra, you can establish a reliable and comfortable pumping routine.
Preparing Your Equipment and Environment
Before starting any pumping session, take a moment to inspect all components of your hands-free cup system. Ensure that the cups, silicone flanges, backflow protectors, and tubing are completely clean and dry. Moisture in the tubing or connectors can compromise suction and potentially damage the pump motor, so verifying dryness is a critical first step.
Products mentioned in this guide
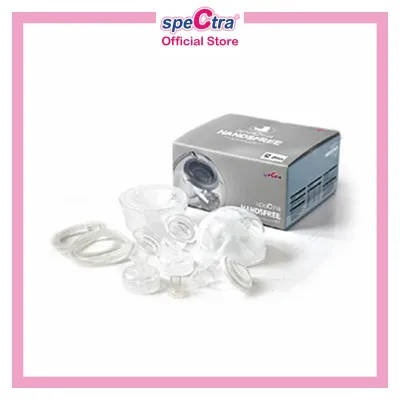
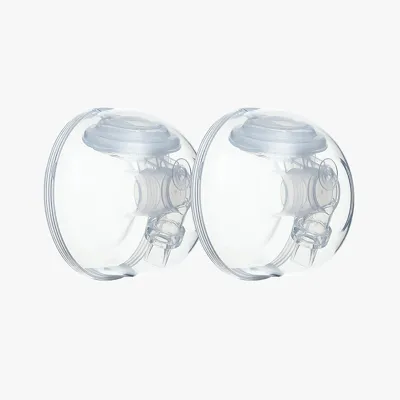
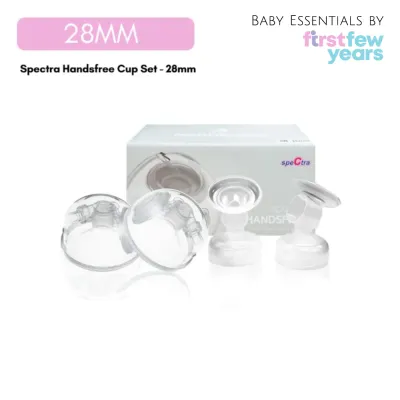
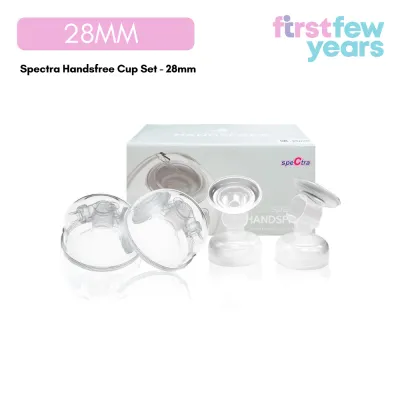
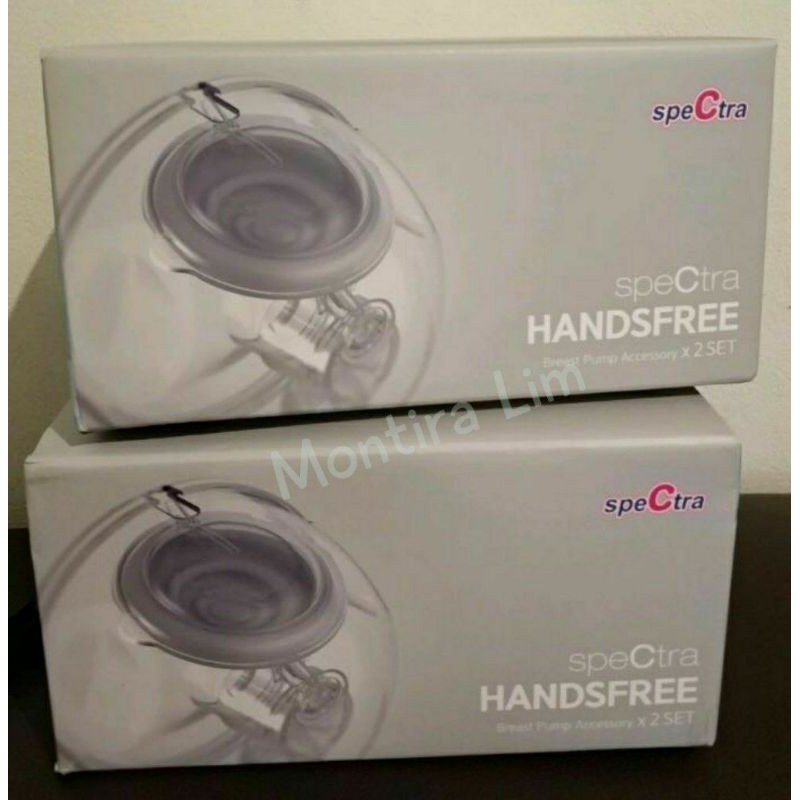
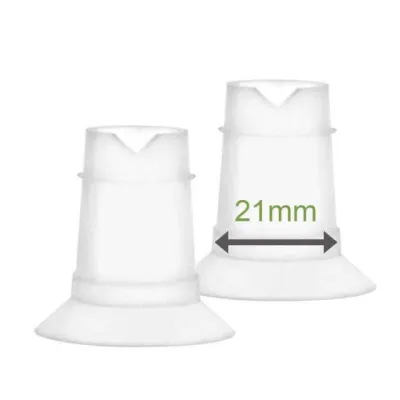
Prices are valid at publication and may change. Please refer to the product page for the latest price.
Assemble the hands-free cup components according to the manufacturer’s specific instructions. Typically, this involves inserting the silicone valve into the breast shield, securing the backflow protector, and snapping the outer cup cover firmly into place. Ensure all connections are tight and flush to prevent air leaks during operation. Connect the tubing securely to both the cup’s port and your compatible breast pump motor.
Your physical environment plays a significant role in how well the cups sit against your body. Choose a comfortable, supportive seating position that allows you to maintain an upright posture. Slouching or leaning too far forward can shift the cups out of alignment, while leaning back excessively might alter the gravity-assisted flow of milk into the collection chambers. Sit in a chair that supports your back and allows the cups to rest naturally and flush against your chest.
Achieving the Correct Flange Fit and Seal
An accurate flange fit is the foundation of comfortable and efficient milk expression. To determine your correct size, measure the diameter of your nipple at the base before a pumping session, excluding the areola. Compare this measurement against the manufacturer’s official sizing guides to select the appropriate flange or silicone insert. Keep in mind that nipple size can change throughout your breastfeeding journey, so periodic measurements may be necessary.

When placing the cup on your breast, center your nipple carefully within the flange tunnel. The nipple must have enough space to move freely back and forth during suction cycles without rubbing against the sides of the tunnel. If the tunnel is too narrow, it can cause friction, swelling, and tissue damage; if it is too wide, excess areola tissue will be drawn in, which can block milk ducts and reduce output.
If you experience mild friction or if the manufacturer recommends it, you may apply a thin layer of a safe, skin-friendly lubricant to the flange tunnel. A food-grade pumping spray or a small amount of lanolin can reduce friction and help the silicone slide smoothly against your skin. Always verify that any lubricant used is compatible with silicone components to prevent premature wear of the equipment.
Before turning on your breast pump, verify that you have achieved a secure, airtight seal. Press the cup gently but firmly against your breast tissue, ensuring there are no gaps along the outer edges of the silicone shield. The cup should feel stable and sealed against your skin even before the pump motor begins to apply suction.
Positioning the Cup for True Hands-Free Use
To transition to true hands-free pumping, you must secure the cups using an appropriate support garment. A supportive, structured pumping bra or a specialized bustier is ideal for holding the unique profile of hands-free cups. Avoid flimsy or overly stretchy bras, as they may not provide enough tension to hold the weight of the cups as they fill with milk.
Position the cups directly over your nipples and carefully lift your bra over them. The bra should apply even, firm pressure across the entire surface of the cups to maintain the airtight seal against your chest. However, the bra must not be so tight that it compresses your breast tissue or restricts milk flow. Compressing the milk ducts can lead to incomplete emptying and increase the risk of clogged ducts.
Adjust your bra straps and bands to ensure the cups remain upright and do not tilt. If the cups tilt downward or outward, gravity can pull them away from your skin, causing sudden suction loss or milk leakage. The cups should sit squarely against your chest, with the tubing ports pointing upward or in the direction specified by the manufacturer’s guidelines.
Route the tubing and any power cords safely away from your body to prevent accidental pulling. Snagging the tubing on a piece of furniture or your clothing can instantly break the seal or pull the cups out of position. Keep the tubing clear of your arms and hands, ensuring there is enough slack to allow for comfortable movement while you sit or perform light tasks.
Optimizing Pump Settings for Comfort and Yield
Once your cups are securely positioned, start your breast pump on the let-down or massage mode. This mode uses fast, shallow cycles to mimic a baby’s initial rapid sucking, which stimulates the nerves in your breast to trigger the milk ejection reflex. Remain in this mode until you observe milk beginning to drip or flow steadily into the collection cups.
After your milk starts flowing, switch the pump to the expression mode, which features slower, deeper suction cycles. Gradually adjust the vacuum level to find your highest comfortable setting. Pumping should never hurt; if you feel pain, pinching, or discomfort, immediately lower the suction level. High suction does not guarantee more milk and can cause tissue inflammation that actually hinders milk release.
Monitor your milk flow throughout the session and adjust the cycle speed or switch back to massage mode if the flow slows down. Some parents find that a second let-down can be stimulated mid-session by returning to the rapid massage settings for a few minutes. Pay attention to how your body responds, as individual preferences for cycle speed and vacuum strength vary widely.
Be alert to physical signs that indicate your settings or positioning need adjustment. If you notice significant nipple swelling, persistent pain during or after pumping, or if your breasts still feel heavy and full after a session, pause the pump. These signs suggest that the suction is too high, the flange size is incorrect, or the cups are compressing your milk ducts.
Troubleshooting Common Hands-Free Pumping Issues
A sudden loss of suction is one of the most common issues encountered during hands-free pumping. If this occurs, immediately check the seal between the cup and your breast, as well as all physical connections. Inspect the tubing to ensure it is firmly attached to both the cup and the pump motor, and check that the silicone valves and backflow membranes are seated correctly without any gaps.
If you experience milk leaking from the cups, re-evaluate your bra’s tightness and the alignment of the flange. A bra that is too loose may allow the cup to pull away from the breast as it fills and becomes heavier. Conversely, an unevenly adjusted bra can tilt the cup, causing milk to pool away from the collection chamber and escape through the edges.
Nipple pain or friction during a session should be addressed immediately rather than tolerated. Pause the pump, break the suction seal gently with your finger, and remove the cup. Re-assess your nipple alignment within the tunnel, apply a compatible lubricant if needed, or verify if you need a different flange size. Continuing to pump through pain can lead to skin damage and make future sessions uncomfortable.
If you experience persistent discomfort, low milk yield, or ongoing technical difficulties despite adjusting your setup, stop using the cups. Consult a qualified lactation professional or reach out to the manufacturer’s customer support for personalized guidance. A lactation consultant can observe your pumping technique and help you find the optimal fit and settings for your unique anatomy.
Post-Session Care and Equipment Maintenance
Proper care and maintenance of your hands-free cups are essential for hygiene and to preserve the life of the silicone components. Disassemble all parts of the cup immediately after you finish pumping. Allowing milk residue to sit in the small crevices of the valves, membranes, and connectors can lead to bacterial growth and make cleaning much more difficult.
Wash all reusable parts according to the manufacturer’s instructions. Typically, this involves rinsing the components in cold water to remove milk proteins, followed by washing them in warm, soapy water using a mild dish soap. Avoid using harsh chemicals, abrasive brushes, or boiling water unless specifically recommended by the manufacturer, as extreme heat can warp the plastic and degrade the silicone. Allow all parts to air-dry completely on a clean, dedicated surface.
Regularly inspect the silicone valves, membranes, and backflow protectors for signs of wear, stretching, or tearing. These flexible components are subject to constant stress during pumping and will naturally wear out over time. Even tiny, invisible tears can significantly reduce the suction efficiency of your pump, so replace these parts periodically as recommended by the manufacturer.
Store the completely dry components in a clean, dust-free container or a protected area of your kitchen. Keep them away from direct sunlight, extreme heat, and pets to prevent contamination or physical damage. Proper storage ensures that your equipment remains hygienic and ready for your next pumping session.
Frequently Asked Questions (FAQ)
Can I use the Spectra Handsfree Cup with any Spectra breast pump model?
To ensure proper function and safety, always check the manufacturer’s official compatibility list for your specific breast pump model. While many hands-free cups are designed to work across a range of the brand’s electric pumps, some models may require specific tubing adapters or proprietary connections to maintain correct suction levels. Using incompatible equipment can lead to poor performance or damage to your pump motor.
How long should a typical hands-free pumping session last?
A typical hands-free pumping session generally lasts between fifteen and twenty minutes, though individual needs vary. Rather than strictly watching the clock, focus on your milk flow and physical comfort. You should stop pumping when your milk flow slows to a trickle and your breasts feel soft and adequately emptied. If you experience any pain or discomfort, stop the session immediately, regardless of how much time has passed.
Community discussion
Share your experience or ask a question. Comments are reviewed before publication.