
To find the correct fan net replacement size, you must measure the outer diameter of your fan’s metal or plastic cage rather than relying solely on the blade size. Using a flexible measuring tape, measure horizontally across the widest part of the front grill from outer edge to outer edge, and then measure vertically to account for any slight oval shapes. Additionally, measure the depth of the cage from front to back and identify how the net attaches to the frame. Matching these exact dimensions to the specifications of a replacement net ensures a snug, secure fit that keeps curious little fingers safe from moving blades.
Why Proper Fan Net Sizing Matters for Child Safety
A fan net serves as a crucial physical barrier in homes with young children, but its protective value depends entirely on a precise fit. When a safety net is too large or loosely fitted, it can sag or slip off the fan frame entirely. This creates dangerous gaps where a toddler’s small fingers can easily slip through and make contact with the spinning blades.
Conversely, a net that is too small will stretch excessively, weakening the mesh fibers and potentially snapping under pressure. A damaged or over-stretched net no longer provides reliable protection and can fail unexpectedly when a child presses against it.
Products mentioned in this guide
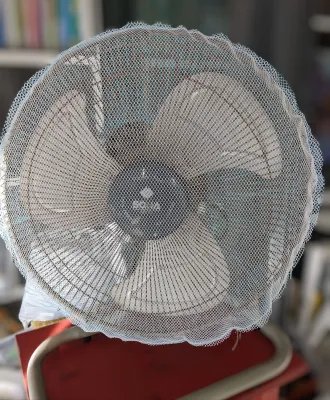
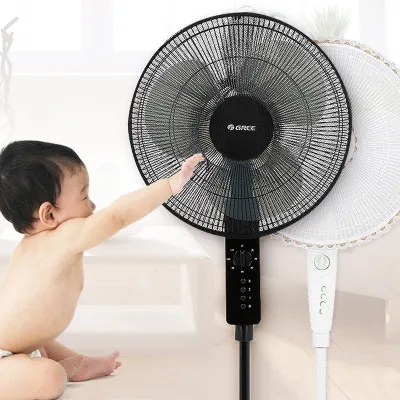
![[3pcs] Cartoon Fan Safety Net Cover Children Pinch-proof Kid Finger Protector Washable Fan Filters](https://img.lazcdn.com/g/p/7a498b7101efa7ee4bd168deb01c44a7.jpg_400x400q80.jpg_.webp)
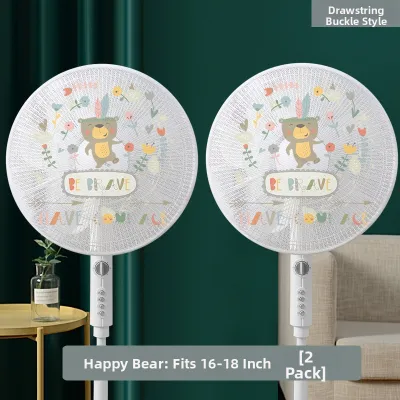
Prices are valid at publication and may change. Please refer to the product page for the latest price.
Beyond physical safety, an improperly sized net can negatively impact the mechanical performance of your household fan. A net that is pulled too tightly across the grill can restrict airflow, forcing the motor to work harder to circulate air. Over time, this increased resistance can lead to motor strain, overheating, and a shortened lifespan for your appliance.
In some cases, an overly tight net can also restrict the fan’s oscillation mechanism, causing the unit to jerk or stall. This mechanical strain can damage the internal gears of the fan, leading to costly repairs or the need for a complete replacement.
Before purchasing any protective accessory, always review the manufacturer’s safety guidelines and age warnings for your specific fan model. Some high-velocity or industrial-style fans may have specific warnings against using fabric or mesh covers due to airflow restriction. Ensuring compatibility between your fan model and the protective net is the first step toward maintaining a safe, comfortable indoor environment.
Tools Required for Accurate Measurement
Gathering the right tools before you begin ensures your measurements are precise and easy to record. A flexible sewing measuring tape is the ideal tool for this task, as it easily contours to the curved edges and domed profiles of standard fan cages.

If you only have a rigid metal tape measure or a standard ruler, you can still measure flat surfaces, but you must take extra care to avoid slipping along the rounded edges of the grill. A slip of the tape can result in an inaccurate reading, leading to an ill-fitting net.
Keep a notepad, pen, or your smartphone nearby to write down each measurement immediately in both millimeters and inches. Many replacement nets sold on online marketplaces or in local home goods stores in Singapore list their dimensions in metric units, while others use imperial sizes. Having both measurements on hand prevents confusion and eliminates the need for quick mental conversions while shopping.
Before touching the fan or placing any measuring tools near the grill, always unplug the appliance from the wall outlet. Even if the fan is switched off, an accidental bump to the power button could start the blades, posing a serious injury risk. Ensuring the fan is completely disconnected from its power source is an essential safety step that must never be skipped.
Step-by-Step Guide to Measuring Your Fan
Selecting a compatible replacement net requires capturing three critical dimensions: the outer diameter, the cage depth, and the mounting style. Relying on the nominal size listed on the fan’s original box (such as a “16-inch fan”) is often insufficient, as this number usually refers to the inner blade span rather than the outer dimensions of the protective cage.
To ensure complete compatibility, you must measure the physical structure of the existing fan cage itself. This hands-on approach accounts for the thickness of the outer rim, the curvature of the grill, and any unique design elements that vary between brands. Taking these steps systematically guarantees a secure fit that will not slip or sag over time.
Measuring the Fan Diameter and Blade Span
To measure the fan diameter, place your flexible measuring tape at the outermost edge of the front grill. Stretch the tape horizontally across the center emblem to the opposite outer edge, ensuring the tape remains flat against the surface. Record this horizontal measurement, then repeat the process vertically from the very top edge of the cage to the bottom edge.
While many household fans appear completely circular, some models feature a slightly oval or teardrop shape. Recording both the maximum and minimum widths ensures you do not buy a net that is too tight along one axis. If there is a discrepancy between the horizontal and vertical measurements, use the larger dimension as your primary reference point when shopping for a replacement.
Next, measure the blade span by measuring from the tip of one fan blade to the tip of the opposite blade. While the net will wrap around the outer cage, knowing the blade span helps you verify that the replacement net will provide adequate clearance. The mesh should never sit so close to the blades that the moving parts can catch or rub against the fabric during operation.
Checking the Cage Depth and Curvature
The depth of your fan cage determines how much three-dimensional space the replacement net must cover. To measure this, place your measuring tape at the seam where the front and back grills meet, then measure to the deepest point of the front dome. If your fan has a highly contoured or spherical shape, this depth measurement is critical to prevent the net from pressing against the center hub.
Assess whether your fan cage has a flat profile or a pronounced dome shape. Flat-profile fans, often common in modern slim-line pedestal models, require less fabric depth and can easily accommodate standard flat nets. Domed cages, typical of classic metal table fans, require a net with a deeper pocket to prevent the mesh from being pulled taut against the spinning blades.
Take note of any protruding center caps, brand badges, or control knobs located on the front or back of the cage. These design elements add extra millimeters to the overall depth of the unit. If your fan has a prominent center cap, add a small buffer of about five to ten millimeters to your depth measurement to ensure the net sits comfortably without friction.
Identifying the Mounting and Attachment Type
Understanding how your current fan cage is held together will help you choose a net with a compatible securing mechanism. Inspect the outer rim of the fan to see if the front and back halves are joined by a clip-on plastic ring, a screw-on collar, or individual metal tension clips. The thickness of this outer rim affects how a replacement net wraps around the edge of the frame.
Measure the thickness of the outer rim where the front and back grills meet. A thicker rim requires a net with a wider elastic border or longer drawstring ties to wrap securely around the edge. If the rim is exceptionally thick, a standard elastic net might slip off easily, making a drawstring or zip-tie style attachment a more secure choice for childproofing.
Look for any specific locking mechanisms or safety screws that secure the fan cage halves together. When installing a safety net, you must ensure that the net does not interfere with these structural fasteners. For homes with active toddlers, choosing a net that can be reinforced with additional cable ties or safety clips provides an extra layer of security against curious hands.
Matching Measurements to a Replacement Fan Net
Once you have recorded your fan’s diameter, depth, and mounting style, you can begin comparing these figures against product specifications. When browsing online marketplaces or visiting local retailers in Singapore, look closely at the product description for the maximum and minimum compatible diameters. Avoid buying a net based solely on generic labels like “medium” or “large,” as these terms are not standardized across different manufacturers.
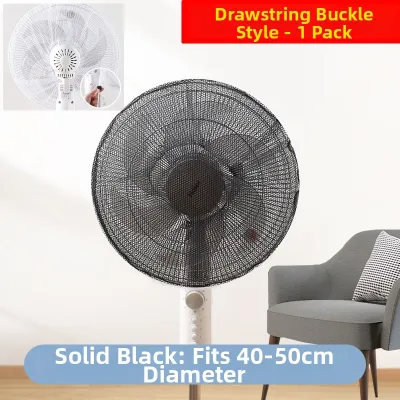
Many modern fan nets are designed as adjustable or universal models, featuring elasticized edges or adjustable drawstrings. These nets typically specify a range of compatible diameters, such as “fits fans from 40 to 45 centimeters.” If your fan’s diameter falls near the upper limit of a specified range, it is generally safer to select the next size up to prevent excessive stretching and tension on the mesh.
Equally important is verifying the mesh size, which refers to the physical gaps between the woven threads. For baby safety, the mesh openings must be small enough to prevent a child’s pinky finger from passing through. Look for ultra-fine mesh nets specifically marketed for baby-proofing, and verify that the product specifications confirm a high-density weave that maintains airflow while blocking tiny fingers.
Installation and Post-Installation Safety Checks
After purchasing your replacement fan net, proper installation is key to ensuring it performs its safety function effectively. Carefully stretch the net over the front of the fan cage, pulling the elastic or drawstring tightly around the back rim. Ensure that the fabric is evenly distributed across the surface and that there are no loose folds or sagging areas that could drift into the path of the blades.
Secure all attachment points, whether they are plastic clips, drawstring toggles, or integrated ties. If you are using a drawstring net, tie the excess cord into a secure knot and tuck it safely out of reach behind the fan motor housing. This prevents toddlers from pulling on the loose strings, which could untie the net or create a strangulation hazard.
Before plugging the fan back in, manually spin the blades with your hand to verify there is no contact between the blades and the net. Once you confirm the clearance is clear, plug in the fan and turn it on to its lowest speed setting. Observe the fan closely for any unusual vibrations, buzzing sounds, or signs of the net shifting due to the airflow.
Test the fan’s oscillation function through its full range of motion to ensure the net does not catch on the stand, base, or nearby furniture. Finally, establish a weekly routine to inspect the fan net for signs of wear, dust accumulation, or loose fittings. Over time, dust can clog the fine mesh, reducing airflow and straining the motor, so regular washing or vacuuming of the net is essential for both safety and performance.
Frequently Asked Questions (FAQ)
Can I use a universal fan net for any fan model?
Universal fan nets are highly versatile, but they are not compatible with every fan design on the market. These nets typically rely on elastic bands or adjustable drawstrings to grip the outer rim of the cage, which works well on standard circular pedestal and table fans. However, if your fan has an unusual square shape, a bladeless design, or an exceptionally thick outer frame, a universal net may not stretch properly or stay securely in place. Always check the manufacturer’s specified diameter range and rim compatibility before attempting to install a universal net on a non-standard fan.
What should I do if my fan has an unusual shape or missing parts?
If your fan features an unusual geometric shape or is missing structural parts like the original grill clips, do not attempt to force a standard net to fit. Using a poorly fitted net on a damaged fan cage compromises child safety and can lead to mechanical failure. Instead, contact the original fan manufacturer to source model-specific replacement parts or a dedicated safety guard. If the structural integrity of the fan cage is compromised and cannot be safely repaired, discontinue using the fan in areas accessible to children to prevent any risk of injury.
Community discussion
Share your experience or ask a question. Comments are reviewed before publication.