
To find your correct Maymom flange size, you must measure the diameter of your nipple base in millimeters (excluding the areola) before a pumping session, and then select the corresponding flange size according to the manufacturer’s official guidelines. Typically, this process involves adding 1 to 3 millimeters to your raw measurement to allow for natural tissue expansion under vacuum, though your specific tissue elasticity will guide the final choice.
Using an incorrectly sized flange can lead to discomfort, low milk output, and tissue damage. Taking a few minutes to measure accurately ensures a more comfortable and efficient expression experience, helping you get the most out of your breastfeeding journey.
Why the Right Maymom Flange Size Matters
Breast pumping should never be a painful experience. The mechanism of a breast pump relies on a delicate balance of vacuum and compression to draw milk from the breasts. When you use a flange with the correct tunnel diameter, the pump vacuum pulls the nipple cleanly into the center of the tunnel without excessive friction, allowing the milk ducts to compress and release milk naturally.
Products mentioned in this guide
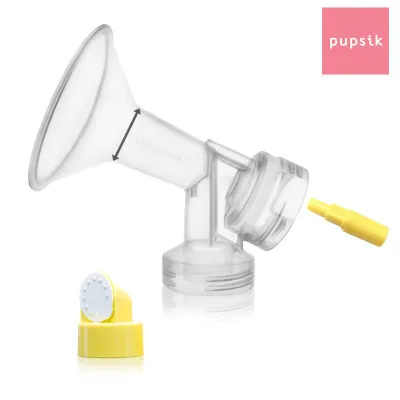
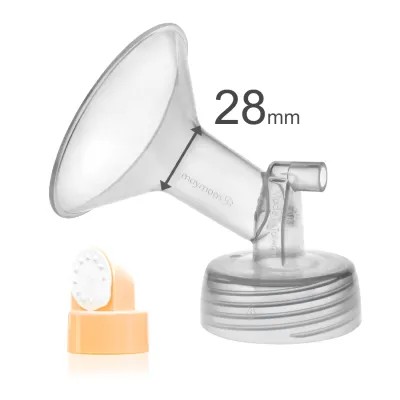
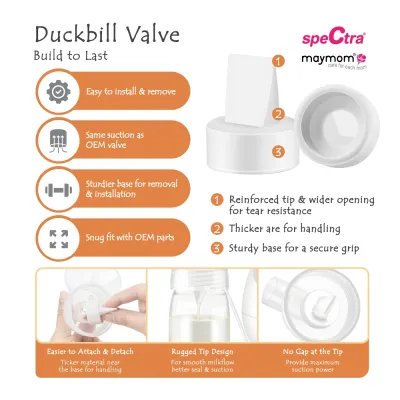
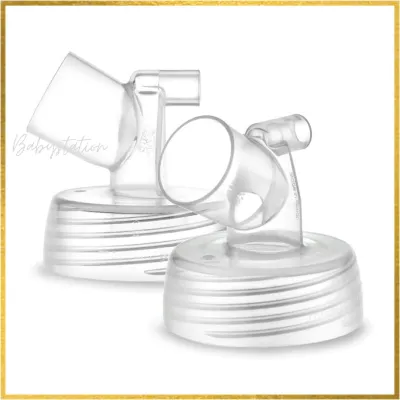
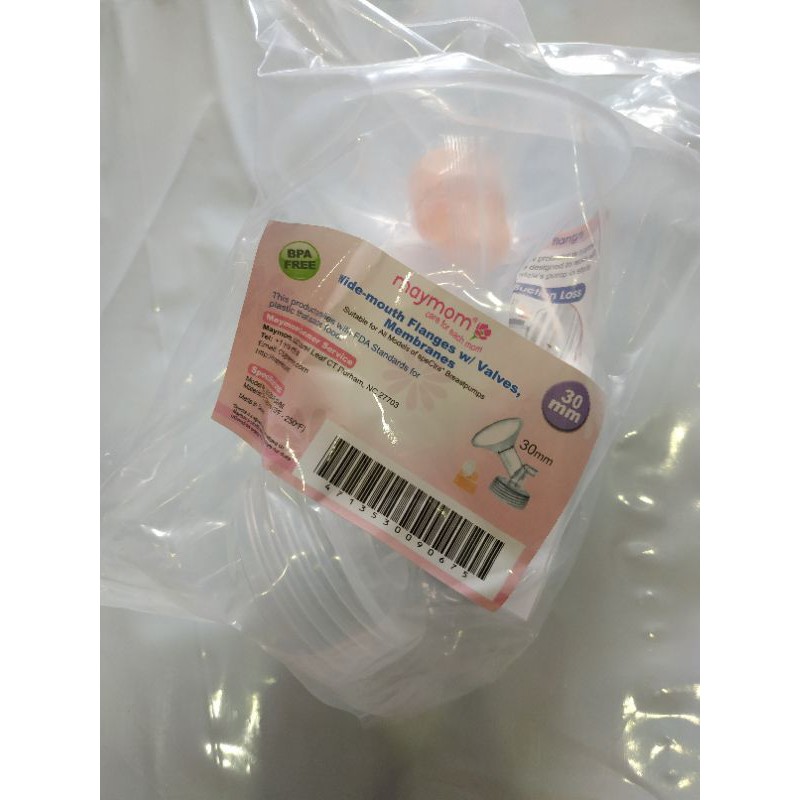
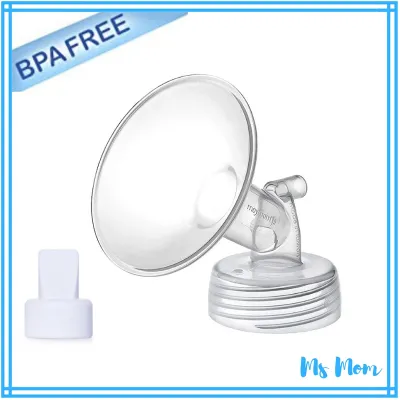
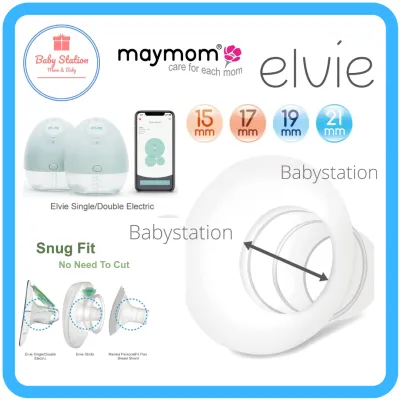
Prices are valid at publication and may change. Please refer to the product page for the latest price.
Using an ill-fitting flange can lead to several physical complications. If the tunnel is too narrow, the constant friction can cause nipple grazing, severe pain, blistering, and swelling (edema). Conversely, if the tunnel is too wide, the vacuum will draw excessive areola tissue into the flange. This blocks the milk ducts located just beneath the areola, restricting milk flow, leaving the breasts feeling full after pumping, and increasing the risk of blocked ducts or mastitis.
Standard breast pump manufacturers typically pack only one or two default flange sizes (usually 24 mm or 28 mm) in their retail boxes. However, maternal anatomy varies widely, and many mothers require much smaller or larger sizes for a safe fit. Maymom specializes in producing third-party compatible pump parts with highly granular, incremental sizing options. Because they offer specialized sizes ranging from 13 mm up to 36 mm, obtaining an accurate millimeter measurement is essential to leverage their precise design and restore comfort to your pumping sessions.
Tools and Timing: Preparing to Measure
Gathering the correct tools before you begin is the first step toward an accurate measurement. A standard household tape measure or a rigid construction ruler is often difficult to position correctly against the breast, which can lead to reading errors. Instead, look for specialized measuring tools designed specifically for postpartum use.

Recommended Measuring Tools
- Nipple Ruler: A circular sizing tool, often made of flexible plastic or silicone, featuring pre-cut circular holes of varying millimeter diameters. This is the most accurate tool because you can physically place your nipple into the holes to find the perfect fit.
- Flexible Sewing Tape Measure: A soft, fabric-based measuring tape that conforms easily to the curves of the breast.
- Printable Sizing Guide: A paper template provided by manufacturers that you can download and print. If you use a printable guide, always verify that your printer settings are set to "Actual Size" or "100% Scale." You can check the scale accuracy by placing a physical coin, such as a Singapore 1-dollar coin, over the printed reference scale before taking your measurement.
Timing is equally critical when measuring your nipples. For the most reliable baseline, measure your nipples when they are in a resting, non-swollen state before you begin a pumping session or breastfeed your baby. Measuring immediately after pumping or nursing will yield an inflated measurement because the physical suction temporarily engorges and stretches the tissue.
Ensure you perform the measurement in a well-lit room. Standing directly in front of a clear mirror allows you to look straight down at the profile of your breast, reducing perspective distortion and helping you position your measuring tool accurately at the base of the nipple.
Step-by-Step: Measuring Your Nipple Diameter
Taking a precise measurement requires focusing strictly on the projecting nipple tissue while ignoring the surrounding breast structures. Following a methodical process prevents the most common sizing mistakes.
Locating and Measuring the Nipple Base
To find the correct starting point, look closely at where your nipple rises from the flatter, darker skin of the areola. The junction where the base of the nipple meets the areola is the exact area you need to measure. This is the widest part of the nipple that must enter the flange tunnel.
If you are using a flexible measuring tape, hold it horizontally across the center of your nipple. Measure the diameter from the left edge of the nipple base to the right edge of the nipple base in millimeters. Do not round your measurement to the nearest centimeter, as breast pump sizing relies on millimeter-level precision.
If you are using a circular nipple ruler, gently place the ruler over your nipple, testing different circular cutouts. The correct circle is the smallest hole that fits completely over the base of your nipple without compressing, pinching, or pushing the tissue back.
Avoid including any portion of the surrounding areola in your measurement. Including the areola is the single most common error in breast pump fitting. It results in selecting a flange that is far too large, which will pull your delicate areola tissue into the tunnel during pumping, causing friction and swelling.
Factoring in Tissue Elasticity and Swelling
Your breast tissue is highly dynamic and changes in response to hormonal shifts, fluid retention, and the physical pull of a breast pump. During the early postpartum weeks, your breasts may experience normal physiological swelling, which gradually subsides as your milk supply stabilizes.
Some mothers have highly elastic breast tissue. Elastic skin stretches very easily under the vacuum of a breast pump, often pulling the nipple deep into the flange tunnel regardless of its resting size. If your tissue is highly elastic, your nipples may expand significantly during a pumping session, filling the tunnel and pulling in the areola even if your initial measurement seemed correct.
If you suspect you have elastic tissue, your measurement acts as a starting baseline, but you may need to adjust your size choice or use specialized silicone inserts. Observing how your tissue behaves under vacuum is the only way to determine if elasticity is affecting your fit.
Choosing Your Maymom Size from the Official Chart
Once you have recorded your resting nipple base measurement in millimeters, you are ready to select your corresponding Maymom flange size. Do not assume that your flange size matches your raw measurement exactly; the flange tunnel must be slightly larger than your nipple to allow room for movement.
Consult the official Maymom flange sizing chart, which is available on the manufacturer’s website or printed on the product packaging. Maymom’s sizing guidelines generally recommend adding a small margin of 1 to 3 mm to your resting nipple measurement. This extra space ensures that as the pump vacuum cycles, your nipple can move freely forward and backward within the tunnel without rubbing against the plastic walls.
For example, if your resting nipple base measures 17 mm, adding a typical 2 mm margin suggests starting with a 19 mm Maymom flange. If your nipple base measures 21 mm, a 23 mm or 24 mm flange is often the recommended starting point. However, you must always refer directly to the manufacturer’s specific instructions for your chosen pump model, as different pump designs and vacuum patterns can influence the ideal sizing calculation.
Because Maymom provides incremental, single-millimeter sizing options (such as 15 mm, 17 mm, 19 mm, and 21 mm), you do not have to settle for a generic size that is “close enough.” Take advantage of these precise increments to match your physical measurements as closely as possible.
Verifying the Fit: What to Look for While Pumping
An accurate physical measurement is an excellent starting point, but the ultimate test of a correct fit occurs while the breast pump is actively running. You must observe both the visual behavior of your tissue and the physical sensations you experience during a session.
Visual Cues of a Correct Fit
- The nipple moves freely back and forth along the center of the flange tunnel.
- The sides of the nipple do not rub or scrape against the plastic walls of the tunnel.
- No areola, or only a very minimal, negligible ring of areola tissue, is drawn into the tunnel.
- The breast tissue releases milk evenly, and the breast feels noticeably softer and lighter after pumping.
Physical Sensations of a Correct Fit
- You feel a firm, rhythmic tugging or pulling sensation, but no sharp pain, pinching, or burning.
- Your nipples do not feel sore, raw, or damaged after a standard 15-to-20-minute pumping session.
- Your milk let-down occurs promptly, and milk flows consistently.
Red Flags That the Flange is Too Large
- A significant portion of your areola is pulled deep into the flange tunnel.
- Your breast tissue bounces or shakes violently with each suction cycle.
- You experience weak suction or a frequent loss of vacuum seal because air leaks around the loose fit.
- Milk pools inside the flange tunnel rather than draining smoothly into the collection bottle.
Red Flags That the Flange is Too Small
- Your nipple rubs tightly against the walls of the tunnel, causing friction, heat, or chafing.
- The tip of your nipple turns white (blanching) or purple during or immediately after pumping, indicating restricted blood flow.
- You feel sharp, pinching pain from the moment the pump starts.
- Your breasts remain hard, lumpy, or full after pumping because the tight tunnel compresses your milk ducts and restricts milk flow.
When to Resize or Consult a Lactation Professional
If you experience persistent pain, bleeding, cracked skin, blisters, or severe swelling, stop pumping immediately. Pumping through severe pain can cause long-term damage to your breast tissue and may negatively impact your milk supply. Reassess your measurements and verify that you are using the correct size before attempting to pump again.
If you struggle to find a comfortable fit, experience recurring blocked ducts, or suspect your milk output is lower than expected, consider consulting an International Board Certified Lactation Consultant (IBCLC) or visiting a lactation clinic at a major healthcare facility in Singapore. A qualified professional can provide hands-on fitting support, evaluate your pumping technique, and help address underlying breastfeeding or pumping challenges.
Keep in mind that your flange size is not permanent. Your nipple size can change multiple times throughout your breastfeeding journey. It is common to size down a few weeks postpartum as localized tissue swelling subsides, or to require a different size if your pumping frequency changes. Re-measure your nipples periodically to ensure your equipment continues to support your comfort and milk expression needs.
Frequently Asked Questions (FAQ)
Should I measure before or after pumping?
Always measure your nipples before you begin a pumping session or breastfeed your baby. Pumping and nursing cause temporary fluid retention, engorgement, and stretching, which will make your nipples appear larger than their natural resting state. Measuring swollen tissue can lead to purchasing a flange that is too large, which will not provide proper support once the temporary swelling subsides.
What if my left and right breasts need different flange sizes?
It is very common for a mother’s left and right nipples to have different measurements. If your measurements differ, do not try to compromise with a single middle size. Instead, purchase the specific Maymom flange size required for each breast. Using different sizes tailored to each side ensures optimal comfort, prevents tissue damage, and helps maximize milk output from both breasts.
Can I use standard breast pump flanges with Maymom sizing?
Maymom manufactures flanges and inserts designed to be compatible with major breast pump brands. However, compatibility is highly specific to the exact make and model of your pump motor, tubing, and backflow protectors. Always check the manufacturer’s official compatibility guides and product descriptions to verify that the Maymom parts you select are fully supported by your specific breast pump system before making a purchase.
Community discussion
Share your experience or ask a question. Comments are reviewed before publication.