
To measure and choose the correct breast pump flange size, you must determine the diameter of your nipple base in millimeters and add a margin of 2 to 4 millimeters to find your corresponding flange tunnel size. A flange that fits properly ensures efficient milk expression and prevents painful friction or tissue damage. Because breast anatomy is unique and changes over time, relying on precise measurements rather than visual guesswork is essential for a comfortable and successful pumping journey. Taking the time to find your correct fit will optimize your daily pumping routine, protect your breast health, and support your lactation goals.
Why Flange Size Matters for Comfort and Milk Output
The breast pump flange—the funnel-shaped plastic or silicone piece that contacts your breast—acts as the critical interface between your body and the pump’s vacuum mechanism. When this component is sized incorrectly, the vacuum cannot distribute pressure evenly across the breast tissue. This imbalance often leads to inefficient milk expression, prolonged pumping sessions, and physical discomfort.
Using a flange that is too small restricts the natural movement of the nipple during the suction cycle. As the pump pulls the nipple into the narrow tunnel, the sides of the nipple rub against the plastic walls, causing friction, chafing, and skin grazing. This localized compression can block the milk ducts located near the base of the nipple, preventing complete breast emptying and increasing the risk of painful complications such as mastitis or plugged ducts.
Products mentioned in this guide
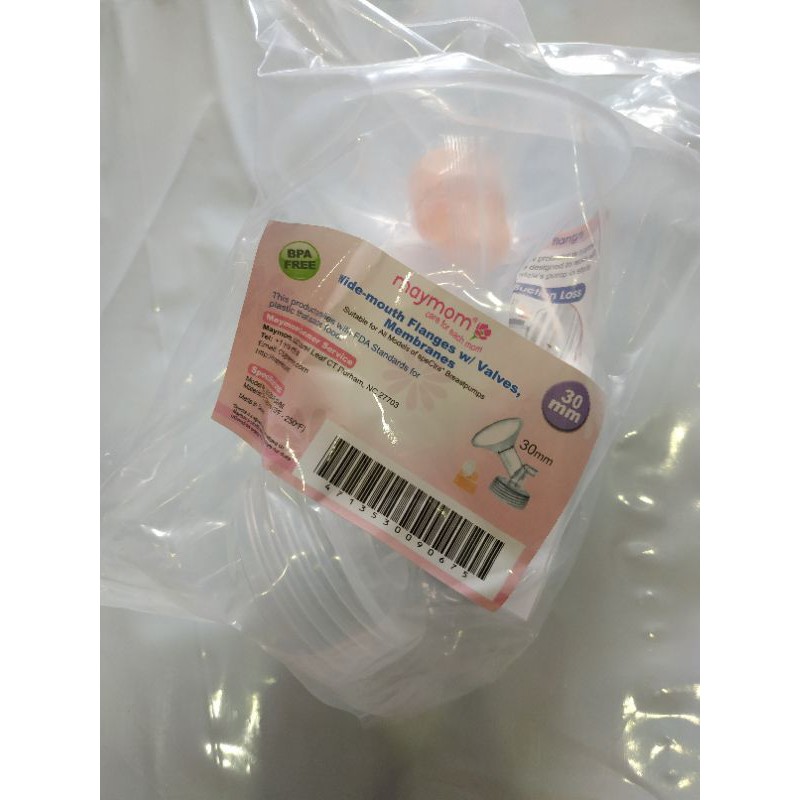
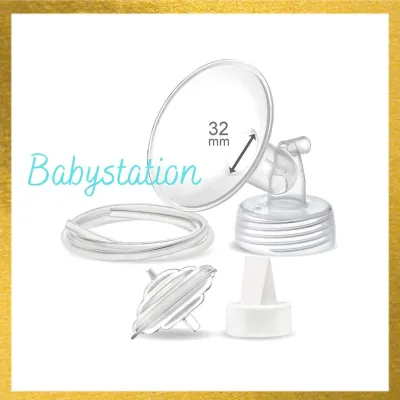
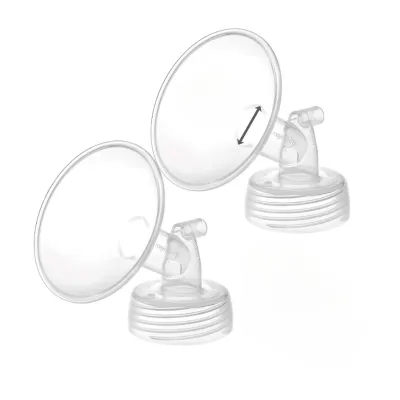
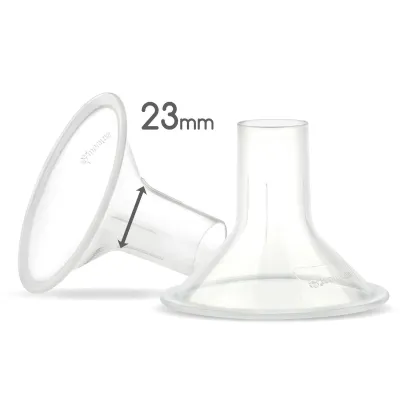
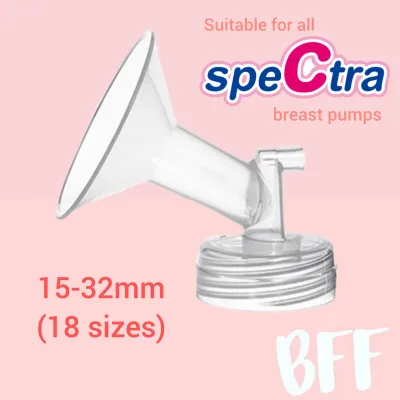
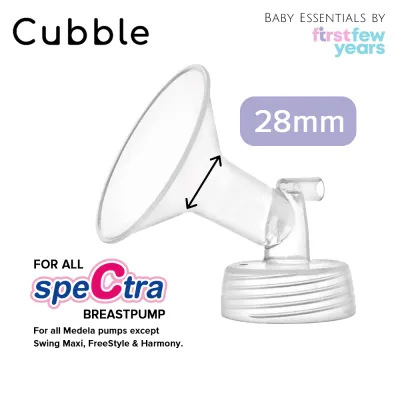
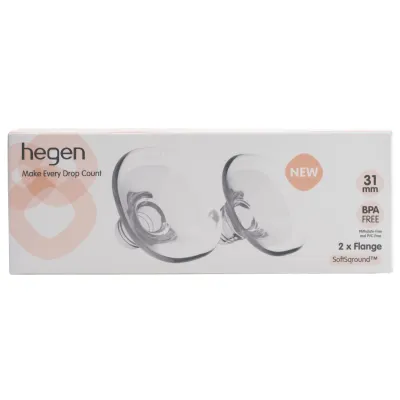
![[5 Sizes] Hegen SoftSqround Flange Pack Of 2 For Breast Pump](https://img.lazcdn.com/g/p/8ac938c71b5da06b5c9afc9933f46a90.png_400x400q80.png_.webp)
Prices are valid at publication and may change. Please refer to the product page for the latest price.
Conversely, a flange that is too large allows the vacuum to pull too much of the sensitive areola tissue into the tunnel alongside the nipple. This excessive pulling can cause the areola to swell, which pinches the milk ducts and restricts milk flow. The constant stretching of areola tissue often leads to bruising, fluid retention, and a significant reduction in suction efficiency, meaning you must pump longer to obtain less milk.
A correct fit balances these forces perfectly. When the flange is sized accurately, the nipple moves freely in and out of the tunnel without rubbing, and only a minimal amount of the areola is drawn inside. This alignment stimulates the milk-ejection reflex naturally, ensures the breast is emptied thoroughly, and maintains tissue integrity without causing pain, soreness, or long-term damage.
Tools Needed for Accurate Nipple Measurement
Obtaining an accurate measurement requires specific tools that can capture small variations in millimeters. A standard household tape measure is often too flexible and inaccurate for this task. Instead, you should prepare a clear, rigid ruler with distinct millimeter markings, or a specialized nipple measuring card.

A nipple measuring card is a plastic or paper tool featuring a series of circular cutouts labeled with millimeter sizes. Many major breast pump brands offer downloadable, printable versions of these templates on their official websites, or include physical cards within their packaging. If you print a template, verify that the print scale is set to 100 percent by comparing a physical ruler against the calibration line printed on the page.
To perform the measurement accurately, set up your space with bright, direct lighting and a clear mirror. Good visibility is crucial for aligning the measuring tool precisely with the boundaries of the nipple tissue.
Additionally, timing plays a significant role in your measurement. Your nipples should be in their natural, unstimulated state before you begin. Because temperature and physical contact can cause the nipple to contract or expand, avoid measuring immediately after nursing, pumping, or taking a warm shower. Always consult your specific pump manufacturer’s guidelines, as some brands recommend measuring before a pumping session, while others provide sizing charts based on post-pumping dimensions when the tissue is fully expanded.
Step-by-Step Guide to Measuring Your Nipple
Measuring your nipple requires a methodical approach to ensure you do not include the surrounding areola in your final calculation. Follow these steps to obtain a precise measurement:
Step 1: Prepare the breast Sit comfortably in a well-lit room in front of a mirror. Ensure your breasts are clean, dry, and free of any topical creams or ointments. Allow the nipples to rest in a neutral, unstimulated state for at least 15 to 30 minutes after any nursing or pumping activity. If the nipple is cold or contracted, wait for it to soften to its natural state.
Step 2: Position the tool If you are using a rigid ruler, hold it horizontally across the front of your breast. Align the zero mark of the ruler with the exact boundary where the left edge of your nipple meets the darker skin of the areola. If you are using a circular measuring tool, slide the circular openings over your nipple one by one until you find the smallest circle that fits comfortably around the base of the nipple without compressing or pinching the tissue.
Step 3: Measure the diameter Look directly at the ruler or measuring tool in the mirror to avoid parallax error, which occurs when viewing a measurement from an angle. Measure the width of the nipple base from side to side in millimeters. Do not include any part of the surrounding areola or the transition zone where the skin begins to flatten out. Write down this exact number.
Step 4: Measure both sides Repeat the entire process for your other breast. Physical asymmetry is highly common, and many individuals find that their left and right nipples differ in diameter by several millimeters. Recording both measurements independently ensures you can select the correct size for each side rather than assuming a single size will fit both.
Avoid estimating your flange size based on your bra cup size, body weight, or visual comparisons. There is no correlation between the size of your breasts and the diameter of your nipples. A person with a larger cup size may require a small flange, while someone with a smaller cup size may require a larger one. Precise millimeter measurements are the only safe way to determine your starting size.
How to Translate Your Measurement Into a Flange Size
Once you have recorded your nipple diameter in millimeters, you must convert this physical dimension into a commercial flange size. The tunnel of a breast pump flange should never be the exact same size as your nipple; it must be slightly larger to accommodate the natural expansion and movement that occurs under vacuum pressure.
To determine your flange size, add a sizing margin to your base nipple measurement. As a general guideline, most manufacturers recommend adding 2 to 4 millimeters to your measured nipple diameter. For example, if your nipple base measures 17 mm, adding a 3 mm margin suggests a starting flange size of 20 mm. If your measurement falls between standard commercial sizes, it is generally safer to choose the larger size first to prevent friction.
Always consult the official sizing chart of your specific breast pump brand via their website or product manual. Different manufacturers use slightly different sizing scales and recommend different margins. For instance, some brands design their pumps to work with a tighter fit, while others require a wider margin to optimize their specific vacuum cycle.
You will also need to choose between rigid plastic flanges and flexible silicone inserts or cushions. Rigid plastic flanges are durable and easy to clean, but some users prefer the soft texture of silicone. If you choose to use a silicone insert—which slides inside a standard plastic flange to reduce its diameter—be aware that the material’s flexibility can alter the fit. Some silicone brands require a smaller sizing margin because the material compresses slightly under vacuum. Always check the packaging or the manufacturer’s official online store descriptions to confirm the exact millimeter diameter of both the outer flange and the inner insert before purchasing. In Singapore, replacement flanges and silicone inserts typically range from S$10 to S$40 depending on the brand and material.
How to Verify the Fit and Spot Warning Signs During Pumping
While physical measurements provide a reliable starting point, verifying the fit in real-time during an active pumping session is the most critical step. Observing how your breast tissue behaves under vacuum pressure allows you to make necessary adjustments before discomfort or injury occurs.
Visual checks during pumping Turn on your pump to a low, comfortable vacuum setting and observe the movement of your nipple inside the flange tunnel. A properly fitting flange will display the following visual indicators:
- The nipple moves freely back and forth along the center of the tunnel.
- The sides of the nipple do not rub against the walls of the tunnel.
- No areola tissue, or only a minimal sliver (less than 1 to 2 mm), is drawn into the tunnel.
- The milk flows steadily without pooling inside the flange.
Physical sensations to monitor Pumping should never be painful. A correct fit produces a gentle, rhythmic pulling sensation across the breast tissue. If you feel a sharp pinching, burning, or scraping sensation on the nipple or areola, the flange size is likely incorrect.
Stop conditions and safety boundaries You must stop pumping immediately if you experience any of the following warning signs:
- Sharp, acute pain during or after a pumping session.
- Bleeding, cracked skin, or blisters on the nipple or areola.
- Blanching, where the tip of the nipple turns white or blue during or after pumping, indicating restricted blood flow.
- Severe swelling, redness, or deep red rings left on the breast skin after removing the flange.
If you observe these warning signs, discontinue use of that specific flange size immediately. Check the manufacturer’s care and usage instructions to ensure the pump is assembled correctly and the vacuum level is not set too high. If pain, skin damage, or reduced milk output persists after adjusting your flange size, do not attempt to force through the discomfort. Consult an International Board Certified Lactation Consultant (IBCLC) or a qualified healthcare professional in Singapore to receive personalized clinical guidance and prevent long-term tissue damage.
When to Remeasure and Adjust Your Flange Size
Your breast pump flange size is not a permanent specification. Breast and nipple tissues are highly dynamic, changing in response to hormonal shifts, fluid retention, and physical adaptation throughout your postpartum and breastfeeding journey.
In the first few weeks following childbirth, your breasts may experience significant postpartum swelling and engorgement. As this initial swelling subsides, your nipple diameter may decrease, requiring you to transition to a smaller flange size. Conversely, regular pumping can sometimes cause the nipple tissue to stretch or expand over time, requiring a larger size after several months of consistent use.
Other common triggers for size changes include:
- Significant changes in your pumping frequency or schedule.
- Gradual weight loss or weight gain postpartum.
- Hormonal fluctuations associated with the return of your menstrual cycle.
- The natural weaning process as your milk supply adjusts.
We recommend remeasuring your nipples periodically—such as every four to six weeks—or immediately if you notice a sudden drop in milk output, incomplete breast emptying, or a new sensation of discomfort during your usual pumping routine. Keeping a few different sizes of flanges or silicone inserts on hand can be highly beneficial during these transitional phases, allowing you to swap sizes quickly as your body adapts.
Frequently Asked Questions (FAQ)
Can I use the same flange size for both breasts?
It is very common to have asymmetrical breasts and nipples. You should always measure both nipples independently. If your measurements differ, you should purchase and use different flange sizes for each breast. Using a single size for asymmetrical breasts can lead to under-expression on one side and tissue friction on the other. Many local retailers and official brand stores in Singapore sell flanges individually or in pairs of mixed sizes to accommodate this common need.
Do silicone flanges fit differently than plastic ones?
Yes, silicone flanges and inserts behave differently than rigid plastic under vacuum pressure. Because silicone is flexible and compresses slightly, it tends to grip the skin more firmly, which can prevent the nipple from sliding as easily as it would against smooth plastic. Some manufacturers recommend sizing up by 1 to 2 millimeters when using silicone cushions to prevent excess friction, while other brands design their silicone inserts to be sized exactly to your nipple diameter. Always refer to the specific brand’s sizing guide when switching materials.

Community discussion
Share your experience or ask a question. Comments are reviewed before publication.