
Introducing a chamber pot—commonly known as a toddler potty chair—is a major milestone that requires patience, consistency, and a clear understanding of your child’s developmental pace. Rather than rushing the process based on age, a successful transition focuses on building comfort and confidence. By breaking the introduction down into manageable, low-pressure phases, you can help your toddler transition away from diapers while fostering their growing independence.
Recognizing Readiness Signs Before Introducing the Chamber Pot
Before purchasing a chamber pot, evaluate whether your toddler is physically, cognitively, and emotionally prepared. Starting too early often leads to prolonged training periods and frustration for both caregiver and child.
Physical readiness is the first foundation. Look for indicators such as your child staying dry for at least two consecutive hours during the day or waking up dry after a nap. This suggests increasing bladder capacity and developing sphincter control. Predictable, regular bowel movements also indicate that their digestive system is maturing.
Products mentioned in this guide
![[SG 🚚] 1000ml Unisex Adults Kids Urinal Chamber Pot Toilet Outdoor Camping Hiking Portable Mobile Toilet Urine Bottle Travel Suppllies](https://img.lazcdn.com/g/p/c27270c40b51e52d79d0d9c3994fe039.jpg_400x400q80.jpg_.webp)
Prices are valid at publication and may change. Please refer to the product page for the latest price.
Cognitive and behavioral cues are equally critical. Your child may show interest in the bathroom, watch family members use the toilet, or communicate their need to eliminate through words or gestures like squatting. The ability to follow simple, two-step instructions is another strong indicator that they can comprehend the steps required.
Even with these signs, certain situations warrant delaying training. Major life disruptions can temporarily reduce a child’s emotional security. If your family is currently navigating a home relocation, welcoming a new sibling, transitioning to a new childcare center, or dealing with an illness, it is best to postpone potty training to avoid negative associations.
Preparing Your Toddler and the Environment
Creating a supportive physical and emotional environment sets the stage for a smooth transition, making the chamber pot feel like a natural addition to daily life.

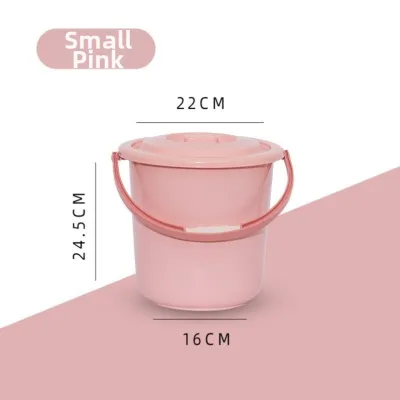
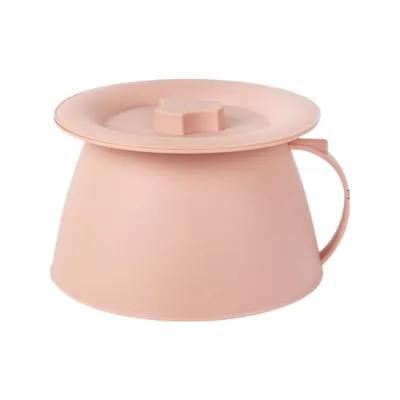
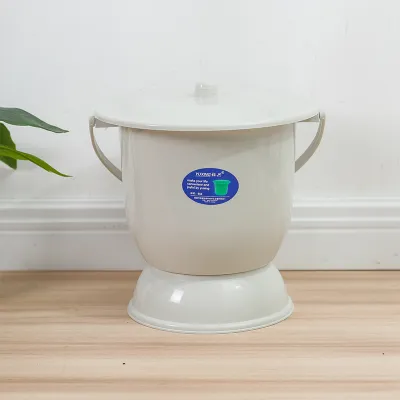
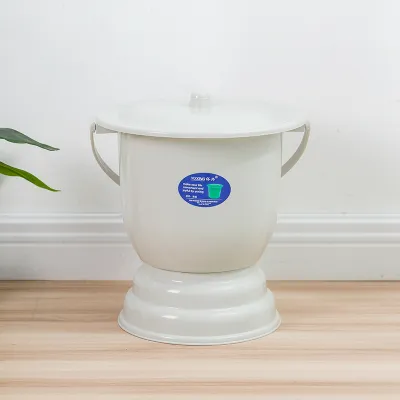
Selecting the right chamber pot is your first practical step. Look for a stable potty chair that allows your toddler’s feet to rest flat on the floor, providing the physical leverage needed for comfortable elimination. Check the manufacturer’s specifications for weight capacity, base stability, and slip-resistant features to ensure safety.
Location is key to establishing a reliable routine. Place the chamber pot in a consistent, easily accessible spot where your child spends most of their time. While the bathroom is the ultimate destination, placing the pot in a play area during the initial days can make it much easier to reach.
Mentally preparing your toddler involves normalizing the concept of using a potty without applying pressure. Read age-appropriate picture books together that explain the process in simple terms. You can also demonstrate the concept using your child’s favorite stuffed toy, using clear, neutral language to explain what the pot is for.
Step-by-Step Routine for Introducing the Chamber Pot
Transitioning from diapers to a chamber pot is most successful when treated as a gradual journey. A phased approach allows your child to master one small skill at a time in a relaxed, low-pressure atmosphere.
Phase 1: Familiarization and Observation
The initial phase is entirely about building comfort and removing fear. Begin by inviting your toddler to sit on the chamber pot fully clothed or wearing only a diaper. This helps them get used to the physical sensation of the seat without the pressure of having to produce results.
Simultaneously, start observing your child’s natural elimination patterns. Keep a simple mental log of when they tend to wet or soil their diapers, such as immediately after waking up or shortly after a meal, to help schedule successful potty sits later.
Never force your child to sit on the pot if they refuse or cry. Forcing compliance can trigger a power struggle and create a lasting aversion. If they show resistance, calmly put the pot aside and try again a few days later.
Phase 2: Practice Runs and Positive Reinforcement
Once your child is comfortable sitting on the pot, begin scheduling brief, routine practice runs that align with their natural bodily rhythms. Invite them to sit on the potty with their diaper off during high-probability times, keeping these sits brief—usually no longer than three to five minutes.
When your child successfully uses the chamber pot, offer immediate, specific, and effort-based praise. Focus on their actions rather than showering them with excessive excitement or material rewards. Saying, “You listened to your body and put your pee in the potty, great job!” builds intrinsic motivation.
To help your child connect the physical sensation of elimination with the potty, consider transitioning them to cotton training pants during the day. Unlike highly absorbent disposable diapers, training pants allow your child to feel wetness immediately, helping them recognize when they need to head to the potty.
Phase 3: Building Consistency and Independence
As your child begins to understand the purpose of the chamber pot, focus on establishing a reliable daily routine. Teach your toddler simple, consistent words or gestures to communicate their physical needs, such as “potty” or “pee,” so they have the vocabulary to advocate for themselves.
Incorporate basic hygiene habits into the potty routine from the very beginning. Even if the potty sit was unsuccessful, always guide your child through wiping, pulling up their pants, and washing their hands with soap. Involving them in these steps fosters a sense of ownership and pride.
Consistency across all caregivers is vital for long-term success. Ensure that grandparents, babysitters, and childcare educators are all using the same terminology and routines. A unified approach prevents confusion and helps your child generalize their new skills.
Handling Common Challenges and Setbacks
Potty training is rarely a perfectly linear process, and setbacks are normal. Expecting and preparing for these challenges will help you maintain your composure and support your child effectively.
Accidents will happen, and how you respond is crucial. When your child wets or soils their clothes, respond calmly and neutrally without showing frustration. Avoid any form of punishment or shaming, which can make your child anxious and lead to withholding behaviors. Simply say, “You had an accident, and that is okay. Let’s clean up and try to put the pee in the potty next time.”
Regressions are common and are often triggered by external factors like changes in routine, family stress, or physical discomfort. If you notice a regression, take a step back to identify potential stressors, offer extra comfort, and gently reintroduce the basic steps without pressure.
If your child exhibits severe distress, screams at the sight of the chamber pot, or begins withholding their bowel movements, pause the training. Withholding stool can lead to painful constipation. If these behaviors persist, temporarily return to diapers, wait a few weeks, and consult a pediatrician.
Cleaning and Maintaining the Chamber Pot Safely
Maintaining excellent hygiene is essential when using a standalone chamber pot to prevent unpleasant odors and bacterial growth. Establishing a quick, safe cleaning routine ensures the potty remains sanitary.
Always dispose of waste immediately after your child uses the chamber pot. Empty the contents directly into your household toilet and flush. Avoid leaving waste in the pot, as this quickly leads to lingering odors.
Clean the chamber pot thoroughly after each use using warm water and a mild, child-safe detergent. Avoid using harsh chemical cleaners or bleach, as residues left on the seat can easily irritate your toddler’s sensitive skin. For a deeper weekly clean, rinse the pot thoroughly and let it air dry.
Regularly inspect the chamber pot for structural integrity and safety. Check the plastic for any hairline cracks, rough edges, or worn-out non-slip pads on the base. Cracks can harbor bacteria and pose a pinch risk. If you notice any damage, replace the pot immediately.
Frequently Asked Questions (FAQ)
At what age should I introduce a chamber pot?
There is no single correct age to introduce a chamber pot, as readiness is entirely dependent on your child’s individual physical and cognitive development. While many children show interest and readiness signs between 18 months and 3 years of age, some may be ready earlier or later. Focus on observing key milestones—such as staying dry for long periods and communicating physical needs—rather than adhering to a strict chronological timeline.
Should I use a standalone chamber pot or a toilet seat reducer?
The choice between a standalone chamber pot and a toilet seat reducer depends on your child’s comfort and your bathroom setup. A standalone chamber pot is highly recommended for beginners because its low height allows toddlers to sit with their feet flat on the floor, providing optimal stability and physical leverage for bowel movements. A toilet seat reducer, which fits over a standard toilet, is excellent for saving space but requires a sturdy step stool so your child can climb up safely. Many parents find success by starting with a standalone pot and introducing the seat reducer later.
Community discussion
Share your experience or ask a question. Comments are reviewed before publication.