
Securing your home with a reliable child safety lock is one of the most effective ways to protect curious toddlers as they begin to crawl, stand, and explore. However, many parents worry that baby-proofing will leave permanent scars on their expensive kitchen cabinets, custom wardrobes, or rental property furniture. The good news is that you can achieve a highly secure, baby-safe environment without sacrificing your home’s aesthetic or damaging delicate finishes.
Successfully installing cabinet locks requires matching the right locking mechanism to your specific furniture material, preparing the surfaces correctly, and following a precise installation process. Whether you choose a drill-free adhesive option or a heavy-duty screw-mounted system, taking a methodical approach ensures the locks hold fast against determined little hands. In Singapore’s warm, humid climate, extra care must also be taken with adhesive curing to prevent premature failure.
Before purchasing any safety hardware, always check the manufacturer’s documentation to verify the recommended age range, weight limits, and specific methods of use. Remember that safety standards and product recalls are dynamic; always verify that your chosen brand complies with current safety regulations before installation.
Products mentioned in this guide
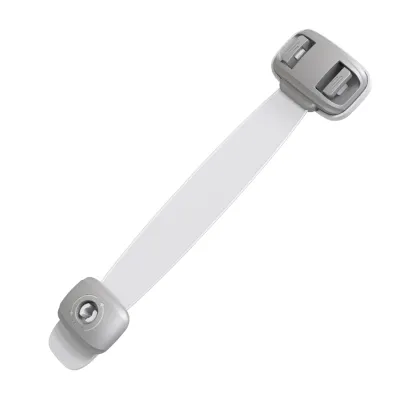
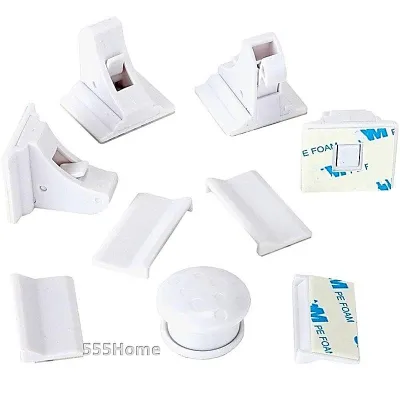

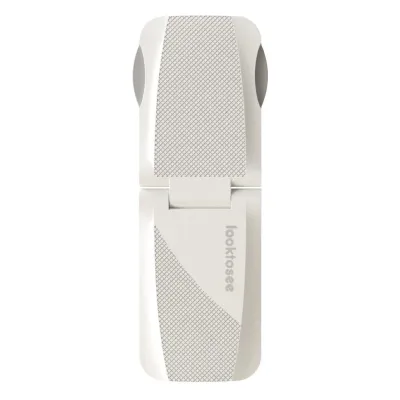
![[SG Local Stock] Baby Safety Lock Childrens Anti-pinch Safety Lock Catch Anti-collision Premium Safety Locks Self-adhesive Baby Safety Buckle For Cabinet Drawer Fridge Door Wardrobe Children Day Gifts](https://img.lazcdn.com/g/p/638abdf5a97199a85681991ebc624026.jpg_400x400q80.jpg_.webp)
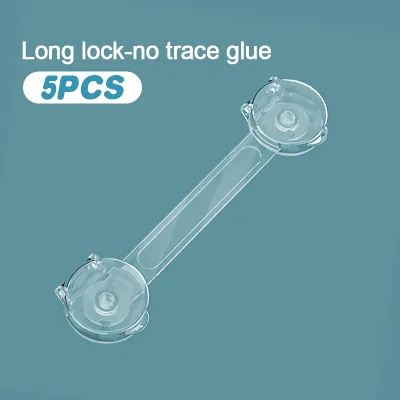
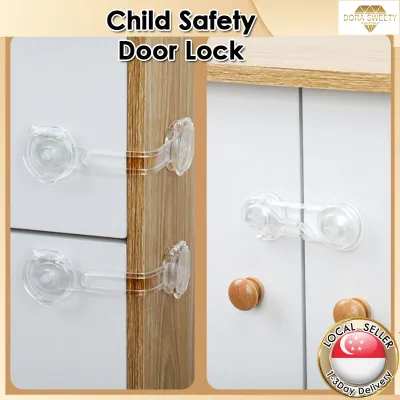
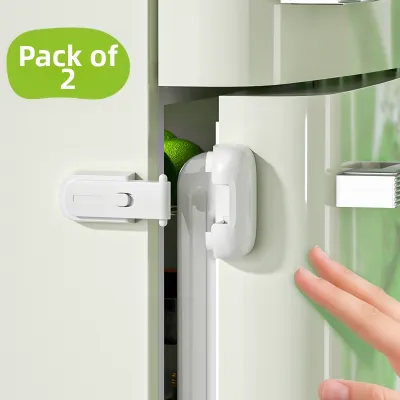
Prices are valid at publication and may change. Please refer to the product page for the latest price.
Preparing for Installation: Tools and Surface Checks
Choosing the right child safety lock begins with an evaluation of your cabinets and household needs. There are two primary categories of cabinet locks: adhesive (no-drill) locks and screw-mounted locks. Adhesive locks utilize heavy-duty pressure-sensitive tape to bond to the exterior or interior of the cabinet, making them an excellent choice for renters or those with high-gloss laminates and delicate wood veneers. Screw-mounted locks, on the other hand, provide a robust physical barrier ideal for heavy drawers, solid timber cabinets, and areas housing high-risk items like cleaning chemicals.
Before you begin, gather the necessary tools to ensure a smooth, uninterrupted installation process. Having everything on hand prevents errors and reduces the risk of accidental slips that could scratch your furniture.
Essential Installation Tools
- Microfiber cloth and rubbing alcohol (isopropyl alcohol): Essential for removing surface contaminants without leaving a soapy residue.
- Measuring tape and a pencil: Used for precise alignment and marking.
- Power drill with small drill bits: Required only for screw-mounted locks to create clean pilot holes.
- Masking tape: Useful for marking drill depths and temporarily holding parts in place.
- Hairdryer: Kept on hand for future safe adhesive removal.
Proper surface preparation is the single most critical factor in adhesive performance. Kitchen cabinets naturally accumulate a microscopic layer of cooking grease, airborne oils, household dust, and fingerprints over time. Adhesives cannot bond effectively to dirty surfaces, which often leads to the lock failing the first time a toddler pulls on it. Avoid using standard multi-purpose sprays or glass cleaners, as these products frequently leave behind a thin silicone or chemical film that actually repels adhesives.
Always consult your furniture manufacturer’s care instructions before applying any chemicals or heavy adhesives. Be aware that adhesive locks can damage delicate finishes upon removal, particularly untreated raw wood, antique veneers, or freshly painted surfaces that have not fully cured for at least four to six weeks. If you are dealing with high-value furniture, consider using internal magnetic locks that attach to hidden interior frames, minimizing visible surface wear.
Step-by-Step Guide for Adhesive Child Safety Locks
Adhesive locks are highly popular due to their versatility and non-invasive installation. To ensure these locks provide maximum security, you must follow a structured installation process that allows the chemical bond of the adhesive to reach its full strength.

Step 1: Positioning
Determine the optimal placement for both the lock body and the catch. For double-door cabinets, strap locks are often placed externally across the gap, while internal magnetic locks are positioned near the top corner opposite the hinges. Hold the lock in place and mock-test the door’s movement. Ensure there is enough clearance for the lock to engage fully without leaving a gap wide enough for small fingers to get pinched. Mark the exact boundaries of the adhesive pads lightly with a pencil.
Step 2: Surface Cleaning
Clean the marked areas thoroughly using a clean microfiber cloth dampened with rubbing alcohol. Rub the surface firmly to strip away any residual grease or wax. Allow the area to air-dry completely for several minutes. Because Singapore experiences high relative humidity, moisture can easily become trapped beneath the adhesive pad if the surface is not entirely dry, which will severely compromise the long-term bond.
Step 3: Applying the Adhesive
Peel the protective backing off the adhesive pad on the first component. Avoid touching the sticky surface with your fingers, as natural skin oils will degrade the adhesive’s properties. Align the component precisely with your pencil marks and press it onto the cabinet surface. Apply firm, continuous pressure with your thumb or the palm of your hand for at least 30 to 45 seconds to activate the pressure-sensitive adhesive. Repeat this process for the second component or catch.
Step 4: Curing Time
Do not test, pull, or engage the lock immediately after installation. Pressure-sensitive adhesives require a chemical curing window to flow into the microscopic pores of the cabinet surface and create a permanent bond. While some manufacturers state the lock is usable after a few hours, you should wait a minimum of 24 hours—and ideally 48 to 72 hours in humid environments—before subjecting the lock to any physical stress. Keep the cabinet doors slightly ajar or instruct family members not to touch them during this period.
Verification
Once the curing window has closed, perform a gentle verification check. Tug on the lock with light to moderate force to ensure the adhesive pads do not lift, peel, or shift at the edges. If you notice any lifting, the surface was likely not fully clean or dry, and the adhesive pad will need to be replaced.
Step-by-Step Guide for Screw-Mounted Child Safety Locks
For high-traffic cabinets or drawers containing potentially dangerous household items, screw-mounted locks offer a level of mechanical security that adhesives simply cannot match. Installing these locks correctly prevents common issues such as wood splitting, stripped screw holes, and misaligned latches.
Step 1: Marking and Alignment
Place the locking mechanism and its corresponding catch inside the cabinet in their closed, fully engaged position. Close the cabinet door slowly to ensure the parts align perfectly without rubbing or forcing the door out of alignment. Use a sharp pencil to mark the exact center of each screw hole on both the cabinet frame and the inside of the door. Double-check these marks with a measuring tape to ensure symmetry.
Step 2: Drilling Pilot Holes
Never drive screws directly into cabinet wood, medium-density fibreboard (MDF), or particleboard without drilling pilot holes first. Doing so creates immense outward pressure that can easily split solid timber or cause MDF to bulge and crack, permanently ruining the cabinet door. Select a drill bit that matches the inner shaft of the screw, excluding the threads. Wrap a piece of masking tape around the drill bit to mark the maximum safe depth, ensuring you do not accidentally drill completely through the face of the cabinet door.
Step 3: Securing the Hardware
Position the hardware over your pre-drilled pilot holes. Using a manual screwdriver is highly recommended for this step, as it gives you precise control over the torque. If you must use a power drill, set it to the lowest clutch setting. Tighten the screws until they are snug and flush against the plastic or metal bracket. Stop immediately once you feel resistance; over-tightening will strip the soft wood fibers or composite materials inside the hole, leaving the screw loose and unstable.
Step 4: Adjusting the Catch
Slowly close the cabinet door to test the lock’s operation. The latch should slide smoothly over the catch and click into place without requiring you to slam the door or pull with excessive force. Many screw-mounted locks feature elongated screw slots that allow for minor adjustments. If the door does not close flush, loosen the screws slightly, slide the hardware into the correct position, and re-tighten.
Stop Condition
If you begin drilling and encounter unexpected resistance, metal reinforcement frames, glass panels, or suspect there may be electrical wiring or plumbing pipes running through the cabinet wall, stop drilling immediately. Do not attempt to force the installation. Consult a qualified professional carpenter or handyman to complete the work safely.
How to Remove Cabinet Locks Safely Without Peeling Paint
When your child outgrows the need for cabinet locks, removing adhesive mounts without damaging the underlying paint, lacquer, or wood finish requires a patient, multi-step approach. Rushing this process is the primary cause of torn veneers and peeled paint.
The Heat Method Set a standard household hairdryer to a low or medium heat setting. Direct the warm air at the adhesive base of the safety lock for approximately 45 to 60 seconds. Keep the hairdryer moving constantly to avoid concentrating intense heat on one spot, which could scorch the wood or cause the cabinet paint to blister. The heat will soften the acrylic or foam adhesive tape, making it pliable and easier to shear.
The Cutting Method While the adhesive is still warm, take a length of unflavored dental floss or strong nylon fishing line. Slide the line behind the plastic base of the lock, keeping it flush against the cabinet surface. Using a gentle, steady back-and-forth sawing motion, slice through the softened foam tape. This physical separation prevents you from having to pry or pull the plastic mount directly off the cabinet, which is what typically rips away paint and wood fibers.
Residue Removal Once the lock body is removed, a sticky residue of foam and glue will remain on the cabinet. Apply a small amount of a gentle, furniture-safe adhesive remover, warm soapy water, or a natural oil (such as olive or coconut oil) to a clean microfiber cloth. Gently rub the sticky residue in circular motions. The glue will begin to ball up and lift away. Once clean, wipe the area with a damp cloth to remove any oily residue and dry it thoroughly with a towel.
Limitations & Warnings Be aware that removing adhesives from painted, lacquered, or delicate veneer surfaces always carries an inherent risk of minor finish damage. Before applying any chemical adhesive remover or natural oil to your cabinets, perform a spot test on an inconspicuous area, such as the inside of a cabinet door. This ensures the cleaning agent will not discolor, dissolve, or dull the cabinet’s protective topcoat.
Troubleshooting and Routine Maintenance
Even high-quality child safety locks require periodic maintenance to ensure they remain effective and do not cause damage to your cabinetry over time.
If an adhesive lock fails or begins to peel, do not attempt to re-stick the old adhesive pad. Instead, peel the old tape off entirely, clean both the cabinet surface and the lock bracket with rubbing alcohol, and apply a fresh piece of heavy-duty, furniture-safe double-sided mounting tape. If a lock repeatedly fails due to a child pulling on it with significant force, it may be time to transition to a screw-mounted lock or a magnetic system that is completely out of the child’s physical reach.
Regularly inspect all installed locks for signs of mechanical wear, plastic fatigue, or loose components. For screw-mounted options, check that the screws remain snug and have not begun to wiggle loose from the wood frame. Ensure that the locking mechanism springs back into its default locked position smoothly and that the cabinet hinges are not showing signs of strain from misaligned hardware.
Always remember that a child safety lock is designed as a helpful deterrent and is not a substitute for active adult supervision. No locking mechanism is completely infallible. Highly hazardous household items—including prescription medications, liquid laundry pods, harsh chemical cleaners, matches, and sharp kitchen knives—should always be stored in high-level wall cabinets completely out of your child’s reach and sight, regardless of whether those cabinets are locked.
Frequently Asked Questions (FAQ)
Can I install adhesive locks on glass or high-gloss cabinets?
Yes, but you must take specific precautions. While standard adhesives bond well to smooth glass, they can slip over time if exposed to grease, steam, or temperature fluctuations in kitchens. On high-gloss lacquered finishes, the bond can be so strong that removing the adhesive later may peel away the delicate clear coat or lacquer. Always verify compatibility with the lock manufacturer’s guidelines, or consider using internal magnetic locks that mount to the inside wooden frame rather than the exterior glossy surface.
How long must I wait before using a newly installed adhesive lock?
You should wait at least 24 hours, though 48 to 72 hours is highly recommended for the strongest possible bond. In Singapore’s tropical climate, high humidity can slow down the chemical curing process of pressure-sensitive adhesive tapes. Testing the lock or allowing a child to pull on it before the adhesive has fully cured will disrupt the bonding process, permanently weakening the hold and leading to premature failure of the safety device.
Community discussion
Share your experience or ask a question. Comments are reviewed before publication.