
Installing a fridge door lock is a highly effective way to childproof your kitchen and protect your curious toddler from potential hazards. To secure your refrigerator successfully, you must select an appropriate lock type, thoroughly clean the appliance surface, position the device out of your child’s reach, and allow the adhesive or mechanical components to set completely before use. Taking these steps prevents young children from accessing heavy glass jars, raw foods, or cleaning supplies often stored nearby, while preserving the integrity of your appliance. By establishing a reliable barrier, you can maintain a safer home environment without compromising the daily functionality of your kitchen.
Preparation and Tool Checklist
Before beginning the installation, gather all necessary supplies and review the specific manufacturer instructions. Different fridge door locks require distinct surface conditions to achieve a secure bond or mechanical hold. Read the product manual carefully to identify any specific material restrictions, such as compatibility with stainless steel, glass, or textured plastic finishes.
Preparation is particularly critical in warm, humid environments like Singapore, where moisture in the air can interfere with adhesive bonding. To combat this, prepare a cleaning solution of rubbing alcohol and a clean microfiber cloth. Avoid using standard household glass cleaners, soapy water, or vinegar, as these often leave behind a thin, invisible residue that prevents adhesives from sticking properly.
Products mentioned in this guide
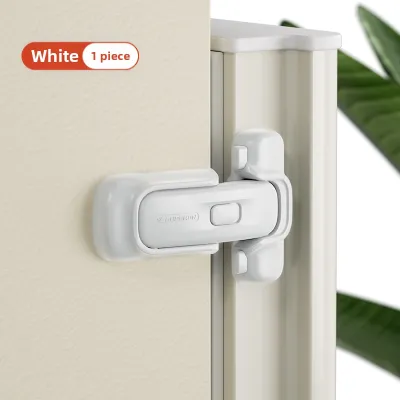
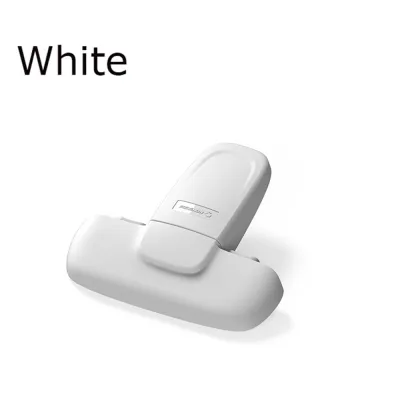
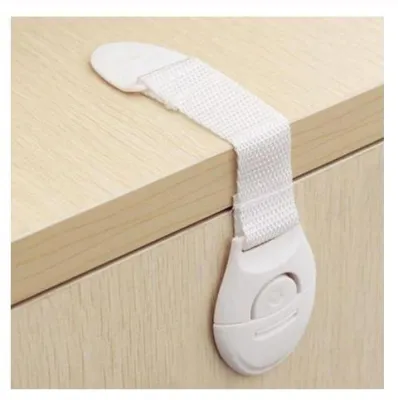
![[SG] Child Safety Door Locks Baby Safety Lock Fridge Drawer Cabinet Deadbolt Lock for Children Toilet Safety Lock](https://img.lazcdn.com/g/p/133984ff873f2d7aa9297e69e397eca3.jpg_400x400q80.jpg_.webp)
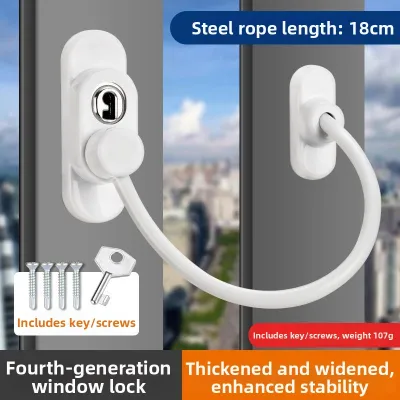
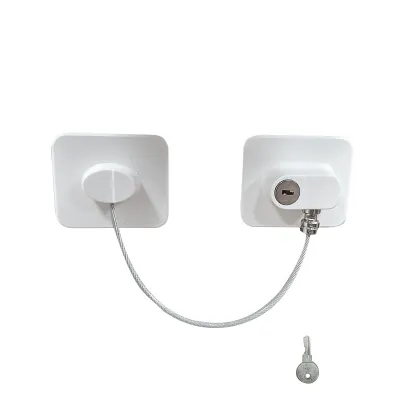
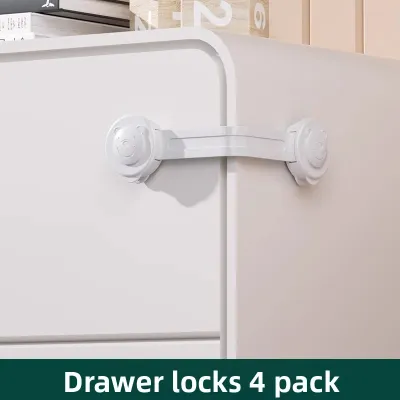
Prices are valid at publication and may change. Please refer to the product page for the latest price.
You will also need a measuring tape or a pencil to mark the exact placement before peeling any adhesive backing. Having these basic tools ready ensures a smooth, uninterrupted installation process. Taking the time to prepare the surface thoroughly prevents the lock from peeling off prematurely under pressure.
Choosing the Right Placement for Maximum Security
Finding the optimal position for your fridge door lock requires balancing child safety with adult convenience. The primary goal is to place the lock high enough to be completely out of your toddler’s reach and, ideally, out of their direct line of sight. Toddlers are highly observant and will quickly attempt to mimic adult actions if they see how the lock is operated.

Examine the physical design of your refrigerator, paying close attention to the gap between the door and the main frame. For single-door fridges or freezer compartments, the lock must span this gap securely without putting undue stress on the door hinge. If you have a French-door or side-by-side refrigerator, you will need to position the lock where both doors meet, ensuring it restricts both panels simultaneously.
Avoid placing any part of the lock over rubber seals, gaskets, or ventilation grates. Attaching adhesive pads directly to the flexible rubber gasket will damage the seal, compromise the refrigerator’s cooling efficiency, and fail to secure the door. Ensure the selected mounting surface is completely flat, smooth, and free of decorative contours or textured branding plates that could prevent full contact.
Step-by-Step Installation Process
While the exact steps vary depending on the design of your child safety device, successful installation always relies on precise alignment and patience. Always consult the included product manual for model-specific guidelines before applying any pressure or mounting hardware.
For adhesive-based locks, the most critical phase of the installation is the curing period. Adhesives do not bond instantly; they require time to chemically fuse with the appliance surface. Resisting the temptation to test or pull on the lock immediately after installation is essential for long-term durability.
Installing Adhesive and Strap Locks
Adhesive strap locks are highly popular because they do not require drilling into the appliance. Once the surface is completely dry from the rubbing alcohol cleaning, peel the protective backing off one of the adhesive pads. Be careful not to touch the sticky surface with your fingers, as skin oils can significantly weaken the adhesive bond.
Press the first pad firmly onto the side frame of the refrigerator, applying even pressure across the entire surface for at least thirty seconds. Next, align the strap across the door gap, ensuring there is enough slack for the lock to engage comfortably but not so much that the door can be pried open slightly. Once aligned, peel the backing of the second pad and press it firmly onto the front of the fridge door.
After both pads are securely attached, leave the lock in the unlatched position and allow the adhesive to cure. Most manufacturers recommend waiting at least twenty-four hours before subjecting the lock to any tension or daily use. In humid climates, extending this curing time slightly can help ensure the bond reaches its maximum potential strength.
Installing Magnetic and Catch Locks
Magnetic and mechanical catch locks offer a more rigid locking mechanism, often utilizing a latch that clicks into a receiver. To install these without drilling, start by dry-fitting the components to mark the exact alignment points with a pencil. The latch and the catch must align perfectly to allow the locking arm to engage and disengage smoothly.
Clean the marked areas thoroughly with rubbing alcohol and let them dry completely. Apply the adhesive backing to the catch mechanism and press it firmly onto the refrigerator frame, holding it in place to establish an initial grip. Next, attach the corresponding locking unit to the door, ensuring it lines up precisely with the catch.
For magnetic locks that require a separate key to open, store the magnetic key on a high surface, such as the top of the refrigerator or a nearby magnetic board, well out of reach of children. Test the key release mechanism several times while holding the door slightly open to verify that the latch retracts fully and releases without catching or sticking.
Testing and Verifying the Lock's Security
Once the recommended curing time has passed, you must verify that the installation is secure and capable of withstanding daily wear. Begin by performing a gentle pull-test on the closed refrigerator door. Apply a gradual, moderate force similar to the pulling strength of a determined toddler to check if the adhesive pads remain firmly anchored.
Observe the lock closely during this test to ensure there is no lifting at the edges of the adhesive pads. The strap or latch should hold the door tightly shut, allowing virtually no gap to open between the door and the frame. If a gap wide enough for small fingers to slip through appears, the lock is too loose and must be adjusted to prevent pinching hazards.
Verify that the locking mechanism engages automatically when you close the fridge door and releases smoothly when operated by an adult. If you notice any peeling edges, loose catches, or misalignment during testing, stop using the lock immediately. A partially secured lock can give a false sense of security, making immediate reinstallation or replacement necessary.
Maintenance and Troubleshooting Common Issues
Kitchen environments are prone to grease, steam, and food spills, which can accumulate on and around your fridge lock over time. Clean the exterior of the lock regularly using a damp microfiber cloth to prevent sticky residue from interfering with the mechanical buttons or latches. Avoid spraying liquid cleaners directly into the locking mechanism, as moisture can degrade internal springs or magnets.
Keep in mind that high humidity and temperature fluctuations can cause adhesive pads to lose their grip over time. Periodically inspect the edges of the adhesive mounts for any signs of lifting or drying out. If the adhesive begins to fail, do not attempt to secure it with household glue; instead, remove the old adhesive entirely and apply fresh, heavy-duty mounting tape recommended by the manufacturer.
As your child grows and gains strength, their ability to pull on the door increases, which puts additional stress on the safety device. Regularly assess the physical integrity of plastic straps and hinges for stress fractures or discoloration. If you detect any cracks or structural weakness, replace the lock immediately to maintain continuous protection in your home.
Frequently Asked Questions (FAQ)
Will adhesive locks damage my refrigerator's finish?
Most high-quality child safety locks are designed with removable adhesives that do not damage standard appliance finishes, including stainless steel and enamel. However, you should always check the manufacturer’s compatibility guidelines and consult your refrigerator’s user manual before installation. To remove the lock safely in the future, apply gentle heat from a hair dryer to soften the adhesive, then slowly peel it away. You can clean any remaining sticky residue with a mild adhesive remover or rubbing alcohol, testing a small, inconspicuous area first to ensure it does not discolor the finish.
How often should I check the fridge lock for wear and tear?
It is best to conduct a quick visual inspection of your fridge lock every week during your routine kitchen cleaning. Look for any peeling edges on the adhesive pads, cracks in the plastic body, or stretching in the flexible straps. Additionally, perform a physical pull-test once a month to confirm that the lock remains firmly anchored and that the latch mechanism engages securely without slipping. Replacing worn components promptly ensures your child safety measures remain fully effective.
Community discussion
Share your experience or ask a question. Comments are reviewed before publication.