
Securing your home as your child grows is a fundamental milestone in creating a safe environment. When infants reach the crawling and pulling-up stages—typically between 6 and 12 months of age—kitchen and bathroom cabinets become immediate points of interest. Installing a cupboard lock latch is one of the most effective ways to prevent access to household cleaning agents, sharp objects, and heavy dinnerware. To properly mount these safety devices, you must select the appropriate lock type for your cabinet material, prepare the surface thoroughly to ensure a reliable bond, and follow a precise alignment process during installation.
While cabinet locks significantly reduce the risk of accidents, they are designed to assist caregivers and should never replace active adult supervision. Before purchasing or installing any latch, always check the manufacturer’s documentation for specific age ratings, weight limits, and usage warnings. By taking the time to install these safety latches correctly, you can secure your home’s storage spaces while preserving the condition of your cabinetry.
Preparation and Tools Needed for Cabinet Lock Installation
Before beginning the installation process, you must choose between the two primary styles of cupboard lock latches: adhesive (no-drill) locks and screw-mounted locks. Adhesive latches are highly popular in Singapore homes, particularly for renters living in HDB flats or condominiums where permanent modifications are restricted. These locks rely on heavy-duty double-sided tape and require no drilling, making them quick to install and easy to remove later. Screw-mounted latches, on the other hand, provide a permanent, highly durable physical barrier that can withstand significant force. They are ideal for solid wood cabinetry and long-term baby-proofing, though they do leave permanent screw holes.
Products mentioned in this guide
![[Ship in 24 Hours] Baby Safety Lock Cupboard Lock Cabinet Locks Wardrobe Drawer Fridge Lock Child Safe Lock Kid Safety Door Latches Children Day Gifts](https://img.lazcdn.com/g/p/e09ea02a4ce08945db1e68c840159c92.jpg_400x400q80.jpg_.webp)
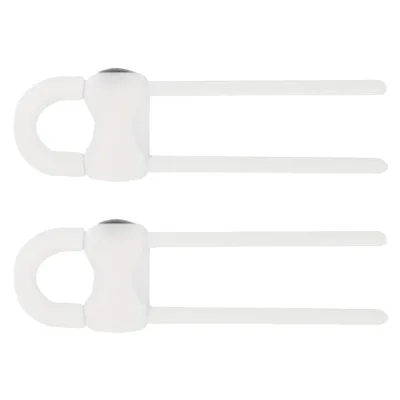
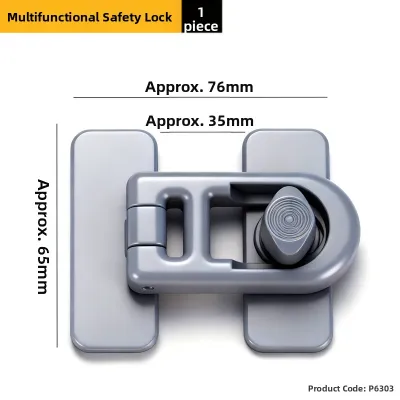
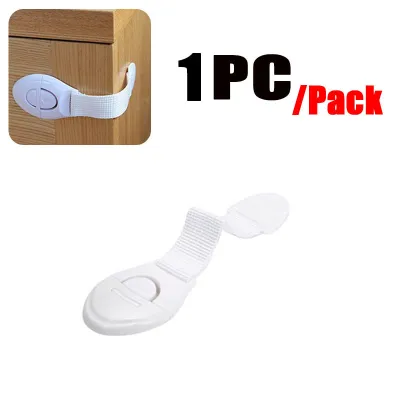

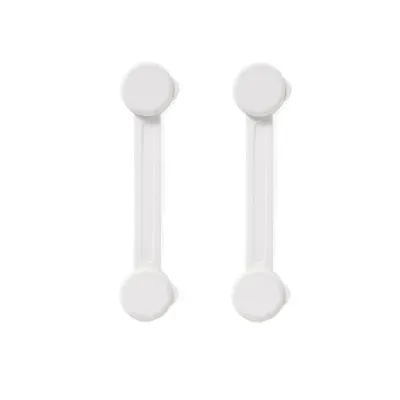
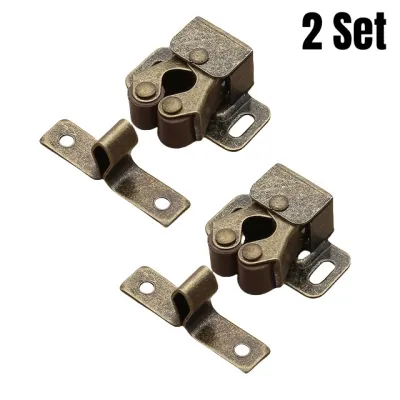
Prices are valid at publication and may change. Please refer to the product page for the latest price.
Having the correct tools on hand ensures a smooth installation and prevents damage to your cabinets. For both methods, gather a measuring tape, a pencil for marking alignment, and a microfiber cloth. If you are installing adhesive locks, you will also need rubbing alcohol (isopropyl alcohol) to clean the mounting surfaces. For screw-mounted locks, prepare a hand screwdriver or a power drill with drill bits sized slightly smaller than the mounting screws, ensuring you do not split the cabinet wood.
Surface preparation is the single most critical factor for adhesive lock performance. In Singapore’s warm, humid climate, kitchen cabinets naturally accumulate a microscopic layer of airborne grease, dust, and moisture. Adhesive tape cannot bond securely to a dirty or damp surface, which often leads to the lock falling off within a few days. Thoroughly wipe the installation area with rubbing alcohol and a clean microfiber cloth, then allow the surface to dry completely before applying the adhesive.
Finally, establish a clear safety boundary by verifying your cabinet materials. Modern cabinets are constructed from various materials, including solid wood, medium-density fibreboard (MDF), plywood, or laminate finishes. Always consult the cabinet manufacturer’s care guidelines and the lock manufacturer’s instructions to ensure compatibility. Certain delicate laminates or high-gloss veneers can be damaged by strong adhesives or may split when drilled without proper pilot holes.
Step-by-Step Guide: Installing an Adhesive Cupboard Latch
Adhesive cupboard latches offer a reliable, non-invasive safety barrier when applied with precision. Follow these steps to ensure a secure and long-lasting installation on compatible cabinet surfaces.

Step 1: Positioning the Latch
Keep the cabinet door fully closed. Hold the complete latch assembly—consisting of the lock body and the catch—against the cabinet door and frame to test the positioning. The strap or plastic hook must align perfectly with the catch without being overstretched or twisted. If the strap is too tight, constant tension will pull on the adhesive, causing it to fail prematurely. Once you find the ideal position where the latch engages smoothly and holds the door flush, use a pencil to lightly mark the outer edges of both the lock body and the catch on the cabinet surface.
Step 2: Applying the Adhesive
Carefully peel the protective backing off the adhesive pad on the catch. Avoid touching the exposed adhesive with your fingers, as skin oils will weaken the bond. Align the catch with your pencil marks and press it firmly onto the cabinet frame. Apply steady, heavy pressure with your hand or thumb for at least 30 seconds to activate the pressure-sensitive adhesive. Repeat this exact process for the lock body on the cabinet door, ensuring the alignment matches your initial pencil marks.
Step 3: Allowing the Adhesive to Cure
Once the latch is applied, do not test, pull, or use the lock immediately. The adhesive requires a dedicated curing period to form a permanent bond with the cabinet surface. Keep the latch disengaged and avoid putting any tension on the pads for 24 to 48 hours. In humid environments, waiting the full 48 hours is highly recommended to ensure the adhesive fully cures and achieves its maximum holding strength.
Surface Compatibility Warning: Do not install adhesive cabinet locks on freshly painted surfaces, heavily textured laminates, wallpaper, or cabinets with peeling veneers. The adhesive bond may fail to hold, or it may strip away the paint, wallpaper, or laminate finish upon removal, causing permanent aesthetic damage to your cabinetry.
Step-by-Step Guide: Installing a Screw-Mounted Cupboard Latch
Screw-mounted latches provide maximum physical security and are highly resistant to the persistent pulling of growing toddlers. This method requires careful measurement and drilling to avoid damaging your kitchen or bathroom fixtures.
Step 1: Marking the Drill Holes
Open the cabinet door and position the interior catch on the underside of the cabinet frame or shelf. Hold the matching lock hook on the inside of the cabinet door so that they align perfectly when the door is closed. Use a pencil to mark the exact locations of the screw holes through the mounting slots of both pieces. Double-check your marks by holding the hardware in place and simulating the door closing to ensure the hook catches the loop cleanly without binding.
Step 2: Drilling Pilot Holes
Select a drill bit that matches the inner shaft of your mounting screws, excluding the thread width. This ensures the screw threads can grip the cabinet material firmly without splitting it. Carefully drill pilot holes into your pencil marks, maintaining a straight angle. Crucial Safety Warning: Before drilling, thoroughly inspect the area behind the cabinet panel. In kitchen and bathroom vanities, water supply pipes, electrical wiring, and gas lines often run close to or directly behind the cabinet walls. Ensure your drill depth is limited—using a drill stop or a piece of tape wrapped around the bit—to prevent puncturing these vital utilities.
Step 3: Securing the Hardware
Position the latch hardware over the pre-drilled pilot holes. Using a manual screwdriver or a power drill set to a low torque clutch, drive the mounting screws into place. Tighten the screws until they are flush and secure, but avoid over-tightening. Excessive force can strip the wood fibers in MDF or plywood, leaving the screws loose and rendering the lock ineffective.
Stop Condition: If your cabinet doors feature glass panels, metal frames, solid stone surfaces, or unfamiliar composite materials, stop the installation immediately. Drilling into these materials requires specialized diamond-tipped or carbide drill bits and professional techniques. Consult the cabinet manufacturer or a qualified professional installer to avoid shattering glass or ruining expensive stone countertops.
Adjusting Latches for Different Cabinet and Drawer Types
Cabinet layouts vary significantly across Singapore homes, meaning a single installation position may not work for every storage unit. Adjusting your placement strategy based on the cabinet type is essential for proper functionality.
- Double-Door Cabinets: When securing double doors that meet in the middle, you can use a dual-catch system mounted on the interior frame. Alternatively, external strap-style adhesive locks can be wrapped around both handles or knobs to keep the doors bound together. If using internal latches, ensure that both doors are secured; otherwise, a child may open the unlocked side and gain access to the cabinet interior.
- Drawers versus Swing Doors: Drawers require precise catch depth adjustment. If the catch is mounted too far back inside the cabinet housing, the drawer can be pulled open slightly before the lock catches. This small gap is wide enough for a child to insert their fingers, creating a severe pinch hazard. Position the catch so that the drawer opens no more than a few millimeters before the latch engages.
- Handle-less and Recessed Cabinets: Modern handle-less cabinets that use push-to-open mechanisms or recessed finger grooves do not accommodate external strap locks. For these designs, install internal magnetic locks or hook-and-eye latches along the top edge or inside the cabinet lip. This keeps the exterior aesthetic clean while ensuring the safety mechanism remains completely hidden and functional.
Testing, Maintenance, and Safe Removal
Once your cupboard lock latches are installed, establishing a routine for testing and maintenance ensures they continue to protect your child effectively over time.
Testing the Installation
After the adhesive has cured for 48 hours or the screws are fully secured, perform a physical test. Pull the cabinet door with a firm, steady force that mimics the strength of a determined toddler. The latch must remain securely engaged, and the door should not open wide enough for a child’s hand to fit inside. Verify that the locking mechanism is easy for an adult to operate but remains too complex or physically demanding for a young child.
Routine Maintenance
High-humidity zones like kitchens and bathrooms can accelerate the degradation of adhesives and loosen mounting screws over time. Periodically inspect every cabinet lock in your home. Check for peeling adhesive edges, cracked plastic straps, or loose screws. If you notice any signs of wear, replace the affected components immediately to prevent sudden failure.
Safe Removal of Adhesive Locks
When your child outgrows the need for cabinet locks, you can remove adhesive latches without ruining your cabinet finish. Use a handheld hairdryer on a low-to-medium heat setting to warm the adhesive pad for one to two minutes. This softens the glue. Do not use high heat, as excessive temperatures can warp laminate finishes or damage wood sealants. Once warmed, slide a piece of dental floss or fishing line behind the plastic pad, using a gentle sawing motion to slice through the softened foam tape. Wipe away any remaining sticky residue using a mild soap solution or a dedicated adhesive remover, testing it on a hidden area of the cabinet first.
Frequently Asked Questions (FAQ)
Can I install a cupboard lock latch on a glass cabinet door?
Screw-mounted locks must never be drilled into glass cabinet doors, as this will shatter the glass and cause serious injury. Adhesive locks may be used on glass surfaces, provided the lock manufacturer explicitly approves glass application in their documentation. However, removing strong adhesives from glass later carries a risk of scratching or damage. Always consult the glass manufacturer or a professional glazier before applying adhesives to tempered or decorative glass.
Why did my adhesive cabinet lock fall off after a few days?
Adhesive failure is almost always caused by incomplete surface preparation, such as leaving grease, moisture, or dust on the cabinet before application. It can also occur if the lock is pulled or tested before the full 24-to-48-hour curing period is complete. Finally, applying adhesive to incompatible surfaces like highly textured laminates, porous raw wood, or peeling paint prevents the tape from forming a proper bond. To reinstall, clean the area thoroughly with rubbing alcohol and apply a fresh piece of high-quality mounting tape.
Community discussion
Share your experience or ask a question. Comments are reviewed before publication.