
Installing a baby crib mosquito net properly is essential for protecting your infant from insect bites while maintaining a safe sleep environment. In tropical climates like Singapore, where mosquitoes are a year-round concern, a physical barrier offers a reliable, chemical-free defense against pests. However, an improperly installed net poses severe safety hazards, including suffocation and entanglement. To install a baby crib mosquito net safely, you must ensure the fabric is completely taut, securely anchored to a structural support, and positioned entirely out of your baby’s physical reach.
Every crib and room layout is different, meaning there is no single setup that works for everyone. Successful installation relies on choosing the right style of net for your crib, preparing the correct tools, and verifying that the final setup is completely secure. By following a methodical, step-by-step process, you can protect your child from pests without compromising their safety.
Understanding the Safety Risks of Crib Mosquito Nets
While a baby crib mosquito net is an effective physical barrier against insects, safety must always be your primary concern. Loose, sagging, or poorly secured netting can easily fall into the crib, creating a dangerous entanglement or suffocation hazard for an infant. Safe sleep guidelines emphasize that a baby’s sleep area must remain completely free of loose items, soft bedding, and dangling fabrics.
Products mentioned in this guide
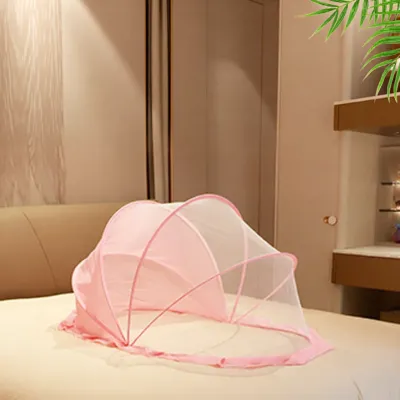
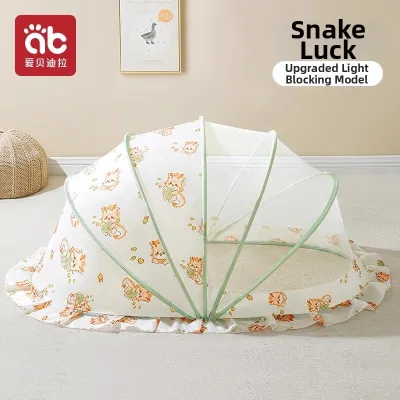

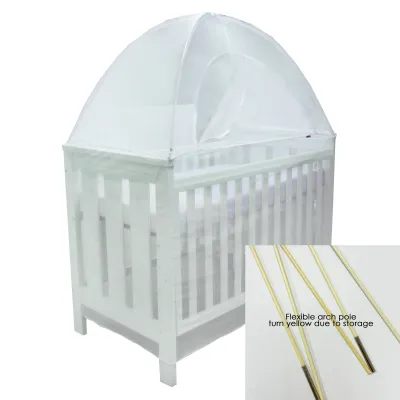
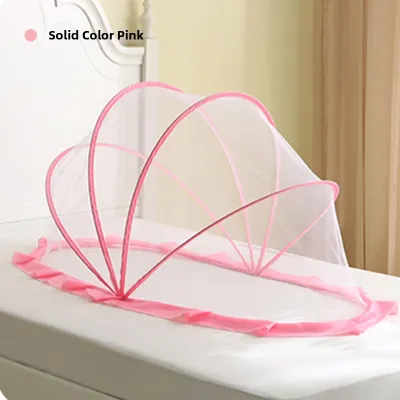
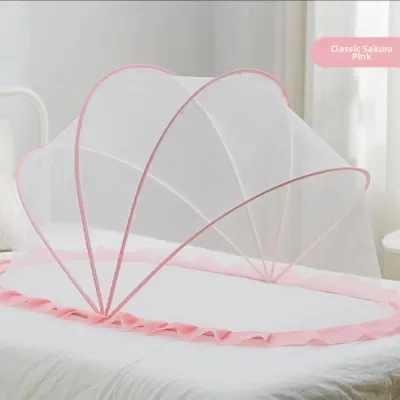
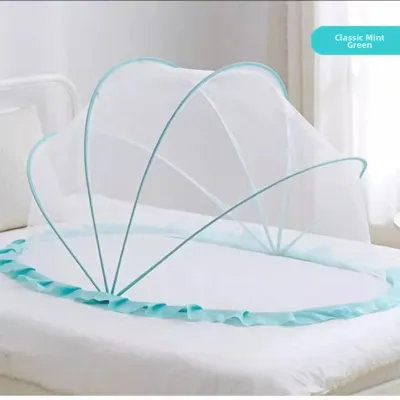
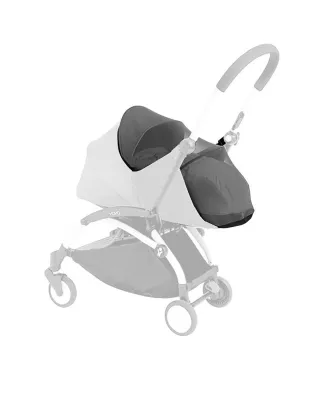
Prices are valid at publication and may change. Please refer to the product page for the latest price.
The core safety rule for any crib netting is that neither the fabric nor its mounting hardware must ever be within the baby’s reach. This applies not only when your baby is lying down, but also when they learn to sit, stretch, or pull themselves up. Additionally, the mesh must not restrict airflow or cause heat retention inside the crib, which is a critical consideration in warm, humid environments.
Before starting the installation, always cross-reference the mosquito net’s instruction manual with your crib manufacturer’s safety warnings. If the instructions conflict, or if you are unsure about the structural integrity of either product, stop the installation. Consult the manufacturers or a qualified professional before proceeding.
Preparation: Tools and Compatibility Checks
Preparing your workspace and verifying your equipment ensures a safe, secure installation. Having the right tools on hand prevents improvised solutions that could compromise safety. Gather the following items before you begin:

- Measuring tape
- Pencil
- Screwdriver
- Stud finder (for wall- or ceiling-mounted nets)
- Stable step stool
- Drill and appropriate wall anchors (if mounting to drywall or masonry)
Begin by unpacking the mosquito net and verifying all hardware against the manufacturer’s parts list. Inspect the mesh carefully for any pre-existing tears, holes, or manufacturing defects that could compromise its integrity or allow insects to enter.
Next, measure your crib’s dimensions alongside the ceiling or wall height. This step is crucial to ensure the net provides full coverage without excessive, unmanageable draping that could pool inside the crib. If you are using a clamp-on or bracket-mounted net, check the thickness of your crib’s rails to confirm the mounting brackets can clamp securely without slipping or damaging the wood.
Step-by-Step Installation for Common Net Types
Installation steps vary significantly depending on the design of your baby crib mosquito net. The specific manufacturer’s manual always supersedes general guides, so keep it nearby for reference.
Before beginning any physical installation, ensure your baby is out of the room. Keep all small parts, screws, and sharp tools out of reach of children to avoid accidents, choking hazards, or injuries from falling hardware.
Installing a Hoop or Canopy Suspension Net
Suspension nets hang from a single point on the ceiling or wall, draping down to cover the entire crib. These are excellent for full coverage but require secure structural anchoring.
- Locate a secure mounting point: Use a stud finder to locate a solid ceiling joist or wall stud directly above or adjacent to the crib. Never mount heavy hanging hardware solely into drywall or plaster without a structural backing, as the weight of the net or a gentle pull can cause the anchor to pull out.
- Mark and drill: Mark the mounting spot with a pencil. Drill a pilot hole suitable for your mounting hook. If a ceiling joist is not accessible, you must use a heavy-duty toggle bolt or specialized hollow-wall anchor rated for overhead suspension, following the hardware manufacturer's precise weight limits.
- Install the anchor and hook: Screw the mounting hook securely into the joist or anchor. Ensure it is flush against the ceiling or wall and does not wobble.
- Attach the suspension hoop: Hang the mosquito net's hoop or ring onto the hook. Adjust the suspension cord so the hoop hangs level and centered over the crib.
- Drape and secure the fabric: Let the netting fall evenly around all sides of the crib. Manage any excess fabric by securing it tightly outside the crib frame using the manufacturer-provided tie-backs, or tuck it firmly under the mattress if the design explicitly instructs you to do so. Ensure absolutely no loose fabric hangs inside the sleeping area.
Installing a Fitted or Zippered Crib Net
Fitted or zippered nets attach directly to the crib frame, rails, or mattress, offering a self-contained barrier that does not require ceiling drilling.
- Position the frame or brackets: If your net uses a clamp-on utility bracket, attach the bracket to the center of the back rail of the crib. Tighten the clamp securely, ensuring it does not wobble or tilt. If the bracket uses protective padding, make sure it is aligned to protect the crib's finish.
- Extend the canopy poles: Insert the support poles into the bracket and extend them to their full height. Lock them into place according to the manufacturer's instructions.
- Secure the net's edges: Stretch the elasticized edges, Velcro straps, or tie-downs of the net over the top of the support poles and down around the crib rails or mattress.
- Eliminate gaps: Check that the elastic fits snugly around the entire perimeter of the crib frame. There should be no loose gaps where mosquitoes can slip through or where a baby's limb could become wedged.
- Test the zipper: For zippered models, align the zipper tracks smoothly. Test the zipper mechanism several times to ensure it glides easily without pinching the mesh, snagging, or leaving openings that little fingers could manipulate.
Post-Installation Safety and Verification Checklist
Once installation is complete, you must verify that the setup is structurally sound and safe for your baby. Do not place your child in the crib until you have completed these essential checks:
- The Tug Test: Apply gentle downward pressure on the mounting hardware, brackets, or ceiling hooks. The hardware must remain completely stationary without bending, slipping, or loosening.
- The Reach Check: Ensure the lowest point of the draped net is well out of your baby's physical reach. Consider your baby's growth; the net must remain inaccessible even if your baby sits up, stands, or stretches their arms upward.
- The Excess Fabric Check: Verify that no loose fabric, long ribbons, or drawstrings hang inside the crib. Any adjustment strings must be tied securely on the outside of the crib, away from the mesh.
- The Ventilation Check: Ensure the mesh is clean and does not block the room's natural ventilation, air conditioning flow, or ceiling fan movement. The mesh must be transparent enough to maintain a clear line of sight from your normal caregiving positions.
- The Gap Inspection: Inspect the entire perimeter where the net meets the crib. Ensure there are no openings larger than a finger width where pests could enter or where a baby could get caught.
Critical Mistakes and When to Stop the Installation
Avoiding common installation errors is vital for maintaining a safe nursery. One of the most frequent mistakes is using adhesive hooks or temporary suction cups to hang overhead suspension nets. In warm, humid environments, adhesive backings degrade rapidly, causing the hook and net to fall directly into the crib. Always use mechanical fasteners like screws and anchors for overhead installations.
Another critical mistake is leaving excess fabric draped loosely inside the crib “just for now” with the intention of fixing it later. A loose net can quickly become wrapped around a moving infant, creating an immediate emergency. Additionally, avoid using nets with long, untied drawstrings or decorative tassels, which present a severe strangulation hazard.
When to Stop the Installation:
- If your wall or ceiling material is crumbling, unstable, or cannot support screwed anchors securely.
- If the crib frame feels unstable, bends, or creaks under the weight of a clamp-on bracket.
- If you cannot position the net completely out of your baby's reach due to room layout or crib design.
- If the net fabric restricts airflow or makes the crib environment noticeably warmer.
If you encounter any of these conditions, stop immediately. Remove the net and consult a professional installer, or explore alternative insect protection methods such as window screens or baby-safe room mosquito nets.
Routine Maintenance and Hygiene Checks
To ensure the mosquito net remains hygienic and structurally sound over time, establish a regular maintenance routine. Dust and airborne allergens can accumulate on the fine mesh, which can affect airflow and air quality around the crib.
Always check the care label on your net for specific washing instructions. Most manufacturers recommend washing the net on a gentle cycle in cold water using a mild, baby-safe detergent. To preserve the integrity of the mesh and prevent shrinking, air dry the net completely before re-installing it. Avoid using bleach or harsh fabric softeners, which can degrade the synthetic fibers.
Perform a weekly physical inspection of the net. Look closely for any micro-tears, loose seams, or fraying edges. Even a tiny hole can allow mosquitoes inside, while frayed threads can wrap around a baby’s fingers or toes.
Finally, conduct a monthly check of all mounting hardware. Screws, brackets, and wall anchors can loosen over time due to vibrations, humidity shifts, or daily use. Tighten any loose components immediately to keep the installation stable.
Frequently Asked Questions (FAQ)
Are mosquito nets safe for newborns?
Yes, mosquito nets are safe for newborns, provided they are installed in strict accordance with safe sleep guidelines and the manufacturer’s safety instructions. The net must be kept completely out of the newborn’s reach and must never drape into the crib or rest on the mattress surface. Because newborns cannot move away from fabric if it falls, ensuring the structural stability of the mounting hardware is absolutely critical.
Can I use a mosquito net if my baby pulls up to stand?
Once your baby reaches the developmental milestone of pulling themselves up to a standing position, the risk profile changes significantly. You must inspect the height of the net. If your standing baby can reach, grab, pull, or chew on the netting or its support poles, you must adjust the hardware higher. If you cannot secure the net completely out of their reach, you must remove the net immediately to prevent entanglement or the risk of pulling the mounting hardware down onto the crib.
Community discussion
Share your experience or ask a question. Comments are reviewed before publication.