
Installing a baby crib mosquito net correctly requires securing the mesh completely out of your baby’s physical reach, ensuring there is zero loose fabric inside the sleep area, and using robust, manufacturer-approved mounting hardware instead of temporary adhesives. In Singapore’s warm, tropical climate, protecting infants from mosquito-borne illnesses like dengue is a common priority for parents. However, safe sleep principles dictate that a baby’s immediate sleep environment must remain completely bare to prevent serious safety hazards. Balancing pest protection with infant safety means the canopy must function as an external, taut barrier that a child cannot touch, pull down, or become entangled in at any stage of their physical development.
Why Safety Must Come First When Using a Crib Mosquito Net
Crib netting is a soft, lightweight fabric that poses severe physical risks if not installed with extreme care. If a baby can reach the mesh, they can easily pull it into the crib, creating a high risk of strangulation or suffocation if the fabric wraps around their neck or covers their nose and mouth. Because infants rapidly develop motor skills, a setup that is safe for a stationary newborn can quickly become dangerous as the child learns to reach, roll, or pull themselves up.
Safe sleep guidelines from pediatric authorities emphasize that a baby’s crib should remain entirely bare, free from loose blankets, bumpers, and toys. A mosquito net is no exception to this rule; it must never drape inside the crib or sag within reach of the baby’s hands. The net must function strictly as an external shield, maintaining a safe distance from the mattress at all times.
Products mentioned in this guide
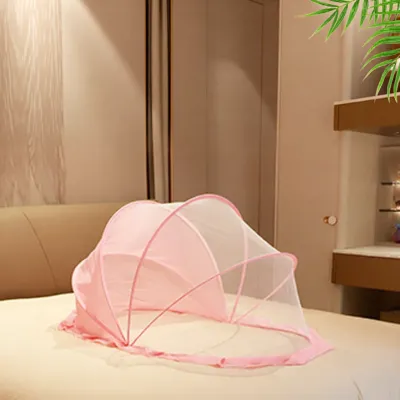
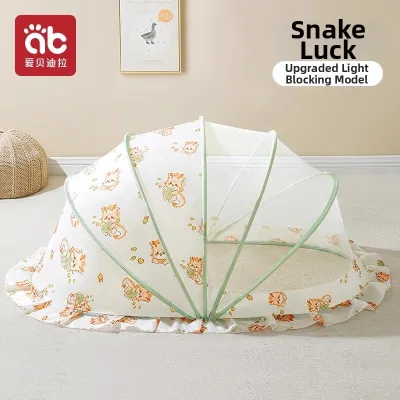

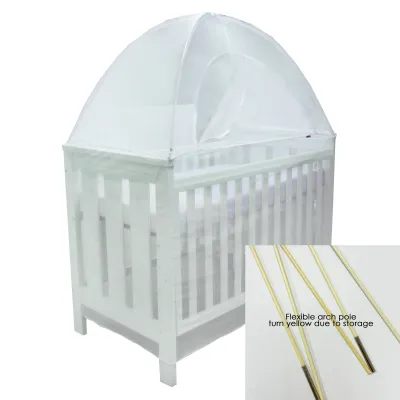
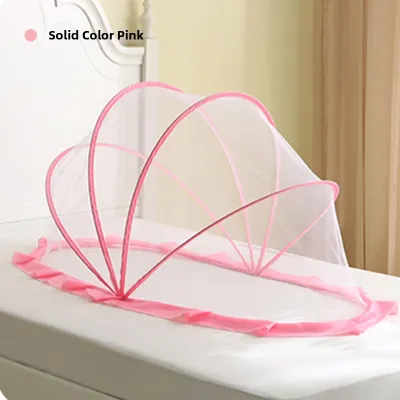
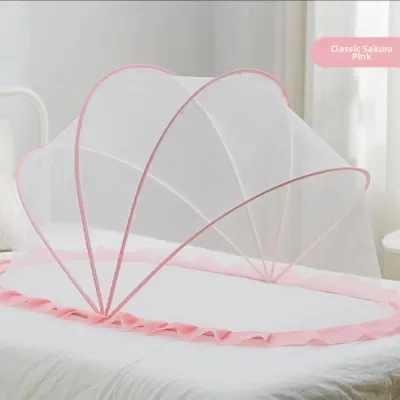
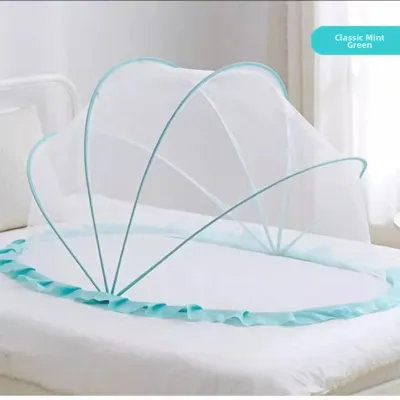
Prices are valid at publication and may change. Please refer to the product page for the latest price.
Before beginning installation, caregivers must evaluate whether their crib setup can safely support a net. If your crib design does not allow for a completely secure, out-of-reach installation, or if the manufacturer’s instructions explicitly warn against adding overhead canopies, do not proceed. In these situations, discontinue use immediately and consult a pediatrician or the crib manufacturer to discuss alternative insect-proofing solutions, such as window screens or room-wide mosquito traps.
Tools and Materials You Will Need
Gathering the correct, high-quality tools before you begin is essential to prevent structural failures that could drop fabric into the crib. The specific items you require will depend on your chosen mounting style, but you should always prioritize durability over convenience.

For ceiling or wall-mounted nets, you will need a reliable stud finder, a measuring tape, an electric drill, weight-rated wall anchors, and heavy-duty metal screw hooks. If you are installing a frame-mounted net, ensure you have all the manufacturer-provided brackets, clamps, and structural rods on hand.
Never use temporary or makeshift fasteners such as standard rubber bands, loose strings, safety pins, or unapproved plastic adhesive hooks. Singapore’s high humidity can cause adhesive backings to degrade rapidly, leading to sudden failures that drop the net and hook directly onto your sleeping baby. Always read the specific product label and manual to confirm the exact hardware and installation specifications required for your net model.
Step-by-Step Installation Guide by Net Type
Different nursery layouts and crib designs require specific mounting styles to maintain a secure barrier. Whether you choose an overhead ceiling drape, a rail-mounted frame, or a freestanding structure, the primary objective is to maintain a taut, gap-free perimeter that remains entirely inaccessible to your child. The following steps outline how to install the three most common configurations safely.
Ceiling or Wall Mount Installation
- Step 1: Locate a secure support point. Use a stud finder to locate a solid ceiling joist or wall stud directly above the center of the crib. Do not anchor the hook into hollow drywall or plasterboard alone, as the weight of the net or a sudden pull can easily tear it free.
- Step 2: Install heavy-duty hardware. Drill a pilot hole into the joist and insert a weight-rated toggle bolt or heavy-duty anchor. Screw the metal hook firmly into place until the collar is flush with the ceiling surface, ensuring it cannot wobble.
- Step 3: Measure the drop length. Use a measuring tape to calculate the distance from the hook to the floor. The net must drape evenly around all sides of the crib exterior, extending low enough to be tucked securely under the mattress or to touch the floor without pooling.
- Step 4: Secure the fabric. Hang the net from the hook and adjust the height so the fabric forms a straight, vertical wall around the outside of the crib rails. Ensure there is no excess, loose fabric draping inside the sleep area.
Crib Frame Attachment
- Step 1: Identify stable attachment points. Inspect your crib rails to find flat, sturdy sections where the mounting brackets can sit securely without sliding or shifting.
- Step 2: Secure the mounting brackets. Attach the manufacturer-approved clips or slide the specialized sleeves over the crib frame as directed in the product manual. Tighten all locking screws firmly, ensuring they do not crack the crib material.
- Step 3: Insert the support rods. Slide the structural rods into the brackets until they click or lock into place. These rods must hold the canopy hoop high above the top rail of the crib.
- Step 4: Drape and tension the net. Pull the net over the frame structure, ensuring the fabric is completely taut across the top and sides. Check that the attachment points do not create sharp edges, pinch points, or protruding hardware that could scrape or injure your baby.
Freestanding or Hoop Nets
- Step 1: Assemble the supporting frame. Connect the poles of the freestanding stand or internal hoop frame on a flat, level surface next to the crib. Ensure all joints are fully locked and the structure is stable.
- Step 2: Position the base securely. Place the heavy base of the stand under the crib legs or in a position where it cannot be tipped over if bumped. The overhead arm must extend directly over the center of the crib.
- Step 3: Drape and tuck the fabric. Spread the net evenly over the hoop frame so it covers the entire crib. Tuck all excess fabric at the bottom tightly under the mattress, eliminating any loose folds or dangling ends where a baby's limbs could get caught.
Critical Safety Checks to Prevent Entanglement and Suffocation
Once the installation is complete, you must conduct a thorough safety evaluation. The absolute golden rule of crib net safety is the “out of reach” standard. At no point should your baby be able to touch, grab, pull, or chew on any part of the net, ties, or frame from any position within the crib.
As your baby grows and reaches new developmental milestones, their physical capabilities will change. A stationary newborn has a limited reach, but an older infant who can roll, sit, or stand can easily grab fabric that was previously out of bounds. You must continuously adjust the height of the canopy upward as your baby develops, and discontinue use immediately if they can touch the mesh while standing at their full height.
Carefully inspect the entire setup for loose loops, dangling decorative ties, or gaps. If the net utilizes ties to secure the fabric to the frame, these must be tied tightly on the outside of the mesh, with the excess ends trimmed short so they cannot dangle through the crib slats. Additionally, check the mesh size of the net. The holes must be fine enough to keep out mosquitoes but also small enough to prevent a baby’s tiny fingers or toes from getting caught. Verify this safety standard by checking the product’s safety label rather than guessing measurements.
In Singapore’s warm and humid climate, adequate ventilation is crucial to prevent overheating. Ensure the net is made of a highly breathable, lightweight material that does not restrict airflow or trap heat inside the crib. Monitor your baby for signs of overheating, such as sweating, damp hair, or flushed cheeks, during sleep.
Common Installation Mistakes and How to Fix Them
One of the most frequent mistakes is leaving excess, bunched fabric inside the crib corners. If the net is too long, do not let it pool on top of the mattress. Instead, pull the excess fabric to the outside of the crib rails and tuck it firmly under the mattress, or adjust the height of the overhead hook. Never cut or trim the fabric unless the manufacturer’s instructions explicitly permit it, as frayed edges can unravel and create choking hazards.
Using a damaged, torn, or frayed net is highly dangerous. A small tear can quickly expand under tension, allowing a baby’s head or limb to become trapped, or letting mosquitoes inside. Inspect the net weekly and replace it immediately if you spot any signs of wear, loose threads, or broken seams.
Many caregivers fail to re-check the net’s tension and hardware after washing. Fabric can shrink or stretch during washing, and clips can loosen over time. Always perform a complete safety check and re-tighten all hardware after laundering the net or moving the crib for cleaning.
Finally, do not hesitate to discontinue use immediately if your baby learns to pull the net down, if they can reach the fabric from a standing position, or if any mounting hardware shows signs of cracking, bending, or loosening. Safety must always override pest protection.
Final Verification: How to Test Your Setup
Before leaving your baby unattended in the crib, you must conduct a physical “tug and reach” validation test.
Stand at the crib and simulate your baby’s maximum potential reach. Reach out from the center of the mattress and from all four corners, stretching upward and outward as a standing infant would.
Physically tug on the lower edges of the net from the outside to ensure it is firmly anchored under the mattress or clipped tightly to the rails.
Confirm that the canopy frame remains completely rigid, the mesh does not sag inward under light pressure, and no portion of the fabric, cords, or mounting hardware can be touched from inside the sleep zone.
Frequently Asked Questions (FAQ)
Is it safe to leave a mosquito net over the crib while the baby is sleeping?
A mosquito net should only be left over the crib during sleep if it is installed flawlessly, remains completely out of the baby’s reach, and is made of highly breathable material. Safe sleep guidelines in Singapore generally recommend keeping the crib entirely bare to minimize suffocation risks. If you cannot guarantee that the net will remain taut and completely inaccessible to your child throughout the night, do not use it. Consider alternative insect-proofing methods for the nursery, such as installing high-quality window screens or using a room-wide mosquito trap.
How often should I check the mosquito net for safety?
You should perform a quick visual and physical reach test before every single sleep session to ensure no fabric has slipped or sagged. A more thorough inspection of the mounting hardware, clips, wall anchors, and fabric integrity must be conducted weekly, as well as immediately after every wash cycle or whenever the crib is moved. If you notice any loose screws, cracked plastic, or frayed mesh, discontinue use until the parts are replaced.
Community discussion
Share your experience or ask a question. Comments are reviewed before publication.