
Presenting a baby gift that is both beautiful and highly practical is a wonderful way to celebrate a new arrival. Huggies diapers, known for their reliable absorbency and soft materials, serve as an excellent foundation for a DIY baby hamper. By learning a few simple folding and rolling techniques, you can transform these everyday essentials into stunning visual features like diaper roses, cupcakes, and elegant structural backdrops.
Creating a DIY diaper hamper allows you to customize the gift’s aesthetic while ensuring the parents receive highly usable items. The process requires a clean workspace, a selection of baby-safe materials, and a thoughtful layout that balances visual appeal with structural stability.
Whether you are preparing a gift for a baby shower or a traditional full month (man yue) celebration in Singapore, this guide provides a step-by-step approach to crafting a professional-grade diaper hamper. You will learn how to prepare your materials, master three distinct folding techniques, and arrange the items securely for transport.
Products mentioned in this guide
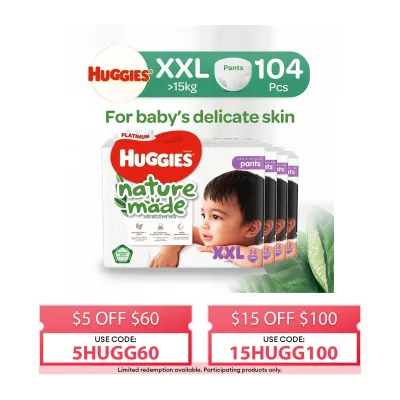
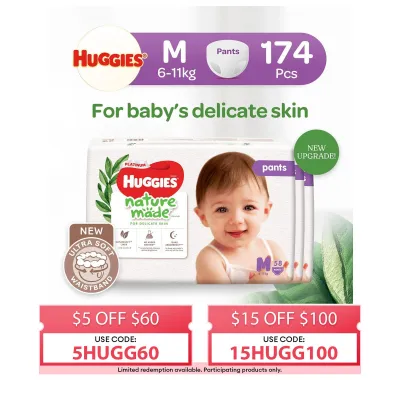
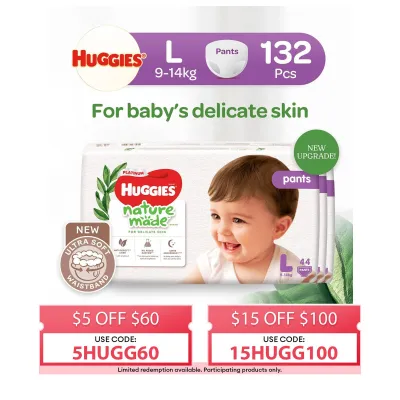
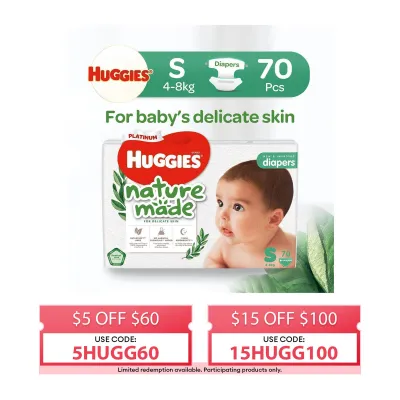
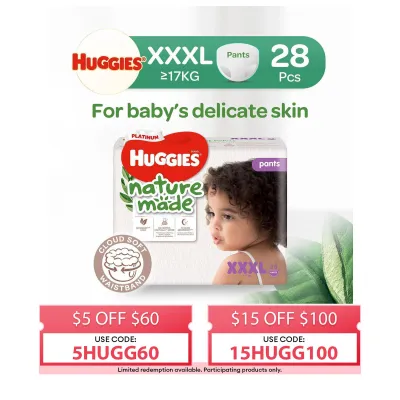
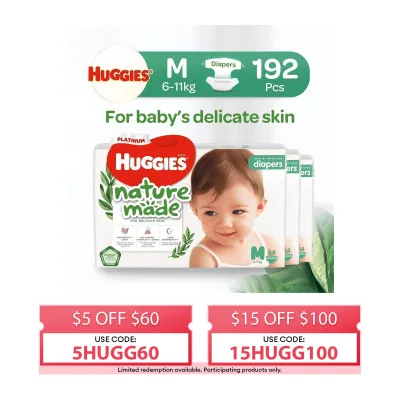
Prices are valid at publication and may change. Please refer to the product page for the latest price.
Essential Materials and Tools for Your Diaper Hamper
To build a stable and visually impressive hamper, you must gather the right tools and materials before you begin. Choosing the correct diaper size is the first critical decision. For a newborn gift, Huggies Newborn (up to 5kg) or Size 1 (S size, typically 4-8kg) diapers are ideal. These smaller sizes are easier to fold tightly and are immediately useful to new parents. Always check the manufacturer’s weight range on the packaging to ensure the diapers match the baby’s current development stage.
Next, select a robust container to serve as the structural base. A classic woven wicker basket offers a rustic, timeless appeal and can be repurposed by the parents for nursery storage. Alternatively, a thick, rigid cardboard gift box or a shallow wooden decorative tray provides a modern, clean aesthetic. The container must have a flat, stable bottom and walls high enough to support your diaper structures. With a flexible budget of S$50 to S$150, you can easily source premium Huggies diapers, a beautiful basket, and high-quality accessories.
Securing your arrangements requires tools that hold the diapers in place without causing damage. Clear elastic bands, such as small silicone hair ties, are perfect for securing rolled diapers invisibly. Mini glue dots and high-quality double-sided tape are useful for attaching decorative ribbons or securing structural elements to the container.
Crucially, you must prioritize baby safety when selecting adhesives. Never apply hot glue, strong chemical glues, or heavy tape directly to the diaper fabric where it will touch the baby’s skin. If you need to attach items directly to a diaper, use gentle, non-toxic adhesives on the outer decorative layers only, or rely entirely on ribbons and elastic bands to hold the structure together. Check all product labels for safety warnings before use.
To complement the Huggies diapers, select a curated mix of practical and decorative baby items. Soft toys, cotton swaddles, baby clothes (such as onesies or socks), pacifiers, baby bottles, and gentle baby wipes are excellent choices. These items add color, texture, and varied heights to your hamper, making the final presentation look rich and abundant.
Step-by-Step Diaper Folding and Rolling Techniques
Transforming flat diapers into eye-catching shapes is the core of creative hamper design. By manipulating the diaper’s shape, you can change the visual dynamics of the entire arrangement, turning a simple utility item into an artistic centerpiece.

Before handling any diapers, prepare a clean, sanitized, and flat workspace. Wash your hands thoroughly with soap and water, or wear clean cotton gloves. Because diapers are hygiene products that will directly contact a newborn’s sensitive skin, maintaining a pristine environment during assembly is paramount.
There are three primary techniques used to style diapers in a hamper: the classic diaper roll (which resembles a cupcake), the diaper rose fold (for a delicate, floral touch), and the flat fan or accordion fold (used for structural backing and filling empty spaces). Mastering these three methods gives you the versatility needed to design any style of hamper.
The Classic Diaper Roll (Cupcake Style)
The classic diaper roll is the most beginner-friendly technique. It creates neat, uniform cylinders that can be styled to look like sweet cupcakes. Start by laying a single Huggies diaper flat on your clean workspace with the colorful patterned waistband facing upward and the inner lining facing down.
Begin rolling the diaper tightly from the crotch area (the bottom edge) up toward the waistband. Rolling from the bottom ensures that any colorful designs on the waistband end up on the outside of the roll, adding a touch of color. Keep the edges aligned as you roll to create a perfectly flat, clean cylinder.
Once the diaper is fully rolled, secure it around the middle using a clear elastic band. The band should be tight enough to hold the roll’s shape firmly but not so tight that it deeply creases or tears the diaper materials.
To complete the “cupcake” look, wrap a piece of decorative ribbon—approximately 1.5 to 2 centimeters wide—around the center of the roll, completely covering the clear elastic band. Secure the ribbon ends with a small piece of double-sided tape, ensuring the tape only touches the ribbon and not the diaper itself.
For an adorable presentation, place each completed diaper roll into a colorful paper muffin liner. You can cluster these “cupcakes” closely together in a grid pattern inside your basket, creating a uniform, abundant layer that looks like a freshly baked tray of treats.
The Diaper Rose Fold
For a more elegant and sophisticated aesthetic, the diaper rose fold converts standard diapers into beautiful floral blooms. This technique adds soft textures and a garden-like theme to your gift hamper.
Start by laying the diaper flat on your workspace. Fold the diaper in half lengthwise, bringing the bottom edge up to meet the top waistband. This creates a long, narrow rectangle.
Begin rolling the folded diaper from one side to the other. Roll the first few turns tightly to create a firm “bud” center, then gradually loosen your grip as you roll outward. This variation in tightness mimics the natural opening of a flower’s petals.
Once rolled, secure the bottom half of the rose tightly with a clear elastic band. This keeps the base secure while allowing the top half to remain loose and pliable.
Gently use your fingertips to peel back the top folded edges of the diaper, flaring them outward to resemble delicate rose petals. You can adjust the folds until you achieve a balanced, realistic flower shape.
To create visual variety, adjust the tightness of your rolls to produce different sizes of “blooms.” Mix these diaper roses with rolled baby washcloths or small cotton blankets styled in the same manner. Arrange them in clusters among folded baby clothes to create a soft, textured garden landscape within your hamper.
The Flat Fan or Accordion Fold
The flat fan, or accordion fold, is a highly functional technique that provides structural support, fills large empty spaces, and adds height to your layout. It is particularly useful for lining the edges of your container.
Lay a Huggies diaper flat on your work surface. Starting from one of the short sides, fold the diaper back and forth in even pleats (approximately 2 to 3 centimeters wide), just like folding a paper fan. Ensure each fold is crisp and pressed flat.
Once the entire diaper is pleated, pinch the bottom edge tightly together while letting the top edge flare open naturally. Secure the pinched bottom edge firmly with a small piece of decorative ribbon or a strip of paper tape to hold the fan structure in place.
These structural fans are excellent for lining the inner walls of your basket or gift box. By placing several fans side-by-side along the back wall, you create a neat, uniform backdrop that frames the rest of your gifts.
Additionally, you can use these sturdy fan folds to elevate smaller, lighter products. Placing a fan fold under items like baby lotion, baby wipes, or teething rings lifts them up, ensuring they are clearly visible and do not sink to the bottom of the hamper.
Designing the Hamper Layout and Positioning the Diapers
A professional-looking hamper relies on a well-thought-out spatial arrangement. Applying basic principles of visual hierarchy ensures that every item is visible, the presentation looks cohesive, and the structure remains stable during transport.
Begin by establishing your visual hierarchy. Place your tallest and heaviest items—such as large baby bubble bath bottles, boxed sets, or a central “diaper cake” structure—at the back or dead center of the basket. This creates a strong focal point and prevents smaller items from being overshadowed.
Use your tightly rolled diaper cupcakes as structural pillars. If you have deep spaces in your basket, stack layers of rolled diapers at the bottom to act as a solid platform. This elevates lighter items like soft toys, pacifiers, or baby socks, bringing them closer to the top rim of the basket for maximum visibility.
Color coordination is essential for a polished finish. Select ribbons, wrapping paper, and decorative shredded paper that complement the signature blue, red, or pastel tones of the Huggies packaging, or align with the parents’ chosen nursery theme. Utilizing a consistent palette of two or three primary colors keeps the hamper looking elegant rather than cluttered.
Maximize your space by tucking smaller items into the natural crevices created by your diaper folds. Slip pacifiers, baby socks rolled into “buds,” or small teething rings between the diaper rolls. This not only fills empty gaps but also creates a delightful sense of discovery for the parents as they unpack the gift.
Finally, pay close attention to physical balance. Place the heaviest items at the bottom of the container to lower the center of gravity. This is especially important for transport in Singapore, where navigating public transport or car rides requires a stable, non-tipping design. Ensure that weight is distributed evenly from left to right so the hamper does not lean or spill when lifted by its handle.
Securing and Wrapping the Finished Baby Hamper
Once your diaper arrangements and baby items are perfectly positioned, you must secure the hamper to ensure it arrives in pristine condition. Proper wrapping protects the hygienic diapers from dust and moisture while giving the gift a professional, store-bought finish.
Wrapping the entire basket in clear cellophane is the most reliable method. Roll out a large sheet of high-quality, thick cellophane on a clean floor or wide table. Place your completed hamper directly in the center of the sheet. Ensure you have enough cellophane on all sides to pull up over the top of the basket.
Bring the front and back edges of the cellophane together above the center of the hamper, gathering the material tightly in one hand. Repeat this process with the left and right sides, creating a neat, gathered bunch at the top. Secure this bunch tightly with a strong twist tie or a piece of string.
To cover the twist tie and elevate the presentation, tie a large, structured ribbon bow around the gathered cellophane. You can layer different widths of ribbon or mix satin and organza textures to create a luxurious, multi-dimensional bow.
Attach a personalized gift tag or a small card to the ribbon. This is a great place to include a warm message for the family and any specific care or storage instructions for the diapers (such as keeping them in a cool, dry place away from direct sunlight to maintain their quality).
Before presenting your gift, perform a gentle stability check. Lift the wrapped hamper by its base and give it a very gentle, slow tilt from side to side. Listen and watch closely to see if any items shift, slide, or lose their positioning. If anything moves, carefully open the top of the cellophane, adjust the securing tape or elastic bands, and re-wrap. A stable hamper ensures your beautiful design remains intact from your home to the celebration.
Frequently Asked Questions (FAQ)
What size of Huggies diapers is best for a baby hamper?
Newborn (NB) or Size 1 (S) Huggies diapers are generally the best choices for DIY baby hampers. These smaller sizes are highly flexible, making them much easier to fold, roll, and shape into intricate designs like roses or cupcakes. They are also incredibly useful for parents immediately after the baby is born. However, if you are gifting the hamper for a full month celebration or a later visit, it is wise to check with the parents first. If they prefer larger sizes like Size 2 (M) or Size 3 (L) for future use, you can absolutely use them; simply adjust your folding techniques slightly to accommodate the thicker, longer material of the larger diapers.
Can I use opened or loose diapers for the hamper?
To ensure the highest standards of hygiene and safety for a newborn, it is strongly recommended to use Huggies diapers directly from a freshly opened, sealed package. Diapers are personal hygiene products that come into direct contact with sensitive newborn skin. If you must use loose diapers from a previously opened pack, ensure your hands are thoroughly washed and sanitized before handling them. Keep the diapers protected from household dust, pet dander, and moisture by placing them in clean, food-grade plastic zip bags or wrapping them in protective plastic wrap before you begin folding and assembling them into the hamper.
Community discussion
Share your experience or ask a question. Comments are reviewed before publication.