
Proper baby bottle care requires matching your cleaning tools and sterilization methods to the specific material of the bottle—whether glass, plastic, or silicone. By using soft brushes, mild detergents, and verifying the exact temperature limits set by the manufacturer, you can keep feeding equipment hygienic while preventing warping, clouding, or structural degradation.
Every bottle material has unique physical properties that dictate how it responds to heat, physical scrubbing, and chemical exposure. Glass resists high temperatures but is vulnerable to thermal shock and physical impact. Plastics are lightweight and shatterproof but can warp, discolor, or degrade under excessive heat or UV exposure. Silicone is highly flexible and heat-resistant but can easily tear or absorb odors if handled incorrectly. Understanding these differences is the key to maintaining a safe, long-lasting feeding setup.
Essential Tools for Safe and Effective Bottle Care
Caring for baby bottles starts with selecting the right tools. Standard kitchen sponges can harbor bacteria and may contain abrasive surfaces that scratch plastic or silicone. Instead, opt for dedicated bottle brushes with soft nylon bristles or gentle silicone heads. Silicone brushes are highly durable and hygienic, while soft-bristle brushes are excellent for reaching tight corners without leaving micro-scratches on delicate surfaces.
Products mentioned in this guide
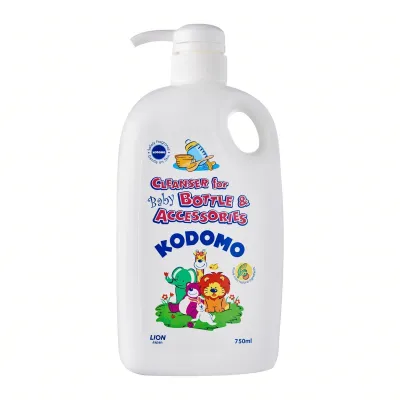
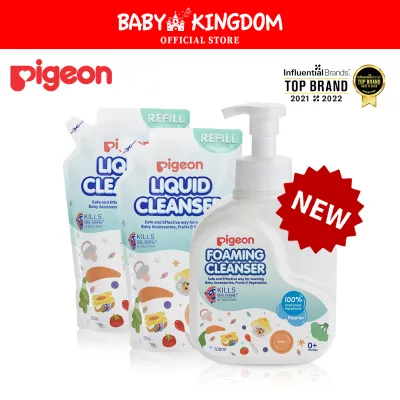
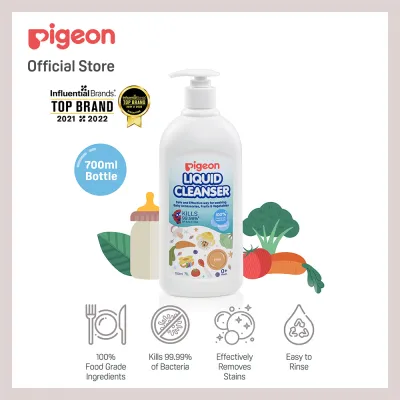
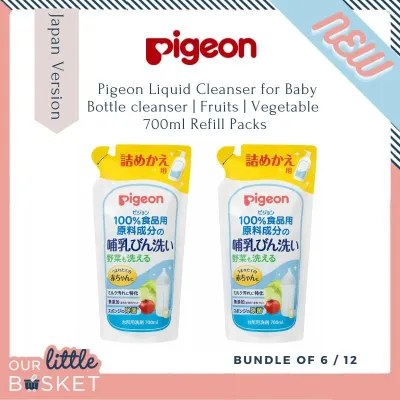
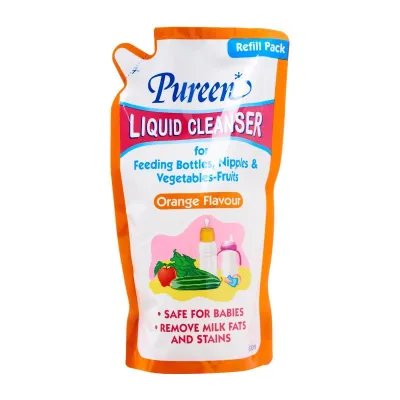
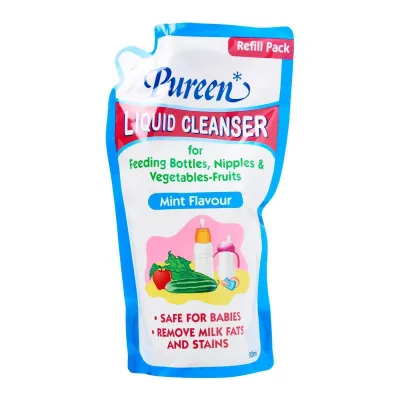
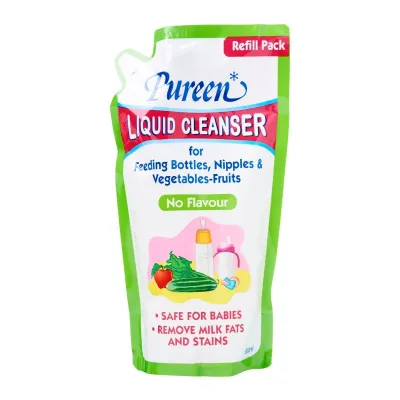
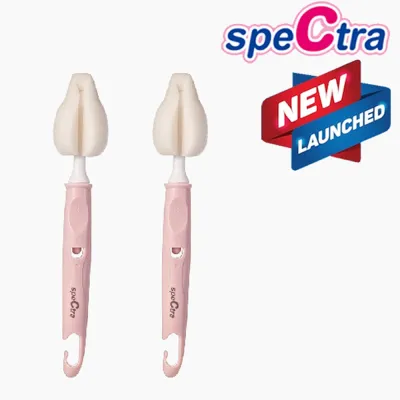
Prices are valid at publication and may change. Please refer to the product page for the latest price.
The choice of cleaning agent is equally important. Standard dish soaps often contain heavy fragrances and harsh surfactants that can leave a stubborn residue or scent on the bottle. A mild, fragrance-free, baby-safe dishwashing liquid designed specifically for baby accessories helps break down milk fats effectively while rinsing away completely clean.
Before purchasing sterilization equipment, evaluate the options against your bottle collection. Electric steam sterilizers, microwave steam bags, traditional boiling pots, and ultraviolet (UV) sterilizers all have different operating temperatures and mechanisms. Always verify the compatibility of your specific bottle materials with these devices to prevent accidental melting or accelerated wear.
The Daily Cleaning Routine: Prepping Bottles for Sterilization
Effective sterilization is only possible if the bottle is thoroughly cleaned first. Begin by completely disassembling every part of the bottle after each feed. This includes separating the nipple, collar ring, cap, and any internal anti-colic valves or straw systems. Milk residue easily traps itself in these joints, creating a breeding ground for bacteria if left unaddressed.

Rinse all components immediately after use with cool or lukewarm water. Hot water should be avoided at this initial stage, as it can cause milk proteins to coagulate and bind tightly to the bottle walls, making them much harder to scrub away.
Next, wash each part individually using your dedicated bottle brush and mild soap. Use a smaller, specialized nipple brush to clean the soft silicone nipple and valve openings. Be extremely gentle when cleaning the nipple tip; pushing a brush too forcefully through the feeding hole can easily stretch or tear the silicone, altering the milk flow rate.
After washing, rinse every component thoroughly under running tap water to remove all soap suds. Place the clean parts on a dedicated, elevated drying rack in a well-ventilated area. In warm and humid climates, allowing the parts to air-dry completely before sterilization or storage is crucial, as standing water can encourage microbial growth.
Sterilization Methods by Material: Avoiding Warping and Clouding
While sterilization is a key step in baby bottle care, applying the same high-heat method to every component can lead to damaged gear. Different materials react uniquely to heat, moisture, and light. A method that works perfectly for glass might warp a plastic collar or degrade a silicone nipple over time.
To maintain the structural integrity of your feeding equipment, always consult the manufacturer’s instruction manual for the exact temperature limits of each component. Checking these guidelines ensures you select a sterilization method that eliminates pathogens without compromising the safety or lifespan of the bottle.
Glass Bottles: Managing Heat and Preventing Thermal Shock
Glass bottles, typically made from durable borosilicate or tempered glass, are highly resistant to heat and chemical degradation. They are fully compatible with boiling, electric steam sterilization, and UV systems. This makes them a popular choice for parents looking for a long-lasting, easy-to-sanitize option.
However, glass is susceptible to thermal shock, which occurs when the material experiences a rapid, extreme change in temperature. To prevent cracking or shattering, never submerge a cold glass bottle directly into boiling water, and avoid placing a hot, freshly sterilized bottle onto a cold countertop or rinsing it with cold water. Allow the glass to cool down gradually inside the sterilizer or on a dry towel.
Additionally, remember that glass bottles are rarely single-material items. They rely on plastic collar rings, caps, and silicone nipples to function. Always check the individual heat tolerances of these accompanying parts, as they often have much lower temperature limits than the glass body itself.
Plastic Bottles: Checking Heat Limits to Prevent Degradation
Plastic baby bottles are lightweight and shatterproof, but they require careful temperature management. Common plastics used include Polypropylene (PP), Polyphenylsulfone (PPSU), and Polyethersulfone (PES). Before exposing plastic bottles to boiling water or steam, locate the manufacturer’s maximum heat tolerance label, which is often printed on the packaging or molded onto the bottom of the bottle.
PP bottles are generally the most common but have a lower heat tolerance compared to PPSU and PES. Prolonged or excessive exposure to high heat can accelerate the aging of plastic. Over time, this can cause the material to become cloudy, brittle, or prone to retaining stubborn milk odors. If you choose to sterilize plastic bottles via boiling, ensure they do not touch the hot bottom or sides of the pot, and limit the boiling time strictly to the manufacturer’s recommended duration.
UV sterilizers offer a dry, convenient alternative, but they are not suitable for all plastics. Some plastic types can degrade, discolor, or release odors when exposed to specific UV wavelengths over extended periods. Verify that your plastic bottles are explicitly labeled as UV-safe by the manufacturer before using a UV cabinet.
Silicone Components: Preventing Stickiness and Wear
Silicone is widely used for bottle nipples and silicone-bodied bottles due to its flexibility and soft texture. While high-quality food-grade silicone generally tolerates high temperatures well, you must verify the specific grade and temperature limits on the original packaging before boiling or steaming.
Silicone is highly sensitive to environmental factors. Avoid exposing silicone components to direct sunlight or specific UV sterilizer cycles if the manufacturer advises against it. Prolonged exposure to these elements can cause the silicone to become sticky, discolored, or lose its elasticity, which compromises its safety and usability.
Furthermore, silicone is easily damaged by physical wear. Keep nipples and silicone bottles away from sharp kitchen utensils, jewelry, and rough scouring pads. Even a tiny, microscopic tear caused by a rough cleaning tool can harbor bacteria or quickly expand into a major split during a feeding session.
Preventing Clouding, Odors, and Long-Term Material Damage
To extend the lifespan of your baby bottles and keep them looking clear, avoid using abrasive cleaning tools. Steel wool, stiff-bristled household brushes, and harsh chemical cleansers will create micro-scratches on both plastic and silicone. These tiny scratches not only ruin the clarity of the bottle but also create microscopic pockets where bacteria and milk proteins can hide.
In areas with hard water, you may notice a white, cloudy film—often called milk scale or mineral buildup—developing on your bottles and sterilizer heating plates. You can safely remove these mineral deposits using a food-grade descaling method. Soak the affected parts in a solution of equal parts warm water and distilled white vinegar, then rinse them exhaustively with clean water to remove any lingering vinegar scent.
If your bottles develop a stubborn milk odor, check your manufacturer’s guidelines to see if a baking soda soak is permitted. Dissolving a small amount of baking soda in warm water and letting the bottle soak can help neutralize odors. Alternatively, look for specialized, baby-safe bottle-cleaning tablets designed to lift odors without damaging the material.
Once your bottles are clean, sterilized, and completely dry, store them properly to maintain their hygiene. Keep them in a clean, dry, enclosed container or cabinet rather than leaving them exposed on an open countertop. This protects the sterilized parts from dust, kitchen grease, and airborne contaminants before their next use.
Clear Signs It Is Time to Replace Bottles and Nipples
Even with meticulous baby bottle care, feeding equipment does not last forever. For plastic bottles, inspect the material regularly for deep scratches, persistent cloudiness, or significant discoloration. These visual cues indicate that the plastic is beginning to degrade and may no longer be hygienic, signaling that it is time for a replacement.
Silicone nipples require even more frequent inspection due to the physical stress they endure during feeding. Replace nipples immediately if you notice swelling, a sticky texture, thinning of the silicone, or any visible tears. A damaged nipple can alter the milk flow, causing discomfort, or pose a serious choking hazard if a piece tears off completely.
For glass bottles, safety is paramount. Inspect the glass thoroughly before every single use. If you detect any chips, hairline cracks, or deep scratches, discard the bottle immediately. Even a minor structural flaw can cause the glass to break under thermal stress or during a feeding, presenting an immediate safety risk.
Frequently Asked Questions (FAQ)
Can I put all baby bottles in the dishwasher?
While many glass bottles and specific high-heat plastic bottles are labeled as dishwasher safe, you must always verify the manufacturer’s instructions first. Keep in mind that the high heat and harsh detergents in dishwashers can accelerate the wear of plastics. Small components like nipples, collar rings, and anti-colic valves should be placed in a secured dishwasher basket on the top rack, or washed by hand to prevent them from falling onto the heating element and melting.
How often should I sterilize baby bottles?
The frequency of sterilization depends largely on your baby’s age, immune system development, and the quality of your local water supply. For newborns, premature infants, or babies with weakened immune systems, daily sterilization is often recommended. As your baby grows older and their immune system matures, you may transition to sterilizing bottles less frequently, provided they are thoroughly washed after every feed. Consult your pediatrician for a personalized schedule that suits your child’s specific health needs.
Is it safe to use bleach for cleaning baby bottles?
Bleach should only be used to sanitize baby bottles if specifically recommended by local public health authorities, and it must always be heavily diluted according to official safety guidelines. If you must use a diluted bleach solution, ensure that all bottle parts are rinsed exhaustively with safe drinking water afterward. Allow the components to air-dry completely to ensure no chemical residue or chlorine odor remains before the next feeding.
Community discussion
Share your experience or ask a question. Comments are reviewed before publication.