
Selecting the right baby spoon set is a foundational step in your child’s weaning journey, directly influencing how comfortably they transition to solid foods. The ideal choice depends on matching the utensil’s size, shape, flexibility, and handle design to your baby’s current developmental stage. Rather than relying solely on age recommendations printed on packaging, observing your baby’s physical milestones and oral motor skills will guide you to a set that supports safe, comfortable, and independent eating.
How to Identify Your Baby's Current Feeding Stage
Every child develops at their own pace, meaning chronological age is only a rough guideline when introducing solid foods. Before purchasing any weaning utensils, look for clear physical and behavioral indicators of readiness. A baby must be able to hold their head steady and sit upright with minimal support to ensure they can swallow safely. The natural tongue-thrust reflex, which causes infants to push solid objects out of their mouth with their tongue, must also diminish before they can successfully take food from a spoon.
Behavioral cues are equally telling. Watch for moments when your child actively watches you eat, reaches for your plate, or mimics chewing motions during family meals. These signals indicate that their cognitive interest is aligning with their physical capabilities. By tracking these milestones, you can categorize your baby’s progress into three primary weaning phases, each requiring distinct utensil characteristics to match their evolving motor skills.
Products mentioned in this guide
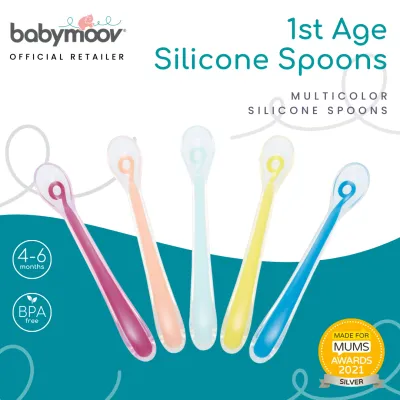
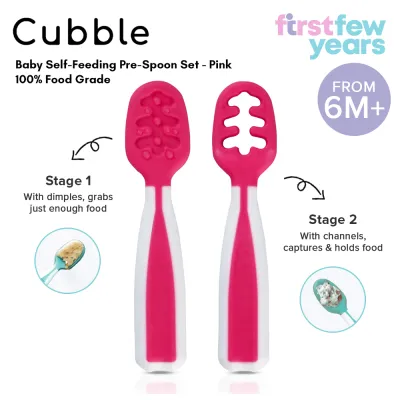
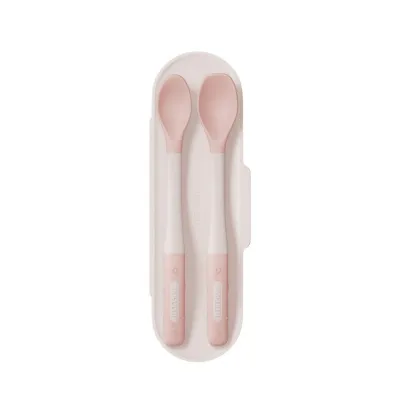
![Mushie Toddler Starter Spoons [Set of 2][12+ months][Food Grade Silicone]](https://img.lazcdn.com/g/p/6a835bec8bb372b6318dfee5b4b5ff0d.jpg_400x400q80.jpg_.webp)
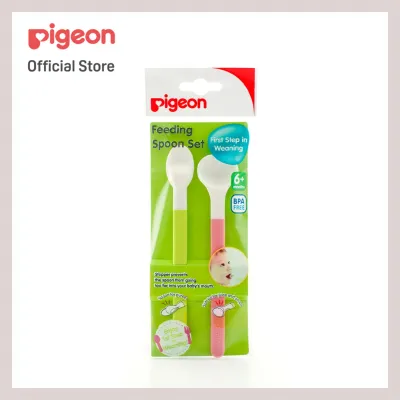
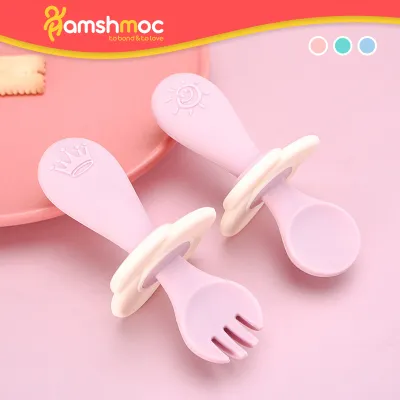
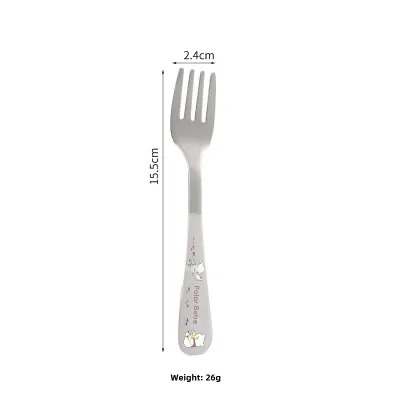
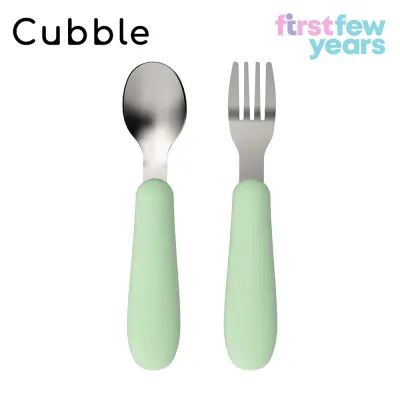
Prices are valid at publication and may change. Please refer to the product page for the latest price.
Stage 1: First Purees and Parent-Led Feeding (Around 4-6 Months)
Observable Signals At the start of the weaning journey, typically around four to six months, your baby is learning to coordinate their lips, tongue, and throat to swallow smooth purees. At this stage, the feeding process is entirely parent-led. Your baby has minimal hand-to-mouth coordination and will likely view the spoon as an unfamiliar object. They might close their lips tightly or tentatively suck on the tip, requiring a gentle introduction to the physical sensation of a utensil.

Ideal Spoon Features For this initial phase, prioritize a baby spoon set featuring extra-soft, flexible silicone tips. A rigid spoon can bruise sensitive, toothless gums or trigger a strong gag reflex if inserted too deeply. The spoon bowl must be exceptionally shallow and narrow, holding only a tiny portion of puree that fits comfortably within a small mouth. A long, slender handle is essential for parents, providing a comfortable grip and an unobstructed view of the baby’s mouth while allowing you to scrape the bottom of deep baby food jars easily.
Actionable Advice Begin by purchasing a small set of two or three long-handled, soft-tipped silicone spoons. Always check the manufacturer’s packaging to verify the recommended age grading, ensuring the product is certified for early weaning. When feeding, place a tiny amount of food on the very tip of the spoon and wait for your baby to open their mouth voluntarily. Avoid forcing the spoon past their lips, and allow them to set the pace of the meal.
Stage 2: Exploring Textures and Early Scooping (Around 6-9 Months)
Observable Signals Between six and nine months, babies undergo rapid motor development and often display a strong desire to participate in the feeding process. You will notice your baby reaching out to grab the spoon, holding objects with a palmar grasp—using their entire fist to clutch the handle. This stage also coincides with teething, leading to a natural urge to bite down hard on toys and utensils. Dietarily, they are moving beyond smooth purees to thicker, mashed foods and soft, lumpy textures.
Ideal Spoon Features To support this transition, look for spoons with shorter, chunkier handles that fit naturally into a baby’s fist. The spoon bowl should be slightly wider and deeper than early weaning spoons to accommodate thicker textures without spilling. Incorporating sensory textures, such as raised bumps or ridges on the underside of the spoon bowl or along the handle, provides excellent tactile feedback. These textured surfaces also double as soothing teethers that massage sore gums during mealtime.
Actionable Advice An excellent strategy is to use a dual-spoon approach during meals. Give your baby a short, textured spoon to hold, chew on, and dip into the food, while you use a longer spoon to ensure they actually receive their nutrition. Look for a baby spoon set that includes both parent-led and baby-led designs. Because babies at this stage frequently chew on their utensils, inspect the silicone tips before every meal for any signs of peeling or tearing, and discard any damaged items immediately.
Stage 3: Independent Self-Feeding and Toddlerhood (9-12+ Months)
Observable Signals By nine to twelve months and beyond, your baby’s fine motor skills are significantly more refined. They are developing a pincer grasp, using their thumb and index finger to pick up small objects. They will likely resist being fed, insisting on scooping food and bringing the spoon to their mouth independently. While their coordination is improving, they still lack the wrist rotation required to keep a standard spoon level, often tilting it and spilling the contents before it reaches their mouth.
Ideal Spoon Features Utensils for this stage must be designed to bridge the gap in motor skills. Ergonomic, non-slip handles with silicone or textured rubber grips prevent the spoon from sliding out of greasy hands. Spoons with curved or angled necks are particularly helpful, as they allow the baby to guide food directly into their mouth without needing to rotate their wrist. As their jaw strength increases, you can transition to more durable materials, such as food-grade stainless steel bowls wrapped in soft silicone edges, which offer structure for scooping harder foods while remaining gentle on teeth.
Actionable Advice When transitioning to independent self-feeding, select a dishwasher-safe toddler set that can withstand frequent drops. Look for spoons designed with a built-in support or weighted base that keeps the spoon tip elevated off the table surface, helping to maintain hygiene in your dining area. Accept that self-feeding is a messy process; focus on providing thick, scoopable foods like oatmeal or Greek yogurt that cling to the spoon bowl, giving your child immediate positive reinforcement as they practice.
Essential Safety and Design Checks Before You Buy
Material Verification When browsing local baby boutiques or online marketplaces in Singapore, never rely solely on marketing claims like “natural” or “eco-friendly” on the front of the box. Turn the packaging over to verify official material safety certifications. Ensure the manufacturer explicitly states that the baby spoon set is free from Bisphenol A (BPA), polyvinyl chloride (PVC), and phthalates. High-quality, food-grade silicone or medical-grade plastics are the safest choices for direct contact with your baby’s food.
Choking and Breakage Hazards Prioritize one-piece molded designs where the spoon tip and handle are a single, continuous piece of material. Spoons constructed from multiple pieces glued or snapped together run the risk of separating over time, especially after repeated exposure to hot water and biting. Avoid any utensils with small decorative elements, glued-on characters, or fragile plastic joints that could snap off and present an immediate choking hazard.
Care and Sterilization Limits Singapore’s warm, humid climate makes proper hygiene and thorough drying of baby utensils critical to prevent mold growth. However, not all materials can tolerate the extreme heat of steam sterilizers or boiling water. Always consult the manufacturer’s care instructions before sterilizing your baby spoon set. Exceeding the recommended temperature limits can cause plastic to leach chemicals or silicone to degrade, soften, and lose its structural integrity.
Local Compliance Ensure the products you purchase comply with relevant consumer safety standards. Look for reputable brands that provide clear contact details, batch numbers, and safety warnings on their packaging. If you import sets from overseas online platforms, verify that they meet international food-contact safety standards before allowing your baby to use them.
Frequently Asked Questions (FAQ)
Can I use a regular teaspoon instead of a baby spoon?
Regular metal teaspoons are unsuitable for early weaning and self-feeding. They are typically made of hard metal that can easily bruise a baby’s delicate gums or chip emerging primary teeth. Furthermore, the deep bowl of a standard teaspoon holds too much food for an infant’s small mouth, and the long, thin handle is impossible for a baby’s developing grip to control. Investing in a dedicated baby spoon set ensures the size, weight, and materials are optimized for your child’s safety and comfort.
How many spoons do I actually need in a set?
For the first stage of parent-led feeding, a small set of two to three spoons is generally sufficient. Once your baby enters the self-feeding stage, upgrading to a larger set of four to six spoons is highly practical. Babies frequently drop utensils on the floor during meals, and having extra clean spoons on hand prevents you from constantly running to the sink. A larger set also ensures you always have clean utensils available while others are running through the dishwasher cycle.
When should I replace my baby's spoons?
Inspect your baby’s utensils regularly for physical signs of wear and tear. You should replace any spoon immediately if you notice deep bite marks, tearing or peeling along the silicone edges, persistent discoloration, or a sticky residue that remains after washing. If a multi-piece spoon shows any looseness or wobble at the joint, discard it right away. Damaged utensils can harbor harmful bacteria in crevices or pose a severe choking risk if a piece breaks off during use.
Community discussion
Share your experience or ask a question. Comments are reviewed before publication.