
Building a diaper cake using a premium pack of diapers is one of the most thoughtful, practical, and visually stunning gifts you can bring to a baby shower in Singapore. It serves as an eye-catching centerpiece for the celebration and later transforms into a vital stash of high-quality diapers for the newborn. Constructing one requires a balance of structural stability, hygienic handling, and creative styling. By following a systematic rolling, stacking, and decorating process, you can create a beautiful, professional-looking gift that keeps every single diaper clean, undamaged, and ready for use.
Choosing a premium brand like Merries is highly appreciated by parents in Singapore. Known for their exceptional breathability and soft wavy top sheets, these diapers are ideal for Singapore’s hot and humid tropical climate, helping to keep a baby’s skin dry and comfortable. When you present a diaper cake made from these high-quality materials, you are offering both an aesthetic masterpiece and a practical solution to everyday newborn care.
Choosing the Right Merries Diaper Size and Quantity
Selecting the right size is the first critical decision in your diaper cake project. While newborn-sized diapers are incredibly small and make for a compact, cute cake, babies outgrow them within a matter of weeks. Parents also tend to stock up heavily on newborn sizes before the baby arrives, meaning your gift might go to waste if they receive too many.
Products mentioned in this guide
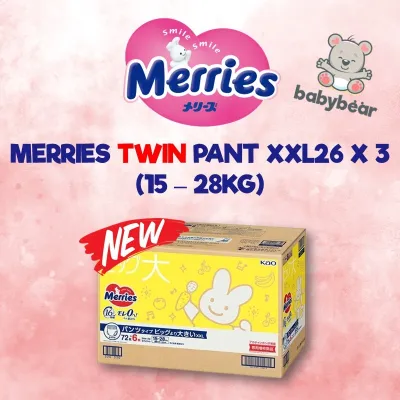
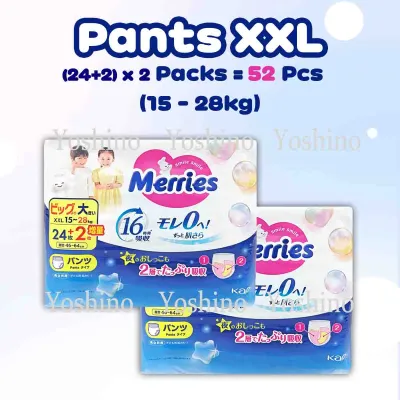
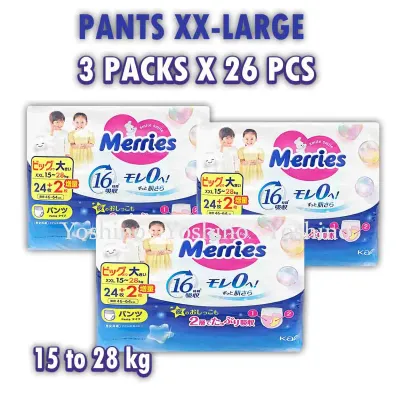
![[LIMITED EDITION] Merries GIANT PANTS L54 x 3 packs](https://img.lazcdn.com/g/ff/kf/S00c74cba66d14c6abc99259f5df06b7fQ.jpg_400x400q80.jpg_.webp)
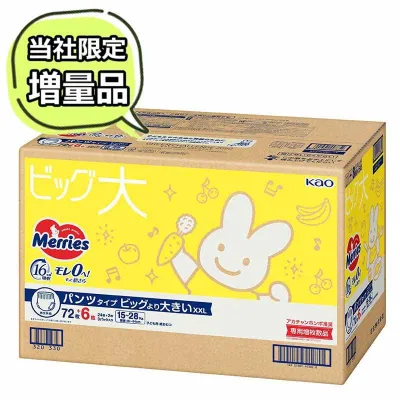
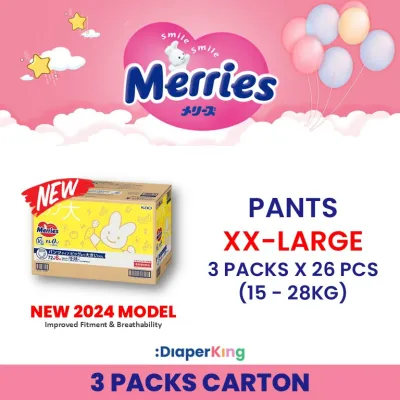
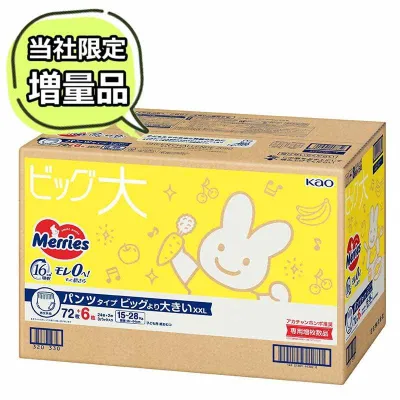
Prices are valid at publication and may change. Please refer to the product page for the latest price.
Opting for Size M or Size L is generally a much more practical choice for a baby shower gift. Merries tape diapers in Size M (designed for babies weighing 6 to 11 kg) or Size L (for babies weighing 9 to 14 kg) allow the parents to display your beautiful creation in the nursery for several months. Once the baby grows into the diapers, the parents can dismantle the cake and put the diapers to practical use.
To estimate the quantity of diapers you need to purchase, you must first decide on the scale of your cake. A standard two-tier diaper cake typically requires between 30 and 45 diapers. If you want to make a grander, three-tier cake, you will need approximately 60 to 80 diapers. Keep in mind that the exact diaper count depends on how tightly you roll each diaper and how closely you pack them around the central support column.
When purchasing your diapers, prioritize product integrity and hygiene by buying from official brand stores, reputable baby specialty retailers, or established supermarkets in Singapore. This ensures that the diapers have been stored in clean, temperature-controlled environments, protecting them from moisture and dust before you even begin your project.
Essential Materials and Tools for a Safe Assembly
Before you begin assembling your diaper cake, gather all your materials on a clean, sanitized workspace. Having everything prepared beforehand ensures a smooth assembly process and minimizes the amount of handling the diapers receive, keeping them clean and hygienic.

For the structural core of the cake, you will need several basic items:
- A sturdy cardboard cake board or a plastic plate (10 to 12 inches in diameter) to serve as the base.
- A central support cylinder, such as a clean baby bottle, a cardboard paper towel roll, or a tall baby lotion bottle.
- A large packet of small, clear or white rubber bands to secure individual rolled diapers.
- Several large, heavy-duty rubber bands or clean kitchen string to bind the tiers together.
For the decorative elements, you can let your creativity shine while choosing items that double as secondary gifts:
- Wide fabric ribbons (at least 2 inches wide) in satin, grosgrain, or organza to wrap around each tier and conceal the structural rubber bands.
- Practical baby accessories such as washcloths, baby socks, bibs, pacifiers, and teething rings.
- A soft plush toy or a large decorative bow to place on the very top of the cake.
It is vital to establish a strict safety boundary when building your diaper cake. Never use hot glue, liquid adhesive, double-sided tape, or safety pins directly on the diapers. Glues and tapes can tear the delicate outer cover or leave chemical residues that could irritate a baby’s sensitive skin, while pins can puncture the leak guards and inner absorbent core. Every diaper must remain completely pristine, functional, and safe for the baby. Use only external tension from rubber bands and ribbons to secure the structure.
Step-by-Step Guide to Rolling and Stacking the Tiers
Building a stable, symmetrical diaper cake requires patience and a systematic approach. By mastering the rolling technique and securing the tiers properly, you can ensure your cake survives transport and looks professionally made.
Rolling the Diapers Without Damaging Them
To begin, thoroughly wash and dry your hands, and clean your assembly table. Lay one diaper flat on the clean surface with the back waistband facing up and the front design panel facing down.
Fold the side wings of the diaper inward slightly to create a clean, uniform rectangle. Begin rolling the diaper tightly starting from the front waistband, rolling inward toward the back. Rolling in this direction ensures that the colorful, decorative front waistband of the diaper remains on the outside of the roll, which adds a subtle, cohesive pattern to the exterior of your cake.
Once you have rolled the diaper into a neat cylinder, secure it by placing a small, clear rubber band around the middle. Be careful not to stretch the diaper’s elastic leg cuffs or side gathers too tightly during this process. Preserving the natural elasticity of the leg cuffs is essential for maintaining the diaper’s leak-prevention capabilities when the baby eventually wears it.
Building a Stable Base and Adding Tiers
Now that you have rolled all your diapers, it is time to assemble the tiers. Place your cardboard cake board flat on your workspace and position your central support column directly in the center. If you are using a baby bottle as the support, you can secure its base to the cardboard using a small amount of hot glue or tape, ensuring the adhesive only touches the bottle’s bottom and the cardboard, never the diapers.
To build the bottom tier, arrange a circle of rolled diapers vertically around the central support column. Continue adding concentric rings of rolled diapers around the first circle until the bottom tier reaches your desired diameter. A standard bottom tier usually consists of three concentric rings, utilizing about 30 to 35 diapers. Wrap a large, strong rubber band around the entire outer circumference of this tier to hold the diapers snugly against the central column.
For the second tier, repeat the same process but create a smaller circle consisting of only two concentric rings, using roughly 15 to 20 diapers. Slide these diapers over the top half of the central support column so they rest flat on top of the bottom tier, and secure them with another large rubber band. If you are building a three-tier cake, add a final, single ring of 8 to 10 diapers at the very top, ensuring the entire structure remains perfectly centered and balanced.
Decorating With Practical and Baby-Safe Accessories
Once the main structure of your diaper cake is complete, you can begin the decorating process. This is where you can customize the cake to match the baby shower’s theme, whether it is a classic pastel palette, a woodland creature motif, or a modern minimalist style.
Start by wrapping your wide fabric ribbons around the center of each tier. The ribbon should be wide enough to completely conceal the large structural rubber bands underneath. Pull the ribbon snug and secure the overlapping ends to each other using double-sided tape or a dab of hot glue. Take absolute care that the adhesive only touches the ribbon itself and never comes into contact with the diapers underneath.
Next, begin tucking your practical baby accessories into the ribbon bands. You can fold baby washcloths into spiral lollipop shapes using colorful paper straws, roll baby socks into small rosebud shapes, or tuck flat items like bibs and teething rings directly behind the ribbons. These items add delightful pops of color and texture while providing the parents with highly useful everyday essentials.
Always prioritize safety when selecting and attaching your decorations. Ensure that all decorative add-ons are securely fastened so they do not slip off during transport. Avoid using small, loose items or decorations with tiny detachable parts that could present a choking hazard, especially if the family has older siblings who might help unpack the gift. If you place a plush toy on top of the cake, secure it gently using a soft ribbon tied around the top tier rather than sharp pins.
Wrapping and Transporting Your Finished Gift
Protecting your completed diaper cake from environmental factors is essential, particularly in Singapore’s tropical climate. To keep the diapers clean, dust-free, and perfectly hygienic for the baby, you should wrap the entire structure before transport.
Cut a large sheet of clear cellophane wrap and place it flat on the floor or a large table. Carefully lift your diaper cake from the bottom cardboard base and place it in the center of the cellophane. Bring the corners of the cellophane up to meet above the cake topper, gather them tightly, and secure them with a colorful twist tie or a large, coordinating decorative bow. Alternatively, you can place the cake inside a large, clear acrylic gift box for a highly premium, modern presentation.
Transporting the cake to the baby shower venue requires careful handling to prevent the tiers from shifting. Always carry the cake from the very bottom of the cardboard base, never by the cellophane wrap or the top decoration. Place the wrapped diaper cake on a flat, level surface in your vehicle, such as the floorboard of the front passenger seat or a flat boot space, rather than on a slanted car seat.
Additionally, avoid leaving the diaper cake in a hot car or exposing it to direct sunlight and high humidity for extended periods. Singapore’s intense humidity can cause cardboard bases to soften and lose rigidity, which may cause the cake to lean. Keep the gift in a cool, air-conditioned room until it is time to present it at the baby shower.
Frequently Asked Questions (FAQ)
Should I use Newborn or larger Merries diapers for the cake?
While newborn-sized diapers make for a smaller, highly compact cake, choosing larger sizes like Size M or L is highly recommended. Babies grow out of newborn sizes incredibly quickly, sometimes within the first few weeks of life. By using larger sizes, the parents can display the diaper cake as a beautiful nursery decoration for a few months before easily dismantling it and using the diapers when the baby fits into them.
How do I keep the diaper cake intact in Singapore's humid weather?
To prevent the diaper cake from losing its structural integrity in Singapore’s humid climate, use high-quality, thick cardboard or plastic cake boards that will not warp when exposed to moisture in the air. Opt for synthetic ribbons like polyester grosgrain or satin, which resist sagging better than paper-based ribbons. Finally, assemble the cake no more than a day or two before the event, and store it in an air-conditioned room to keep the materials crisp and dry.
Community discussion
Share your experience or ask a question. Comments are reviewed before publication.