
Welcoming a new baby is a momentous occasion, and finding a gift that balances aesthetic charm with everyday utility can be a challenge. A DIY diaper gift set using MamyPoko diapers as the centerpiece offers the perfect solution, combining a highly practical baby essential with the personal touch of a handmade present. By taking the time to assemble the set yourself, you can tailor the colors, themes, and accompanying accessories to match the parents’ preferences while ensuring the entire structure is built with the utmost care and hygiene.
Diapers are arguably the most consistent necessity for new parents, making them an incredibly thoughtful foundation for a gift. MamyPoko diapers are widely recognized for their reliable absorption and comfortable fit, making them a popular choice among families in Singapore. Transforming these daily essentials into a stunning diaper cake or a beautifully curated gift basket elevates a simple commodity into a memorable keepsake that will stand out at any baby shower or full month celebration.
To ensure your DIY project is a success, you need to focus on structural stability, clean assembly practices, and thoughtful design. This comprehensive guide will walk you through every stage of the process, from selecting the right diaper sizes and gathering safe materials to shaping the tiers, adding practical accessories, and wrapping the final creation for a flawless presentation.
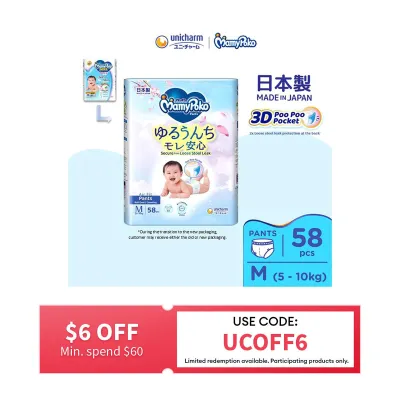
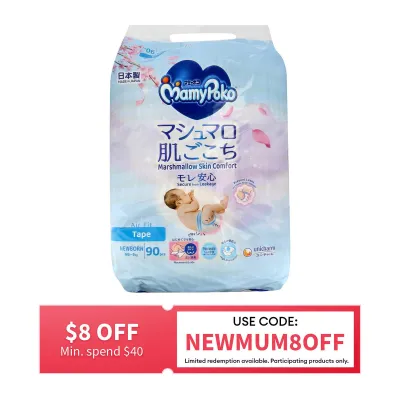
Products mentioned in this guide
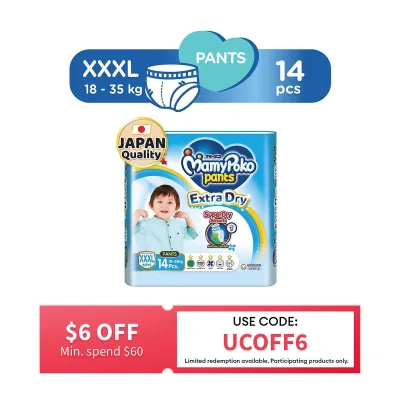
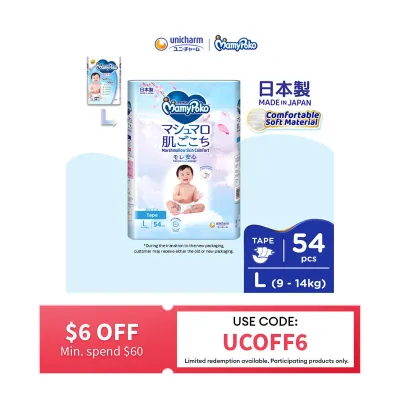
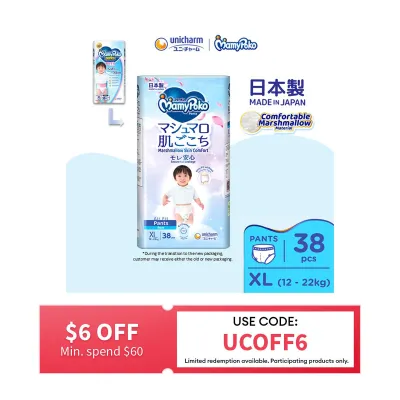
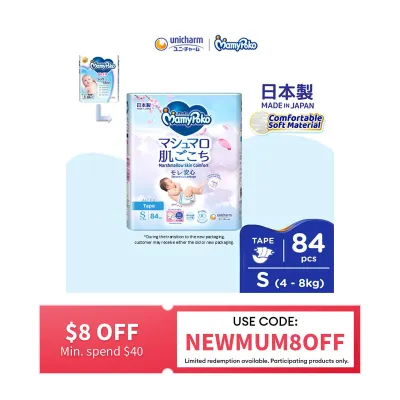
![MamyPoko Air Fit Marshmallow Pants Super Premium Baby Diapers [BOY] XL38 (4 Packs) (12 - 22kg)](https://img.lazcdn.com/g/p/eacd96335d996f78b394f6a3845f958a.jpg_400x400q80.jpg_.webp)
Prices are valid at publication and may change. Please refer to the product page for the latest price.
Planning Your MamyPoko Diaper Gift Set
Before purchasing your supplies, taking time to plan the dimensions, theme, and budget of your diaper gift set will save you time and prevent unnecessary waste. The first and most critical decision is selecting the appropriate diaper size. While newborn-sized diapers are incredibly cute, babies grow out of them remarkably fast, sometimes within just a couple of weeks. If you are gifting the set at a baby shower before the birth, or at a full month celebration, opting for MamyPoko size Small (S) or even Medium (M) is often a much more practical choice. This ensures the parents can display your beautiful creation for a while without worrying that the baby will outgrow the diapers before they are even unwrapped.
Next, estimate the quantity of diapers you will need based on your chosen design. A standard three-tier diaper cake typically requires between 50 and 70 diapers, with the bottom tier using about 30 to 40, the middle tier using 15 to 20, and the top tier using 8 to 10. If you prefer a more compact design, a two-tier cake can be easily constructed with 25 to 35 diapers, while a flat basket arrangement might only require 15 to 20 diapers neatly stacked alongside other gifts. Knowing these numbers beforehand helps you purchase the correct pack sizes without ending up with too many loose leftovers.
Establishing a cohesive visual theme is what elevates a DIY gift from a simple collection of items to a professional-looking hamper. Consider the parents’ nursery decor, or opt for classic color palettes such as soft pastels, gender-neutral earth tones, or vibrant botanical prints. You can coordinate your wide decorative ribbons, wrapping materials, and small toys to match this chosen theme.
Finally, set a realistic budget in S$ for the entire project. A basic yet beautiful diaper set can be assembled for around S$40 to S$60, which covers the cost of a standard pack of MamyPoko diapers, basic ribbons, and a few simple accessories. If you wish to include premium items like organic cotton swaddles, high-end baby skincare products, or branded plush toys, your budget can easily scale up to S$100 or S$150. Having a clear budget in mind helps you select complementary items that add genuine value without overspending.
Gathering Materials and Tools
Having all your tools and materials prepared before you begin assembly makes the construction process smooth and enjoyable. Your core supplies will include a fresh pack of MamyPoko diapers, a box of small clear rubber bands for individual diapers, and several large, heavy-duty rubber bands to hold the tiers together. You will also need wide decorative fabric ribbons—ideally 2 to 3 inches in width—to wrap around each tier, which serves the dual purpose of adding color and completely hiding the structural rubber bands.

For the structural foundation, you need a sturdy base to support the weight of the diapers and accessories. A thick cardboard cake circle, a clean plastic tray, or even a shallow decorative basket works beautifully. If you are building a tiered cake, a central support pillar is essential to keep the levels from sliding or tilting. A clean, empty paper towel roll, a sturdy cardboard tube, or even a tightly rolled baby blanket or swaddle can serve as an excellent central anchor.
When selecting decorative elements, look for practical, lightweight baby items that fit your theme. Soft washcloths, cotton bibs, pacifiers, teething rings, and travel-sized baby toiletries are excellent choices. For the final outer layer, high-quality clear cellophane sheets or soft tulle will protect the diapers from dust and moisture while keeping your beautiful handiwork fully visible.
It is crucial to prioritize safety by avoiding certain tools during assembly. Never use straight pins, safety pins, or hot glue directly on the diapers. Puncturing a diaper with a pin can damage its absorbent core or tear the delicate outer waterproof layer, rendering it unusable and potentially creating a safety hazard for the baby. Adhesives can leave sticky, chemical residues on the fabric that could irritate a newborn’s sensitive skin. Stick strictly to gentle rubber bands, ribbons, and string to secure your structure.
Step-by-Step Diaper Assembly and Shaping
Before you touch a single diaper, wash and dry your hands thoroughly, and clean your workspace to ensure the diapers remain perfectly hygienic for the baby. To begin rolling, lay a MamyPoko diaper flat on your clean surface with the back sheet facing upward. Start rolling the diaper tightly from the crotch end up toward the waistband, keeping the roll as even and cylindrical as possible. Secure the center of the rolled diaper with a small, clear rubber band, making sure not to fold or crush the elastic leg cuffs, as they need to retain their shape and elasticity. Repeat this process until you have rolled all the diapers needed for your design.
To assemble a classic tiered cake, place your central support pillar in the middle of your sturdy cardboard base. Begin building the bottom tier by standing your rolled diapers vertically around the central support in concentric circles. Once you have arranged enough diapers to form a wide, stable base, carefully stretch a large rubber band around the entire circle to hold them snugly against the center. Move on to the second tier, repeating the process with fewer diapers to create a slightly smaller circle, and secure it with another large rubber band. If you are making a three-tier cake, add the final, smallest layer at the top.
If a tiered cake feels too complex, a modern flat or basket arrangement is an excellent alternative. Line a beautiful, reusable storage basket with a soft baby blanket, letting the edges drape over the sides. Stack your MamyPoko diapers neatly inside the basket, either rolled or laid flat in overlapping rows. This style is highly appreciated by parents because the basket itself serves as a practical storage solution for the nursery long after the diapers are used.
Once your structure is shaped, perform a quick stability check by gently wiggling the base. If any diapers feel loose or if the tiers seem to lean, adjust the tension of the outer rubber bands or add a few extra diapers to fill in any gaps. The entire assembly must feel solid and secure so that it can be transported safely in a vehicle without collapsing or losing its shape.
Arranging Complementary Baby Items
Integrating small, practical baby items into your diaper structure adds visual interest and increases the overall utility of your gift. Start by tucking lightweight items like rolled baby washcloths, soft cotton bibs, or small socks into the natural gaps between the diapers. This is a clever way to add pops of contrasting color while helping to conceal any visible rubber bands or structural elements.
For slightly larger or heavier accessories, such as pacifiers, teething rings, or small plush toys, use thin decorative ribbons to tie them securely to the main outer ribbons or the central support pillar. Avoid using any tape or liquid adhesives on these items, as they are meant to go into the baby’s mouth or touch their skin, and adhesive residues can be difficult to clean off completely.
As you add these items, maintain a sense of visual balance and symmetry. Rotate the diaper set slowly and inspect it from all sides, ensuring that the decorative elements are evenly distributed rather than clustered in one spot. If you have a primary focal piece, such as a cute plush toy, place it securely on the very top tier of the cake, anchoring it with a ribbon so it stays upright.
Always double-check that every accessory you include is completely safe and age-appropriate. Avoid items with small, detachable parts that could pose a choking hazard to an infant. If you are including baby skincare products like lotions or body washes, ensure they are securely sealed and placed upright to prevent any accidental leaks from ruining the surrounding diapers.
Wrapping and Final Presentation Techniques
The final wrapping is essential not only for a polished presentation but also for protecting the diapers from dust, dirt, and moisture during transport and display. Cut a large square of clear cellophane wrapping or soft tulle that is at least twice the height of your diaper set. Place the sheet flat on a clean floor or large table, and carefully lift your assembled diaper set, placing it directly in the center of the wrapping material.
Slowly gather the corners of the cellophane or tulle upward, pulling them tightly over the top of the diaper set. Smooth out any large wrinkles along the sides as you gather the material at the top, just above the highest tier or the basket handle. Secure the gathered wrapping tightly with a sturdy piece of string, a twist tie, or a rubber band to lock it in place.
Once the wrapping is secured, tie a large, elaborate bow over the fastening point using a wide ribbon that complements your overall color scheme. You can trim the excess cellophane at the top to create a neat, flared pom-pom effect, which adds a festive touch to the presentation. Attach a personalized greeting card to the bow or the front of the wrapping, ensuring the parents’ names are clearly visible.
Before you set off to deliver the gift, ensure the base is fully supported. If the diaper cake is heavy, you can secure the cardboard base to the bottom of the cellophane wrapping with a small amount of clear tape on the outside of the wrap. For easier transport, place the entire wrapped structure into a wide-bottomed, sturdy gift bag, keeping it upright to prevent any shifting during the journey.
Safety and Usage Guidelines for the Recipient
While a diaper gift set is beautiful to look at, its ultimate purpose is to be used by the new parents. To make their experience as seamless as possible, include a small, neatly written instruction card tucked into the wrapping. This card should gently guide them on how to dismantle the structure safely, advising them to cut the outer ribbons and rubber bands carefully with scissors rather than pulling them, which could tear the delicate outer covers of the MamyPoko diapers.
Even though you assembled the gift with clean hands in a tidy environment, it is always a good practice to remind the parents to do a quick hygiene check. Suggest that they inspect the diapers for any stray lint, dust, or ribbon fibers before placing them on the baby. This simple step ensures that the baby’s sensitive skin remains completely protected and comfortable.
If your gift set includes any integrated skincare products, baby washes, or creams, advise the parents to check the expiration dates, batch codes, and ingredient lists on the packaging. This is particularly important for newborns, whose skin barrier is still developing and may react to certain formulations.
Finally, suggest that once the decorative wrapping is removed, any unused diapers should be stored in a cool, dry place, such as a closed nursery drawer or a plastic storage bin. Singapore’s humid climate can cause exposed diapers to absorb ambient moisture over time, which can reduce their effectiveness when eventually worn. Storing them properly keeps them fresh, dry, and ready for use.
Frequently Asked Questions (FAQ)
Which MamyPoko size is best for a newborn gift set?
While Newborn (NB) size diapers are incredibly cute and fit babies right after birth, they are outgrown very quickly—often within the first few weeks. Choosing MamyPoko size Small (S) is generally a safer and more practical choice for a gift set. Size Small accommodates a slightly larger weight range, giving the parents plenty of time to display the gift before needing to dismantle and use the diapers. If you know the baby was born with a higher birth weight, you might even consider size Medium (M) to ensure the gift remains useful.
How far in advance can I build the diaper gift set?
It is best to assemble the diaper gift set no more than two to three days before you plan to present it. Diapers are highly absorbent and can attract moisture from the air, especially in humid tropical climates. Leaving them exposed to household dust, pet hair, or humidity for weeks can compromise their hygiene. Once assembled, wrap the set in cellophane immediately to seal out dust and moisture, and store it in a clean, dry closet away from direct sunlight until the day of the event.

Community discussion
Share your experience or ask a question. Comments are reviewed before publication.