
Nipple butter is a highly effective supportive tool for pumping comfort, but only when applied correctly. Applying a very thin, pea-sized layer directly to the nipple and the inner tunnel of the breast pump flange reduces friction, protects the skin barrier, and helps maintain a secure vacuum seal. Done incorrectly, however, it can cause the pump to slip, break suction, and degrade the delicate silicone parts of your equipment.
Pumping involves mechanical, repetitive suction that differs significantly from a baby’s natural latch. This mechanical action can easily cause chafing, especially in Singapore’s warm and humid climate where skin friction can be exacerbated by perspiration and moisture. Understanding how to integrate nipple butter into your daily routine is key to maintaining both skin health and milk expression efficiency.
The Role of Nipple Butter in Your Pumping Routine
The primary role of nipple butter during a pumping session is lubrication. As the breast pump motor creates suction, the nipple is drawn into the plastic or silicone flange tunnel multiple times per minute. This repetitive movement can cause friction, leading to micro-tears, chafing, and painful fissures. A high-quality nipple butter acts as a protective barrier, allowing the skin to glide smoothly against the tunnel walls without sticking or stretching excessively.
Products mentioned in this guide
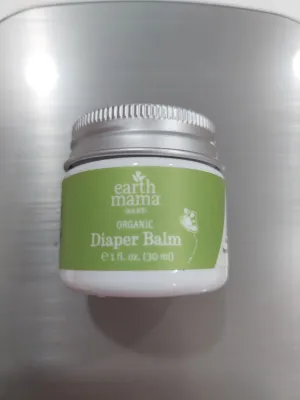
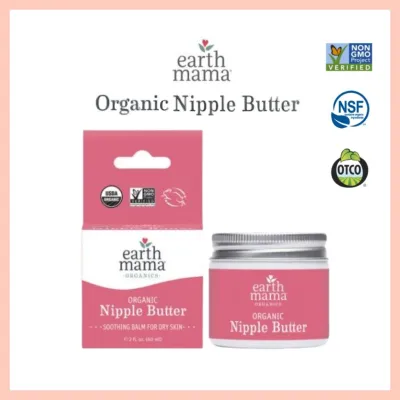
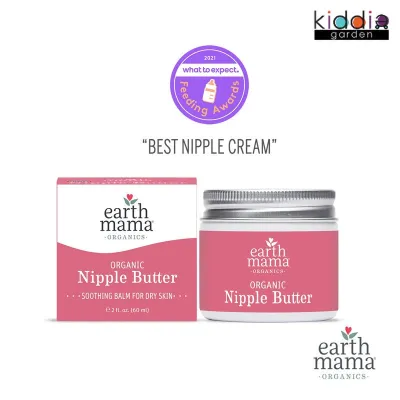
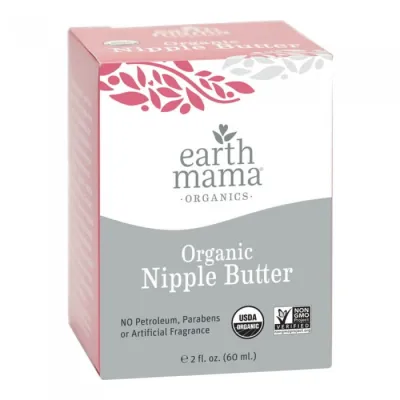
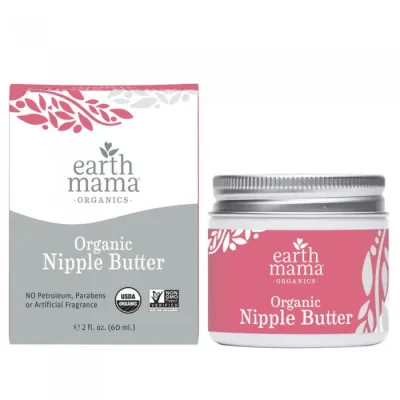
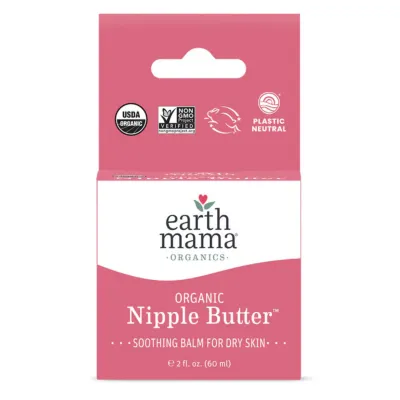
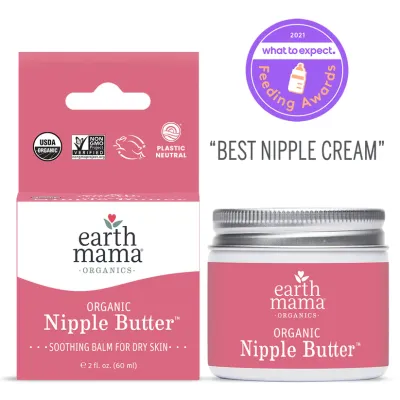
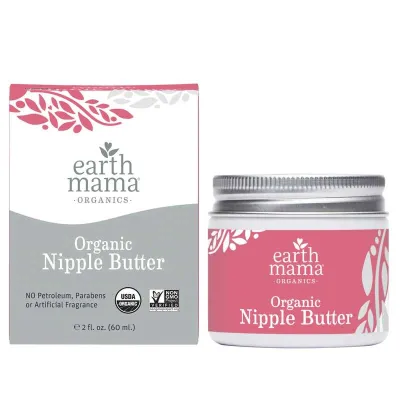
Prices are valid at publication and may change. Please refer to the product page for the latest price.
Beyond comfort, a thin application of nipple butter can actually optimize the physical performance of your breast pump. By filling in the microscopic gaps between your skin and the flange material, the butter helps create a more consistent, airtight vacuum seal. This stable suction is critical for triggering the milk let-down reflex efficiently. When the pump maintains steady pressure without micro-leaks, your body can relax, which directly supports optimal milk expression.
However, it is vital to recognize that nipple butter is a supportive tool, not a cure-all. If your pump flanges are too small or too large, or if you are using a suction setting that is too high, no amount of lubrication will prevent pain or tissue damage. Nipple butter cannot compensate for an incorrect flange size. If you experience deep pinching or notice your areola being pulled excessively into the tunnel, you must address the physical fit of your equipment rather than relying solely on topical creams.
Essential Prep and Hygiene Checklist
Hygiene is paramount when handling breast milk and sensitive breast tissue. Before you even touch your nipple butter or pump parts, you must prepare a clean environment. This begins with washing your hands thoroughly with warm water and soap for at least 20 seconds. Introducing bacteria from unwashed hands to the warm, moist environment of a breast pump flange can lead to painful skin infections or contaminate the expressed breast milk intended for your baby.

Gather your essential tools before starting your session to ensure a smooth, stress-free process. You will need:
- Clean hands: Washed thoroughly to prevent bacterial transfer.
- A safe, compatible nipple butter: Choose a formula designed for breastfeeding, such as a purified lanolin-based or a food-grade, plant-based butter. Always verify the ingredients on the product packaging to ensure they are safe for potential infant ingestion.
- Correctly sized pump flanges: Double-check that your flanges match your current nipple measurements, which can change throughout your postpartum journey.
- Gentle cleansing wipes or warm water: Useful for preparing the skin and cleaning up any excess product afterward.
Step-by-Step Application for Maximum Comfort and Suction
Step 1: Prep and Inspect Your Skin
Begin by preparing your breasts. Gently cleanse the nipple and areola area using warm water or a mild, fragrance-free wipe. Avoid using harsh body soaps, alcohol-based wipes, or heavily fragranced body washes, as these strip away the skin’s natural protective oils, leaving the tissue dry and highly susceptible to cracking during suction cycles. Pat the skin completely dry with a clean, soft towel before applying any product.
Take a moment to inspect your skin. Look closely at the nipple and areola for any pre-existing cracks, bleeding, deep abrasions, or unusual discoloration. If you notice signs of potential infection—such as localized warmth, severe swelling, pus, or if you are experiencing shooting pains deep within the breast—stop immediately. These symptoms, along with systemic signs like a fever, can indicate conditions like mastitis or thrush. In these scenarios, do not apply nipple butter or proceed with pumping without first consulting a healthcare provider or a certified lactation consultant in Singapore.
Step 2: Apply the Right Amount to the Right Areas
When it comes to nipple butter, less is almost always more. Dispense a tiny, pea-sized amount of the butter onto your clean fingertip. Warm the product between your fingers for a few seconds to soften its texture, making it easier to apply evenly without pulling on sensitive skin. Gently pat the butter onto the tip and sides of your nipple, ensuring a very thin, uniform layer.
Next, apply a microscopic film of the remaining butter directly to the inner tunnel of the breast pump flange. This is where the physical rubbing occurs. Crucially, avoid applying the butter to the wide, sloped areola portion of the flange or the outer rim that rests against the main body of your breast. If you get butter on these outer sealing areas, the flange will slide out of place once the pump starts, breaking the vacuum seal, causing milk to leak, and dramatically reducing your milk output.
Step 3: Position the Flange for a Secure Seal
Proper alignment is essential to prevent mechanical friction. Center your nipple perfectly within the flange tunnel before turning on the pump. The nipple should point straight down the center of the tube, without tilting upward, downward, or to either side. If the nipple is off-center, it will rub against the hard plastic or silicone walls during every suction cycle, leading to localized chafing and pain that nipple butter cannot fully prevent.
Once centered, press the flange gently but firmly against your breast to establish an airtight seal. The goal is to have the nipple butter act strictly as an internal lubricant inside the tunnel, reducing friction as the nipple stretches forward. It should not act as a slippery barrier on the outer edges where the flange needs to grip the breast skin. If the flange feels unstable or slides downward, you may have applied the butter too far outward.
Step 4: Monitor Suction and Comfort During the Session
Always start your breast pump on its lowest suction setting. Allow your body a minute or two to adjust to the rhythm and trigger the let-down reflex before gradually increasing the vacuum level. The suction should only be turned up to your personal comfort threshold. Pumping should never feel painful. If you feel a sharp pinching or burning sensation, immediately lower the suction, even if you have applied nipple butter.
Keep an eye on the physical setup during your session. If you notice the flange slipping, sliding down the breast, or repeatedly losing its vacuum seal with a hissing sound, pause the pump. Use a clean wipe or damp cloth to remove any excess butter from the outer rim of the flange and the surrounding breast skin, then reposition the flange and resume. Remember, persistent discomfort is a clear signal to re-evaluate your flange size or pump settings rather than simply adding more lubrication.
Common Application Mistakes to Avoid
Over-applying the product. The most common mistake is using too much nipple butter. Slathering a thick layer onto the breast or flange creates a highly slippery surface that prevents the pump from gripping the skin. This leads to the flange sliding out of position, breaking the vacuum, and allowing expressed milk to seep out of the bottom of the flange instead of flowing into the collection bottle. A micro-thin layer is all that is required.
Using incompatible products. Never use petroleum-based products (such as petroleum jelly or Vaseline), heavy mineral oils, or standard cooking oils as pump lubricants. These substances can rapidly degrade the specialized silicone valves, membranes, and soft flanges of your breast pump, causing them to stretch, lose elasticity, or tear. Furthermore, these heavy oils are difficult to wash off and may not be safe for your infant to ingest if any residue remains on the breast. Always consult your breast pump manufacturer’s care instructions and the nipple butter’s packaging to verify compatibility.
Masking structural pain. Nipple butter is designed to soothe minor skin friction, not to numb or mask pain caused by incorrect equipment. If you find yourself applying layer after layer of butter to cope with the pain of pumping, you are likely dealing with an improper flange fit or excessive suction. Ignoring this pain can lead to deep tissue bruising, damaged ducts, and a subsequent drop in milk supply.
Neglecting pump hygiene. Leaving oil-based nipple butter residue on your pump parts after a session is a serious hygiene risk. Oil and fat residues create a stubborn film that standard rinsing cannot remove. This film can harbor harmful bacteria and mold, particularly in warm, humid climates. Over time, the built-up oils will also degrade the silicone components, reducing the pump’s overall suction efficiency and lifespan.
Post-Session Skin Care and Pump Cleanup
Once your pumping session is complete, take care of your skin. If you are using a high-quality, food-grade nipple butter, you can generally leave the remaining thin layer on your skin to promote ongoing hydration and healing. However, if you plan to nurse your baby directly shortly after pumping, always refer to the specific nipple butter’s label instructions. Some products are formulated to be completely safe for infant ingestion and do not require wiping off, while others recommend gentle removal before direct breastfeeding.
Caring for your equipment is just as critical as caring for your skin. Immediately after your session, disassemble all pump parts that came into contact with the nipple butter. Wash these components thoroughly in hot, soapy water using a mild dishwashing liquid designed to cut through grease and oils. A simple rinse under the tap is insufficient for removing oil-based products. Ensure you rinse the parts completely with clean water and allow them to air-dry on a clean, dedicated rack in a well-ventilated area to prevent mold growth and preserve the integrity of the silicone.
Before applying any cream or using your pump, always check the applied product’s label and your breast pump manufacturer’s instructions. If these instructions conflict, if the pump parts are unidentified, or if the specific use is not covered by the manufacturer, stop immediately and consult the manufacturer or a qualified healthcare professional.
Red Flags: When to Stop and Seek Professional Care
While mild tenderness can occur when starting a pumping routine, true pain, skin breakdown, or systemic symptoms are not normal. You should stop pumping and seek immediate medical or professional guidance if you experience bleeding nipples, deep or painful fissures, blistering, or signs of a localized infection such as intense redness, swelling, skin that feels hot to the touch, or a fever. These symptoms require clinical assessment rather than self-treatment with nipple butter.
If you struggle with persistent discomfort, low milk output, or finding the correct flange size despite following these application steps, consult a certified lactation consultant or a healthcare provider in Singapore. Many local hospitals and private clinics offer specialized lactation support services. A professional can conduct a comprehensive flange fitting, evaluate your pumping technique, and ensure your breastfeeding journey remains safe, comfortable, and successful.
Frequently Asked Questions (FAQ)
Do I need to wipe off nipple butter before pumping?
Generally, you do not need to wipe off nipple butter before you begin pumping. In fact, leaving a thin layer on your skin is beneficial, as it provides the necessary lubrication to reduce friction and helps establish a secure vacuum seal inside the flange tunnel. However, you should always check the specific manufacturer instructions on your nipple butter packaging. If you plan to transition directly from pumping to nursing your baby, verify if the product is labeled as safe for infant ingestion; if it is not, gently wipe it off with a damp cloth first.
Can nipple butter damage my breast pump parts?
Yes, certain nipple butters can damage your breast pump parts if they contain heavy oils or petroleum-based ingredients. These substances can degrade silicone membranes, valves, and soft flanges over time, causing them to lose their elasticity and reducing the pump’s suction power. To protect your investment, always check your breast pump manufacturer’s care manual for material compatibility. Additionally, ensure you wash all affected parts thoroughly with hot, soapy water after every use to prevent oil build-up and extend the lifespan of your equipment.

Community discussion
Share your experience or ask a question. Comments are reviewed before publication.