
Cleaning baby bottles involves more than just a quick rinse under the tap. The material of your baby’s bottle directly dictates how you must clean, handle, and dry it to maintain hygiene and structural integrity. Different materials react uniquely to heat, mechanical scrubbing, and chemical exposure, meaning a one-size-fits-all washing method can inadvertently damage your feeding gear or leave behind harmful bacterial biofilms.
By understanding the physical properties of your bottle’s material—whether it is glass, plastic, or silicone—you can match it with the correct cleaning tools and a dedicated washing basin. This targeted approach not only extends the lifespan of your feeding equipment but also ensures a highly hygienic feeding environment for your baby.
Identify Your Bottle Material and Its Washing Limits
To establish a safe cleaning routine, you must first identify the specific material of your baby bottles. The most common options include borosilicate glass, lightweight plastics like polypropylene (PP), polyphenylsulfone (PPSU), polyethersulfone (PES), and food-grade silicone. Each of these materials carries distinct physical properties that govern how much heat and friction they can safely withstand during the washing process.
Products mentioned in this guide
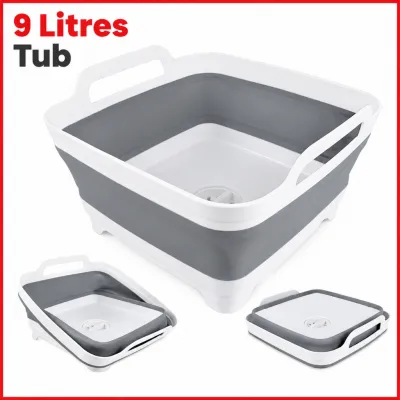
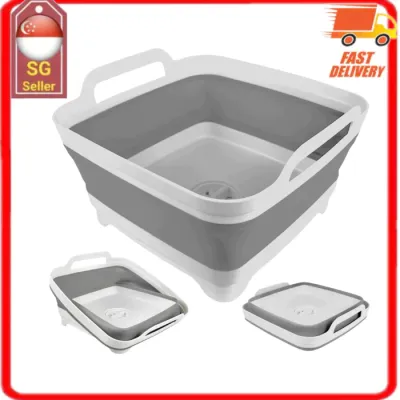
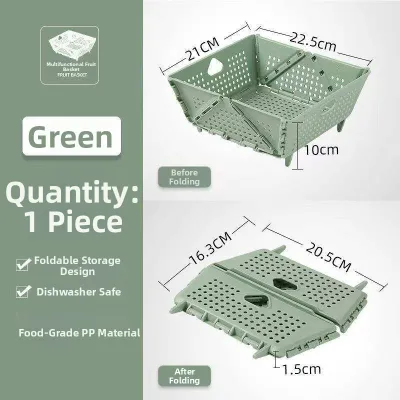
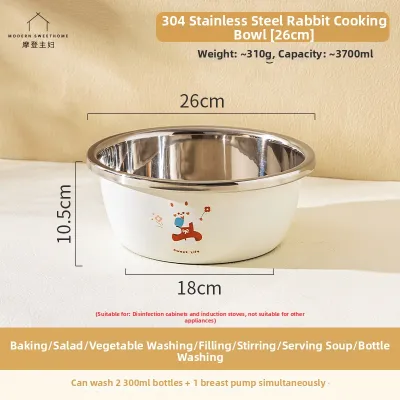
Prices are valid at publication and may change. Please refer to the product page for the latest price.
You can typically identify your bottle’s material by looking for embossed recycling codes, material acronyms, or care symbols on the bottom of the bottle or molded into the collar. For instance, PP bottles are often marked with a recycling number 5, while PPSU and silicone might have their names clearly printed on the base. If the markings are unclear, refer to the original packaging or the manufacturer’s official product specifications to confirm the exact composition.
Once you know the material, consult the manufacturer’s guidelines to verify its maximum heat tolerance and chemical limits. Glass and PPSU can generally withstand high temperatures, making them highly compatible with boiling water and steam sterilisation. In contrast, standard PP plastics have lower heat thresholds and may warp or degrade faster if exposed to extreme temperatures or harsh dishwasher cycles. Additionally, check if your bottles are labeled as dishwasher-safe, keeping in mind that top-rack placement is usually required to keep plastic components away from heating elements.
Regularly inspect your bottles under direct light for signs of wear before washing. Look for micro-scratches, cloudiness, or physical thinning of the material. Over time, repeated washing can cause plastics to degrade, creating tiny crevices that trap milk proteins and bacteria. If you notice any structural changes, you will need to adjust your washing technique to be much gentler until you can replace the bottle.
Match Washing Tools and Techniques to Material Sensitivity
Selecting the appropriate cleaning tools is essential to preserve the lifespan of your baby bottles. Standard nylon bristle brushes are highly effective for scrubbing durable glass bottles, but they can easily create micro-scratches on softer plastic materials like PP and silicone. For plastic and silicone bottles, manufacturers often recommend using soft sponge brushes or gentle silicone-bristled brushes that glide over surfaces without causing abrasive wear.

Water temperature and detergent selection must also align with your bottle’s material limits. Use lukewarm to warm water combined with a mild, fragrance-free liquid cleanser specifically formulated for baby products. Avoid using standard dishwashing liquids that contain harsh surfactants, artificial fragrances, or dyes, as these chemicals can leave a stubborn residue. Silicone components are particularly prone to absorbing strong chemical scents and oils from detergents, which can alter the taste of the milk and deter your baby from feeding.
The physical design of the bottle also dictates your washing technique. Wide-neck bottles allow for easier access and thorough visual inspection, whereas narrow-neck bottles require specialized slim brushes to reach the bottom corners without scraping the inner walls. Pay close attention to removable silicone components, such as teats, anti-colic valves, and sealing rings. These parts are highly delicate and should be washed gently by hand rather than scrubbed vigorously, as tearing or stretching them can compromise their function and cause leaks.
Select the Right Baby Bottles Washing Basin for Your Setup
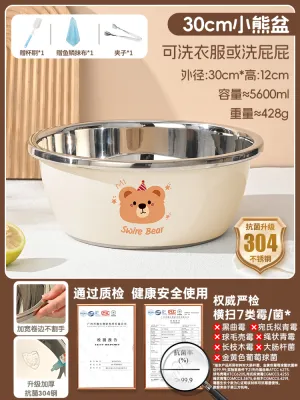
A dedicated baby bottles washing basin is a fundamental tool for preventing cross-contamination in your kitchen. Using the general kitchen sink exposes your baby’s feeding equipment to food residues, grease, and harmful pathogens like Salmonella or E. coli that thrive in household drains. A separate, dedicated basin ensures that your baby’s bottles only come into contact with clean water and specialized baby-safe detergents.
When selecting a washing basin, evaluate the material for durability, scratch resistance, and ease of maintenance. Food-grade polypropylene (PP) and collapsible silicone basins are excellent choices because they are lightweight, easy to sanitise, and gentle on bottles if they accidentally bump against the sides. Avoid basins made from rough or low-quality plastics that can scratch your bottles or degrade quickly when exposed to hot water.
Look for practical design features that streamline your washing routine. Basins with integrated drainage plugs allow you to empty dirty soapy water directly into the sink without tipping the basin and risking dropping delicate glass bottles. Some models feature built-in drying racks, separate compartments for organizing small parts like teats and collars, or protective covers that shield clean items from airborne dust and kitchen grease.
Establish a strict routine for your dedicated basin. Store it in a clean cupboard or on a designated countertop space when not in use, and ensure that no family member uses it for washing hands, rinsing raw meat, or soaking general household dishes. This clear boundary is especially important in compact kitchen setups where workspace is shared.
Establish a Safe Washing and Drying Routine
A systematic washing and drying routine is key to maintaining the hygiene of your baby’s feeding gear. Begin by completely disassembling every bottle before it touches the water. Remove the teat from the collar, detach any anti-colic valves, and separate sealing rings. Skipping this step allows milk residue to remain trapped in the screw threads and crevices, creating a breeding ground for bacteria.
Give all disassembled parts a quick pre-rinse under running tap water to wash away loose milk proteins before they dry and stick to the surfaces. Next, fill your dedicated baby bottles washing basin with warm water and add the recommended amount of baby-safe cleanser. Submerge all parts and use your selected material-safe brush to clean the inner and outer surfaces of the bottles, paying special attention to the bottom curves and the inside of the teats.
After scrubbing, rinse each component thoroughly under clean, running water to ensure no soapy film or detergent residue remains. This step is crucial for silicone teats and collars, which can retain chemical residues that might irritate your baby’s sensitive digestive system.
Once rinsed, place all parts on a clean, dedicated drying rack in a well-ventilated area. Position the bottles upside down so water can drain freely, and spread out the smaller components to ensure maximum airflow. Avoid using kitchen towels or paper towels to dry the bottles, as these can transfer lint, dust, and bacteria back onto the freshly cleaned surfaces. Allow everything to air-dry completely before reassembling or storing.
When to Replace or Stop Using Damaged Bottles
Even with meticulous care, baby bottles do not last indefinitely. You must regularly inspect your feeding gear for visual and tactile signs of wear. For plastic bottles, look for persistent cloudiness, yellowing, deep scratches, or a sticky texture on the surface. For glass bottles, check carefully for hairline cracks, chips around the rim, or deep scratches that could compromise structural integrity under thermal stress.
Damaged materials pose a significant hygiene risk because scratches and degraded surfaces create microscopic pockets where bacteria can hide. These tiny crevices protect pathogens from being reached by brush bristles or sanitising agents, meaning a damaged bottle can harbor bacteria even after a thorough wash.
To maintain a safe feeding environment, establish a routine schedule to inspect and retire worn-out gear. While you should always refer to your specific manufacturer’s instructions, a general guideline is to replace plastic PP bottles every 4 to 6 months, silicone teats every 2 to 3 months, or immediately upon detecting any physical damage. Glass bottles can last much longer but must be retired immediately if they show any signs of chipping or cracking.
Frequently Asked Questions (FAQ)
Can I use the regular kitchen sink instead of a dedicated baby bottles washing basin?
It is highly recommended to avoid using the regular kitchen sink directly. Kitchen sinks are prone to harboring high levels of bacteria from raw food preparation, dirty dishes, and handwashing. Using a dedicated baby bottles washing basin creates a clean, isolated environment that eliminates the risk of cross-contamination from these household pathogens.
Do I need a different brush for glass and plastic baby bottles?
Yes, using different brushes is highly beneficial. Glass bottles are highly scratch-resistant and can handle firm nylon bristle brushes to scrub away stubborn milk fat. Plastic and silicone bottles, however, are prone to micro-scratches and require soft sponge or silicone brushes to clean the surfaces gently without causing abrasive damage.
How often should I clean the washing basin itself?
You should clean your dedicated washing basin after every single use. Wash it thoroughly with hot, soapy water, rinse it completely to remove any soap scum, and allow it to air-dry upside down. This prevents the basin itself from developing a bacterial biofilm or mold, ensuring it remains a safe environment for your baby’s feeding equipment.
Community discussion
Share your experience or ask a question. Comments are reviewed before publication.