
Choosing between glass and plastic baby bottles for use with a milk heater depends on your specific warmer model, the bottle’s wall thickness, and the manufacturer’s safety guidelines. While glass offers excellent heat retention and long-term durability, plastic provides lightweight convenience and different thermal transfer properties. Neither material is universally more effective for every milk heater; instead, the right choice relies on matching the bottle’s physical characteristics and safety ratings to your warmer’s technology and your daily feeding routine. This guide outlines the critical checks, compatibility factors, and handling practices needed to warm milk safely and efficiently in either material.
When preparing milk for your baby, maintaining the nutritional integrity of breast milk or formula is paramount. Caregivers must supervise the warming process closely to ensure the milk does not reach temperatures that could scald the infant or degrade essential nutrients. By understanding how different materials interact with your milk heater, you can establish a safe, consistent, and efficient feeding routine that fits your household’s needs.
Understanding Heat Transfer in Glass and Plastic Bottles
Thermal conductivity dictates how quickly and evenly heat moves from your milk heater to the liquid inside the bottle. Glass generally possesses a higher thermal conductivity than most plastics, allowing it to absorb and transfer heat efficiently once the material itself warms up. However, because glass bottles are typically constructed with thicker walls to prevent breakage, there can be a slight initial delay in heat transfer compared to very thin plastic options.
Products mentioned in this guide
![[SG Stock] Portable USB Milk Bottle Warmer Bottle Heater Travel Baby Bottle Insulated Bag](https://img.lazcdn.com/g/p/79be34b809996eb4f90abf83fc75fedb.jpg_400x400q80.jpg_.webp)
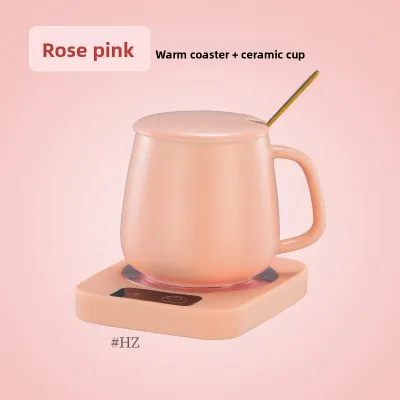
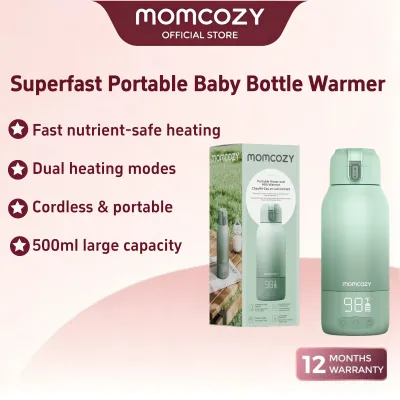
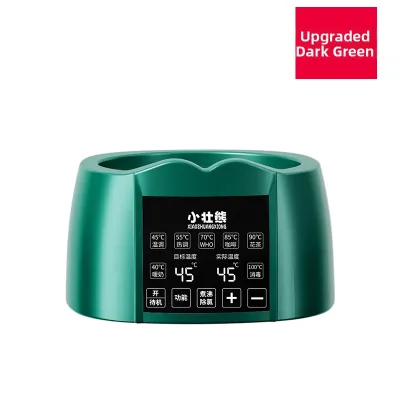
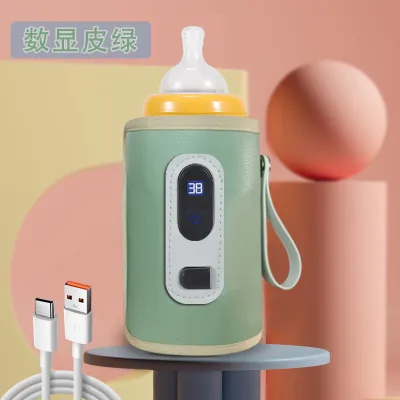
Prices are valid at publication and may change. Please refer to the product page for the latest price.
Once the warming cycle is complete, glass excels at retaining heat. This heat retention is particularly useful in air-conditioned environments, such as modern Singapore homes, where exposed bottles can cool down rapidly. The thermal mass of the glass helps maintain a stable milk temperature for a short duration, reducing the need for re-warming if your baby takes a brief pause during feeding.
Plastic bottles, commonly made from polypropylene (PP), polyphenylsulfone (PPSU), or silicone, have lower thermal conductivity and act more as insulators. This means they do not absorb heat as quickly as glass, which can result in different warming times depending on the plastic’s density. A thick-walled plastic bottle may require a longer warming cycle than a thin-walled glass bottle containing the same volume of milk.
Because of these material differences, you should never rely on a single default timer setting for all bottle types. Always consult your specific milk heater’s instruction manual to locate the manufacturer’s material-specific warming charts. These charts provide tailored guidelines that account for the unique thermal properties of both glass and plastic, helping you avoid underheating or overheating.
Safety Checks and Heat Resistance Limits for Both Materials
When utilizing glass bottles in a milk heater, it is essential to verify that the product is labeled as borosilicate or tempered heat-resistant glass. These specialized glass types are engineered to withstand rapid temperature fluctuations without cracking or shattering. Standard glass bottles that lack these safety designations are highly susceptible to thermal stress and should not be used in heating appliances.

Before every heating cycle, perform a thorough visual inspection of your glass bottles. Look closely for micro-cracks, minor chips, or deep scratches along the body and neck of the bottle. Even tiny, barely visible structural defects can expand rapidly under the thermal stress of a milk heater, potentially causing the bottle to break during warming or feeding.
For plastic bottles, caregivers must verify the maximum temperature rating, which is typically molded into the base of the bottle or detailed in the packaging. Ensure this rating comfortably exceeds the maximum temperature produced by your milk heater, especially if your device utilizes high-temperature steam. Additionally, verify that the packaging explicitly states the bottle is free from bisphenol compounds, as safety standards and chemical certifications are dynamic details that consumers must verify directly on product labels.
Regularly inspect your plastic bottles for physical signs of degradation over time. High heat exposure from repeated warming and sterilization cycles can cause plastics to develop cloudiness, warping, surface stickiness, or faded measurement markings. If you observe any of these conditions, or if the bottle exhibits a persistent odor, it is time to replace the bottle to ensure continued safety.
If you ever discover faded safety markings, structural warping, or if you are unsure of a bottle’s material limits, stop using it immediately. Consult the bottle manufacturer’s customer service or reference the official product documentation to confirm compatibility. Taking these precautionary steps protects your infant and prevents damage to your milk heater.
Managing Heating Speed and Avoiding Hot Spots
Both glass and plastic bottles can develop localized hot spots during the warming process, regardless of the heating technology used. Milk heaters typically apply heat from the bottom or sides of the chamber, which can cause the milk closest to the bottle walls to warm much faster than the milk in the center. This uneven temperature distribution poses a direct scalding risk if the milk is not mixed before feeding.
To eliminate hot spots, always swirl the bottle gently after removing it from the milk heater. Avoid shaking breast milk vigorously, as aggressive agitation can damage delicate immunological proteins and create excess air bubbles that contribute to infant colic. After swirling, always perform a manual temperature check by dispensing a few drops of milk onto the inside of your wrist to ensure it is lukewarm before offering it to your baby.
The starting temperature of the milk significantly influences the total warming duration. Milk taken directly from a refrigerator (typically around 4°C) requires a substantially longer heating cycle than milk stored at room temperature. You must adjust your milk heater’s settings to account for this starting temperature to ensure the milk reaches an optimal feeding temperature safely.
Milk volume is another critical variable that dictates warming times. A larger volume of milk requires more thermal energy to heat, meaning a full bottle will take longer to warm than a half-empty one. Refer to your milk heater’s manual to adjust the timer or water level based on the exact volume you are preparing, rather than using a generic setting for every feed.
Ensuring Fit and Compatibility with Your Milk Heater
Milk heaters generally utilize either water bath or steam technology to warm bottles. Water bath warmers surround the bottle with heated water, providing a gradual and even transfer of heat that is highly compatible with both glass and plastic. When using a water bath warmer, ensure the water level matches the manufacturer’s instructions to guarantee even heat distribution along the height of the bottle.
Steam warmers heat bottles rapidly using a small amount of water vaporized at high temperatures. While highly efficient, the intense localized heat of steam can accelerate the wear and tear of certain plastic materials over time. If you use a steam-based milk heater, double-check that your plastic bottles are explicitly rated as steam-safe by the manufacturer.
Before purchasing new bottles or a new milk heater, verify the physical dimensions of the warmer’s heating chamber. The chamber must be wide and deep enough to accommodate your chosen bottle’s height, width, and neck shape. If a bottle is too wide, it may not sit flat on the heating plate, leading to uneven warming and potential tipping hazards.
Many modern milk heaters feature multi-functional designs that include specific baskets, lifters, or adapter rings. Always use these included accessories, as they prevent the bottle from making direct contact with the heating element at the bottom of the chamber. This separation is crucial for protecting glass from thermal shock and preventing plastic from melting or warping.
Decision Guide: Matching Bottle Material to Your Warming Routine
Choose glass bottles if your daily routine prioritizes long-term durability, chemical inertness, and ease of sanitization. Glass is highly resistant to scratching, does not absorb food odors or colors, and can withstand countless heating and sterilization cycles without degrading. It is an excellent choice for home-based feeding where the weight of the bottle is not a primary concern for the caregiver.
Choose plastic bottles if you require a lightweight, break-resistant option that is easy to transport during outings or travel. Plastic is highly practical for active families and becomes increasingly useful as your baby reaches developmental stages where they begin to hold their own bottle under close supervision. It also offers faster initial heat transfer in compatible water-bath warmers due to thinner wall designs.
Before finalizing your bottle selection, verify whether your current milk heater has strict material restrictions or size limitations. Some compact or travel-oriented warmers are designed exclusively for specific bottle shapes and may not support the weight or width of heavy glass bottles. Ensuring compatibility between your warmer and bottle material beforehand prevents unnecessary purchases and ensures a smooth feeding routine.
If your baby experiences persistent feeding difficulties, colic, or if you require personalized advice on bottle-feeding techniques, consult a pediatrician or a qualified lactation professional. They can provide tailored guidance that aligns with your baby’s specific developmental stage and health requirements.
Frequently Asked Questions (FAQ)
Can I put a cold glass bottle directly into a hot milk heater?
Placing a cold glass bottle directly into a preheated milk heater is not recommended, as the sudden temperature differential can cause thermal shock. This rapid expansion and contraction can lead to structural failure, causing the glass to crack or shatter. Always check the bottle manufacturer’s guidelines regarding thermal shock resistance limits.
To warm cold glass bottles safely, start the warming cycle with cool or room-temperature water in the heater, allowing the bottle and the water to warm up gradually together. Alternatively, utilize your milk heater’s dedicated gradual warming or slow-warm setting, which is specifically designed to protect glass bottles from sudden thermal stress.
Do plastic bottles heat faster than glass in a bottle warmer?
Plastic bottles do not automatically heat faster than glass in a bottle warmer. While thin-walled plastic can transfer heat quickly, the overall warming speed depends on several variables, including the plastic’s density, the bottle’s wall thickness, and the volume of milk inside. A thick-walled plastic bottle may actually heat slower than a high-quality, thin-walled glass bottle.
Because heating times vary widely across different brands and designs, you should never rely on general assumptions about material speed. Always cross-reference your milk heater’s official timing chart for the specific bottle type you are using, and manually test the milk’s temperature on your wrist before feeding your baby.
Community discussion
Share your experience or ask a question. Comments are reviewed before publication.