
There is no single “best” bottle material for a milk warmer; the ideal choice depends on whether you prioritize even heating, lightweight handling, or drop resistance. Glass heats consistently but is heavy and requires careful temperature management to avoid thermal shock. Plastics like PP and PPSU are lightweight and durable but may have varying heat tolerances, while silicone offers flexibility at the cost of slower heat transfer. Ultimately, the safest and most efficient option is the one explicitly supported by your specific milk warmer’s manufacturer instructions.
In a busy household, managing feeding routines efficiently is essential. When selecting bottles to pair with your milk warmer, understanding how different materials interact with heat can save time and prevent accidental damage to your feeding equipment. By evaluating the physical properties of each material, you can establish a safe, reliable routine that fits your lifestyle and budget.
How Bottle Materials Affect Heating in a Milk Warmer
Thermal conductivity is the primary physical property that dictates how quickly and evenly milk warms. Glass possesses relatively high thermal conductivity, allowing heat from the warmer to pass rapidly into the liquid. In contrast, plastics like polypropylene (PP) and polyphenylsulfone (PPSU) have lower thermal conductivity, while silicone acts as a mild insulator, naturally slowing down the transfer of heat.
Products mentioned in this guide
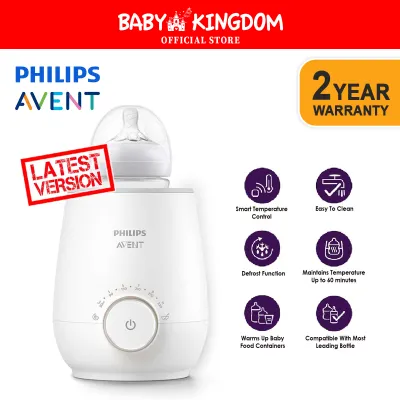
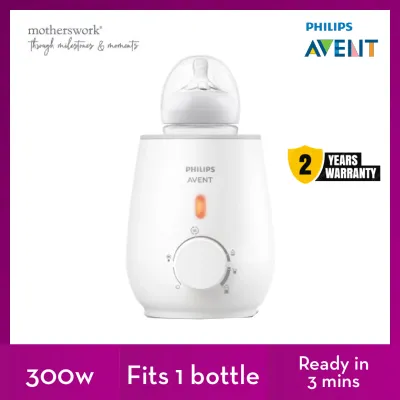
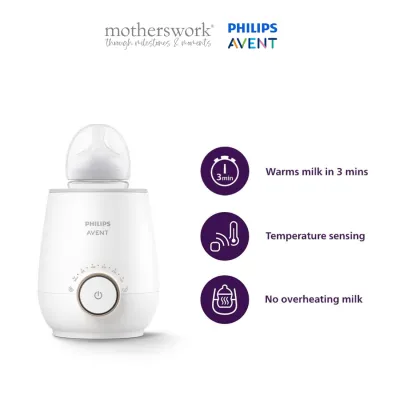
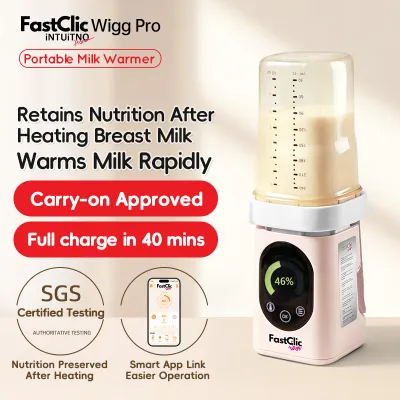
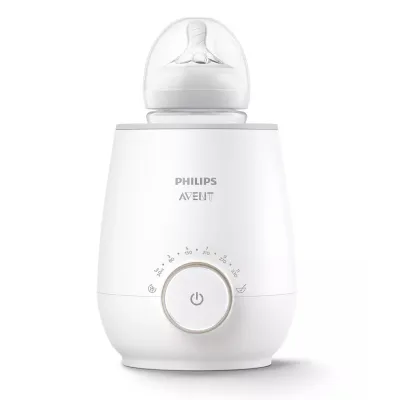
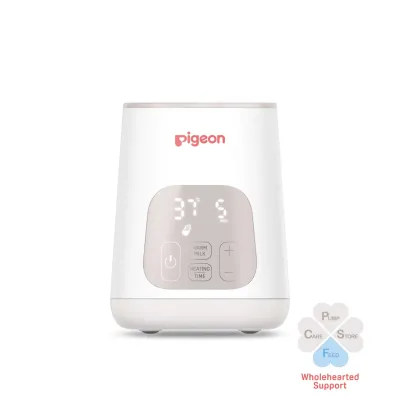
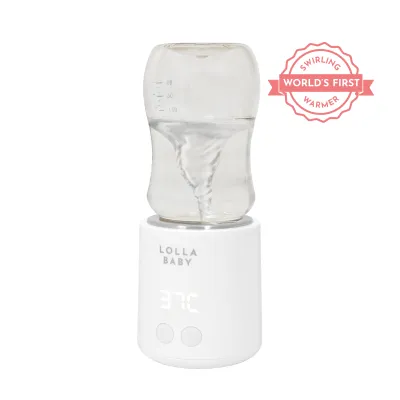
Prices are valid at publication and may change. Please refer to the product page for the latest price.
How your milk warmer operates also influences this interaction. Water bath warmers circulate warm water around the bottle, providing a gradual and even rise in temperature that works well with all materials but requires extra patience when heating silicone. Steam warmers heat rapidly using high-temperature steam, which can cause rapid temperature spikes; this requires careful monitoring, especially with glass to avoid thermal shock, or with lower-grade plastics that may have lower heat thresholds.
Before placing any bottle into a heating chamber, you must consult both the bottle and milk warmer manuals. Manufacturers design their products with specific safety limits, and using an incompatible combination can lead to warped plastic, cracked glass, or unevenly heated milk. Always verify the maximum temperature ratings and recommended heating programs specified by the brands.
Glass Baby Bottles: Heating Performance and Handling
Glass bottles are highly regarded for their consistent heat distribution. Because heat moves efficiently through glass, the milk inside warms up relatively evenly, reducing the likelihood of localized hot spots. However, even with efficient heat transfer, caregivers must still gently swirl the milk after warming to ensure the temperature is uniform throughout the bottle.

Despite their heating efficiency, glass bottles carry a risk of thermal shock. If a glass bottle is moved directly from a cold refrigerator or freezer into a rapid steam milk warmer, the sudden temperature differential can cause the glass to crack or shatter. To prevent this, allow cold glass bottles to transition closer to room temperature, or utilize a gradual water-bath warming setting rather than high-heat steam.
Physical handling is another critical consideration. Glass bottles are significantly heavier than plastic or silicone alternatives, which makes them more challenging for older babies to hold independently and increases the risk of drops. Additionally, because glass is rigid and unyielding, you must measure your milk warmer’s chamber to ensure the bottle’s outer diameter fits comfortably without touching the heating element directly.
Plastic (PP and PPSU) Baby Bottles: Efficiency and Longevity
Plastic bottles offer a lightweight and highly durable alternative for daily feeding routines. Polypropylene (PP) is a common, budget-friendly plastic, but it has a lower heat tolerance (typically up to 110°C or 120°C) and may degrade faster under frequent heating cycles. Polyphenylsulfone (PPSU) is a premium, medical-grade plastic with a much higher heat tolerance (often up to 180°C), offering superior resistance to repeated warming and sterilization.
Over time, exposure to heat in a milk warmer can cause plastic bottles to degrade. Caregivers should regularly inspect plastic bottles for visual and tactile signs of wear, such as cloudiness, deep scratches, warping, or a sticky texture. If any of these signs appear, stop using the bottle immediately and replace it to ensure feeding safety.
Before heating any plastic bottle, verify the safety labels on the packaging. Ensure the product is explicitly marked as BPA-free and BPS-free to confirm it meets modern safety standards. Always check the manufacturer’s specified temperature limits to ensure the plastic can safely withstand the operating temperatures of your specific milk warmer model.
Silicone Baby Bottles: Flexibility and Warm-Up Times
Silicone bottles are popular for their soft, flexible texture, but their natural insulating properties affect heating times. Because silicone resists rapid heat transfer, milk warmed in a silicone bottle often takes longer to reach the desired temperature compared to glass or thin plastic. Caregivers may need to adjust their expectations and select longer warming cycles on their milk warmers.
Due to their pliable structure, silicone bottles require careful placement inside the heating chamber. A soft-sided bottle can easily tip over if not placed completely upright in the warmer’s basket, potentially spilling milk onto the heating element. Always ensure the bottle is stable and centered before starting the warming cycle.
Many silicone bottles feature rigid plastic collars, outer rings, or protective sleeves. These components can trap water during the warming process or create an additional barrier to heat transfer. Check your bottle’s instruction manual to determine if these outer components should be removed or adjusted before placing the bottle into the milk warmer.
Material Comparison Checklist for Milk Warmer Users
| Material | Heating Speed | Durability & Drop Resistance | Weight & Handling | Key Compatibility Check |
|---|---|---|---|---|
| Glass | Fast and even | Low (Fragile; risk of thermal shock) | Heavy (Requires caregiver supervision) | Check chamber diameter and avoid rapid temperature shifts. |
| Plastic (PP) | Moderate | Medium (Prone to scratching and warping) | Very lightweight (Easy for self-feeding) | Verify BPA-free status and lower temperature limits. |
| Plastic (PPSU) | Moderate | High (Resists high heat and wear) | Lightweight (Durable for daily use) | Check for cloudiness or scratches over extended use. |
| Silicone | Slower | High (Virtually unbreakable) | Lightweight and squeezable (Soft grip) | Ensure upright stability and adjust warming times upward. |
Decision Framework: Choosing Your Bottle and Warmer Combo
Select glass bottles if your primary goal is rapid, highly consistent heat transfer and you prefer a material that does not degrade from repeated heating. This option is excellent for newborn stages where caregivers handle all the feeding, provided you can safely manage the heavier weight and take precautions to avoid thermal shock.
Choose plastic (PP or PPSU) bottles if you need a lightweight, drop-resistant option for active daily use, travel, or transitioning your baby to self-feeding. PPSU is highly recommended if you want the durability of glass combined with the lightweight benefits of plastic, fitting easily into standard S$50 to S$150 milk warmers.
Opt for silicone bottles if you prefer a soft, squeezable texture that mimics breastfeeding and you do not mind waiting a few extra minutes for the milk warmer to complete its cycle. This material is highly durable and drop-resistant, making it a long-lasting choice for older infants.
Before purchasing any new bottle set, always check your milk warmer’s instruction manual. Some warmers explicitly restrict certain bottle shapes, such as ultra-wide neck designs, or require the use of specific protective baskets to prevent the bottle material from making direct contact with the heating plate.
Frequently Asked Questions (FAQ)
Can I leave a plastic baby bottle in the milk warmer overnight?
Leaving any baby bottle in a milk warmer overnight is highly discouraged. Keeping milk at a warm temperature for extended periods creates an ideal environment for rapid bacterial growth, which can pose health risks to your baby. Additionally, continuous heat exposure can accelerate the degradation of plastic materials, potentially causing warping or micro-cracks. Always follow your milk warmer’s guidelines on maximum warming durations and utilize automatic shut-off features.
Do I need to adjust the milk warmer temperature for glass versus plastic bottles?
Yes, adjustments are often necessary depending on the material. Glass bottles transfer heat quickly and may require a shorter warming cycle or a more gradual temperature setting to prevent thermal shock. Plastic and silicone bottles may require longer heating times to reach the same temperature. Many modern milk warmers feature material-specific settings on their control panels; always consult the user manual to select the correct preset, and always test the milk temperature on your inner wrist before feeding.
Is it safe to heat a baby bottle with the silicone nipple attached?
Heating a bottle with the nipple and collar tightly secured can cause pressure to build up inside the bottle as the liquid and air expand. This pressure can lead to milk leaking or spraying out of the nipple. It is generally safer to warm the bottle using a compatible sealing disc or travel cap, or to leave the collar slightly loose during the warming cycle. Always check the nipple manufacturer’s specific heat tolerance limits and inspect the silicone regularly for signs of stickiness or tearing.

Community discussion
Share your experience or ask a question. Comments are reviewed before publication.