
Many parents in Singapore manage a mixed collection of baby bottles, combining gifts, trial packs, and specialized anti-colic options. While the Philips Avent sterilizer is optimized for its own brand’s wide-neck bottles, it can accommodate many third-party bottles if they meet specific physical dimensions and material heat tolerances. Determining compatibility requires checking the physical height and width of your bottles against the sterilizer’s baskets, verifying that the bottle materials can withstand high-temperature steam, and ensuring the sterilizer lid can close completely without compressing any components. Taking the time to evaluate these factors protects your feeding gear and ensures proper sanitization.
Checking Physical Fit: Rack Dimensions and Bottle Sizes
To determine if your existing baby bottles will fit inside your sterilizer, measure their physical dimensions against the internal space of the sterilizer baskets. Using a standard ruler, measure the height of your tallest bottle with the nipple and cap removed, as well as its widest diameter. Compare these measurements to the depth and width of the lower basket of your sterilizer model to ensure there is sufficient vertical and horizontal clearance. Keep in mind that some wide-neck bottles have bulbous shapes that require more lateral space, which might reduce the total number of bottles you can load at one time.
Most modular steam sterilizers feature a multi-tier design, typically consisting of a large lower basket for bottles and a smaller upper basket for nipples, caps, and pacifiers. If you are using taller bottles, you can often adjust the configuration by removing the upper rack entirely or repositioning it if your specific model allows. This modification frees up vertical space, allowing taller third-party bottles to stand upright without bending or forcing the components. However, removing the upper rack means you will need to sterilize smaller accessories in a separate cycle, so plan your cleaning routine accordingly.
Products mentioned in this guide
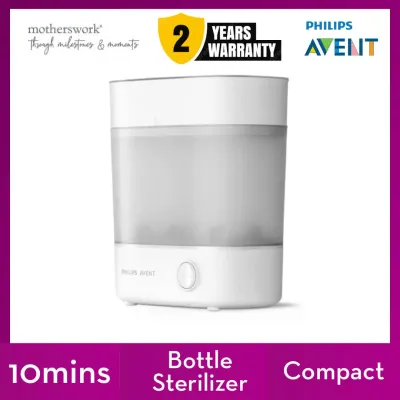
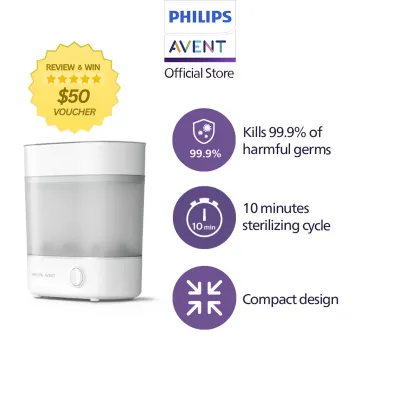
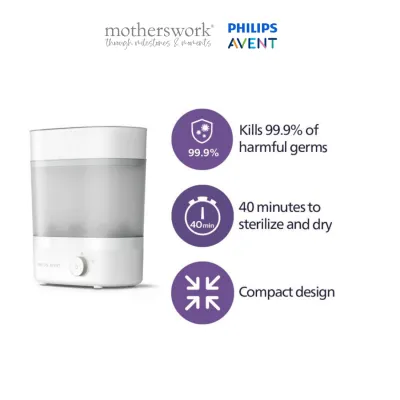
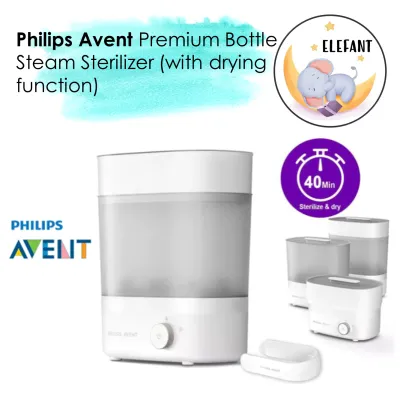
Prices are valid at publication and may change. Please refer to the product page for the latest price.
Before starting a cycle, always check the top clearance by gently placing the lid onto the sterilizer. The lid must rest completely flat on the base unit without any resistance or gaps along the rim. If the lid presses down on the bottle tops, nipples, or caps, the steam seal will be compromised, allowing steam to escape and preventing the unit from reaching the necessary sanitizing temperature. If a bottle is too tall to allow a proper seal, it should not be processed in that configuration, and you should look for alternative arrangements.
Material Safety: Verifying Heat Tolerance for Steam Sterilization
Physical fit is only the first step; you must also verify that the materials of your third-party bottles can safely withstand the high temperatures of steam sterilization. Electric steam sterilizers typically operate at temperatures around 100°C to ensure proper sanitization. Check the packaging, user manual, or the bottom of your bottles for explicit “sterilizer safe” markings or a specified maximum heat tolerance limit. Most standard baby bottles are designed to handle these temperatures, but cheaper plastics or novelty items may not be rated for steam.

Baby bottles are generally manufactured from glass, polypropylene (PP), polyphenylene sulfone (PPSU), or silicone, each possessing different thermal properties. Glass and PPSU bottles generally offer good heat resistance and durability over repeated sterilization cycles, making them compatible with steam systems. Polypropylene bottles are also widely compatible but are more prone to gradual wear, meaning they may degrade, warp, or become cloudy more quickly over time when subjected to frequent high-heat cycles. Silicone bottles are heat-resistant but their flexible bodies require stable placement on the rack to prevent tipping.
Some bottles feature specialized components, such as soft silicone valves, temperature-sensing indicators, or decorative plastic collars, which may have lower heat thresholds than the bottle body. Carefully inspect these small parts and consult their manufacturer instructions before placing them in the sterilizer. If any component is not rated for steam sterilization, it must be removed and washed by hand with warm, soapy water instead of being placed in the sterilizer, as exposure to high heat could ruin the seals or cause the parts to fail.
Assessing Popular Bottle Brands: Shape, Vents, and Guidelines
When evaluating third-party bottle brands for compatibility, the physical shape of the bottle base plays a significant role in how securely it sits on the sterilizer rack. Wide-neck bottles generally stand upright more stably on the flat plastic ribs of the basket, whereas narrow-neck bottles may tilt or slip between the gaps. If a bottle tilts excessively, it can block adjacent slots, prevent steam from circulating freely inside, or even fall over and pool water. You may need to experiment with different slot positions to find a stable arrangement for non-standard bottle shapes.
Before placing any non-Avent bottle into the unit, consult that specific brand’s official user manual for any warnings regarding electric steam sterilizers. Some manufacturers of specialized glass or delicate plastic bottles explicitly advise against steam sterilization, recommending cold-water chemical sterilizing or boiling instead. Following these brand-specific guidelines prevents accidental damage to your feeding equipment and ensures you do not void any product warranties. Never assume that because a bottle is made of plastic or glass, it is automatically compatible with all steam sterilizers.
Complex anti-colic bottles often feature internal venting tubes, valves, and reservoirs designed to reduce air ingestion. These intricate parts can restrict steam flow if they are not positioned correctly, or they may trap condensation and pool water during the cycle. When using these systems, you must evaluate whether the individual venting components can be spaced out on the upper rack to ensure steam reaches every surface. If the parts are too bulky or numerous, you may need to run separate cycles for the bottles and their venting accessories to maintain proper hygiene.
How to Safely Test and Load Third-Party Bottles
To achieve effective sterilization and prevent damage to your equipment, you must load non-native bottles with careful attention to spacing. Avoid crowding the sterilizer basket; leave ample space between each bottle so that steam can circulate freely around all interior and exterior surfaces. If bottles are packed too tightly, steam may be blocked, resulting in incomplete sanitization and leaving moisture trapped between the bottles. A good rule of thumb is to ensure that no two bottles are directly touching each other on the rack.
Always position bottles completely upside down or at a slight angle on the designated rack prongs. This orientation ensures that steam can rise directly into the bottle cavity to sterilize the interior, while also allowing condensation to drain out freely. If bottles are placed upright or tilted horizontally, hot water will pool inside the base, which prevents proper drying and can harbor bacteria. Additionally, ensure that nipples and collars are placed face down in the upper basket so they do not collect water during the cycle.
When sterilizing a new bottle brand for the first time, monitor the initial cycle closely. Once the cycle is complete and the unit has cooled down, inspect the bottles for any signs of warping, melting, unusual stickiness, or chemical odors. If you notice any structural changes or persistent smells, discontinue sterilizing that specific brand in the unit and contact the bottle manufacturer for guidance. It is always safer to run a test cycle with just one bottle of a new brand before committing your entire collection to the sterilizer.
Troubleshooting Fit and Sterilization Issues
If you find that tall or wide bottles block the central steam vent of your sterilizer, you must rearrange them immediately. The central vent must remain completely unobstructed to allow steam to distribute evenly throughout the chamber. Blocking this flow can create cold spots where bacteria survive, or it can cause heat to build up excessively near the heating element, potentially damaging the sterilizer base. If a bottle cannot be positioned without blocking the vent, it is simply too large for that sterilizer model and should be sanitized using a different method.
Regularly inspect your plastic bottles for signs of material degradation, which can be accelerated by high-heat steam cycles. Look for persistent cloudiness, warping, a sticky texture, or fine micro-cracks along the neck and base. These signs indicate that the plastic is breaking down and may no longer be safe for feeding; any degraded bottles should be discarded and replaced promptly. In Singapore’s warm and humid climate, keeping plastic feeding gear dry and inspecting it regularly is especially important to prevent mold and material breakdown.
If a specific bottle brand consistently fails to fit securely, blocks steam circulation, or shows signs of heat stress, stop using it in the sterilizer. Do not attempt to force a fit by bending the sterilizer racks or placing bottles horizontally. Instead, consult the bottle manufacturer to identify alternative, safe cleaning methods, such as cold-water sterilizing tablets or traditional hand-washing. Prioritizing safety over convenience ensures that your baby’s feeding equipment remains sterile and structurally sound.
Frequently Asked Questions (FAQ)
Can I sterilize bottles with painted measurements or decorative prints?
High-heat steam cycles can cause certain paints, inks, or decorative prints on the exterior of baby bottles to peel, fade, or flake off over time. Before sterilizing decorated bottles, check the manufacturer’s care instructions to confirm if the printed designs are rated for steam sterilization. If you notice any flaking, peeling, or degradation of the print, stop sterilizing those bottles in the unit, as loose paint particles can transfer to your hands or other feeding accessories. Opting for bottles with embossed or engraved measurements can avoid this issue entirely.
Do I need to disassemble anti-colic bottles before putting them in the sterilizer?
Yes, you must completely disassemble all anti-colic bottles, including vents, valves, collars, and silicone inserts, before placing them in the sterilizer. Steam must make direct contact with every surface to sanitize effectively, and leaving components assembled can trap moisture, block steam flow, and leave hidden areas unsterilized. Always refer to the bottle manufacturer’s manual to ensure you are disassembling and positioning each specialized part correctly. Taking this extra step ensures that no milk residue or bacteria remain trapped inside the venting system.

Community discussion
Share your experience or ask a question. Comments are reviewed before publication.