
Trimming a newborn’s tiny, paper-thin nails is one of the most nerve-wracking tasks for new parents. Because infant nails grow exceptionally fast and are surprisingly sharp, regular maintenance is essential to prevent babies from scratching their delicate faces. The best baby nail clipper is not a one-size-fits-all solution; it depends entirely on your baby’s age, developmental stage, and your own comfort level.
In Singapore’s warm and humid climate, keeping a baby’s hands clean and nails short is also a key step in preventing dirt accumulation and minor skin irritations. Selecting the right tool—whether an electric nail trimmer, specialized baby scissors, or a scaled-down lever-style clipper—ensures this routine remains safe, stress-free, and efficient. By understanding the unique features of each tool, you can confidently integrate nail care into your baby’s grooming routine.
What to Look for When Choosing a Baby Nail Clipper
When evaluating baby nail care tools, safety, ergonomics, and developmental appropriateness should be your primary filters. Infant nails are structurally different from adult nails; they are incredibly soft, pliable, and closely attached to the surrounding skin. Using standard adult tools increases the risk of injury, making specialized infant grooming instruments a necessity for every household.
Products mentioned in this guide
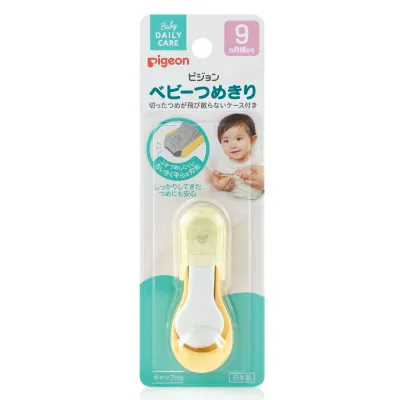
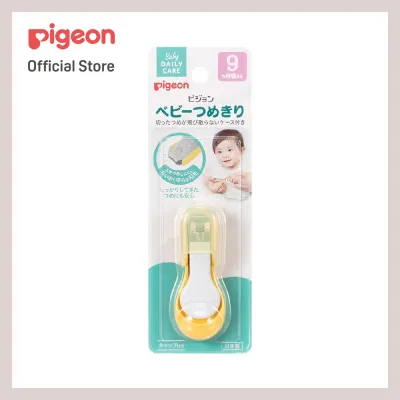
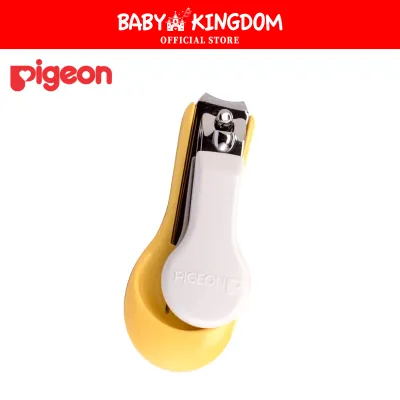
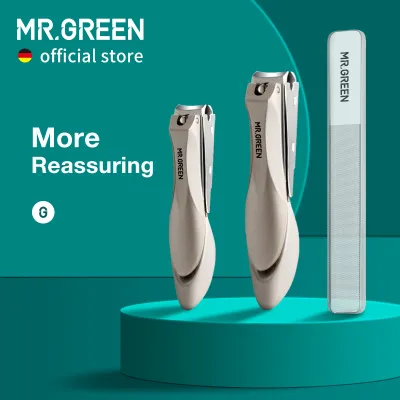
Prices are valid at publication and may change. Please refer to the product page for the latest price.
Essential safety features are the foundation of any good baby nail tool. Look for clippers with rounded tips to prevent accidental punctures, protective guards that limit how much of the nail can be inserted, and curved blades designed to follow the natural, rounded shape of a baby’s nail. These design elements work together to minimize the risk of cutting the sensitive skin of the fingertip.
Visibility enhancements are particularly valuable for newborns who have tiny, translucent nails that can be difficult to see clearly. Many modern clippers and trimmers come equipped with built-in LED lights that illuminate the nail bed, making it easier to trim nails during low-light conditions or while the baby is sleeping. Fold-out magnifying glass attachments are another excellent feature, helping you distinguish clearly between the nail edge and the delicate skin underneath.
Ergonomic, non-slip grips are crucial for parents to maintain stability throughout the trimming process. Look for tools with wide, rubberized handles, thumb loops, or textured surfaces that fit securely in your hand. A stable grip prevents the tool from slipping if your baby makes a sudden, unexpected movement, giving you greater control and confidence.
Before making a purchase, always check the manufacturer’s specified age and developmental guidelines on the packaging. Tools designed for older infants or toddlers may have larger blades or stronger filing grits that pose safety risks to newborns. Verifying these recommendations ensures that the tool you choose is perfectly calibrated to the thickness and hardness of your baby’s current nail development stage.
Best Types of Baby Nail Clippers for Different Ages
A baby’s nail texture and thickness change rapidly during their first year of life. At birth, the nails are paper-thin and flexible, but they gradually harden as the baby grows and begins to consume a wider variety of nutrients. Because of these rapid changes, parents often find that a single tool is not sufficient for every developmental stage, and using a combination of different tools as the baby grows is highly common.

Electric Nail Trimmers and Files
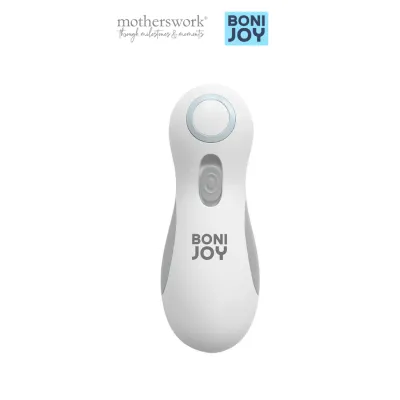
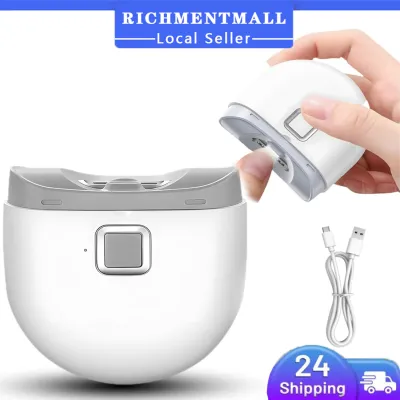
Electric nail trimmers utilize a rotating, cushioned filing pad to gently wear down the nail edge. Because there are no sharp blades involved, this motorized filing action virtually eliminates the risk of cutting the baby’s skin. This makes electric trimmers an exceptionally low-risk option, particularly popular among anxious first-time parents caring for newborns.
When selecting an electric trimmer, look for models that offer multiple speed settings and dual rotation directions, which allow you to adjust the intensity based on your baby’s comfort. High-quality sets include a variety of interchangeable filing pads, color-coded by age group, to accommodate different nail hardness levels from newborn up to toddlerhood. A quiet, whisper-soft motor is another essential feature, enabling you to file your baby’s nails while they are in a deep sleep without waking them.
However, electric trimmers do have a few limitations. The filing process takes significantly longer than clipping, requiring patience from both the parent and the baby. Additionally, these devices rely on battery power or regular USB charging, and you will need to purchase replacement filing pads periodically as the grit wears down over time.
Baby Nail Scissors
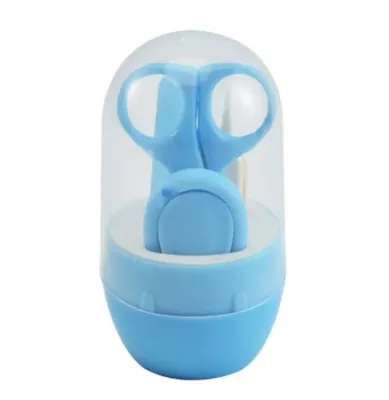
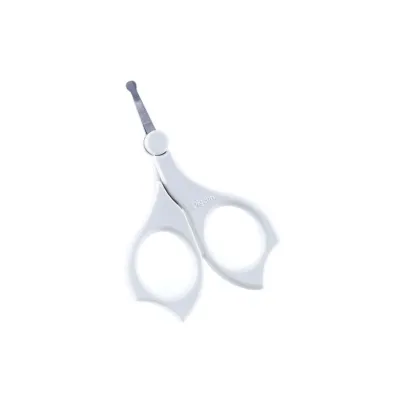
Baby nail scissors feature short, thin blades with blunt, rounded tips designed specifically for the delicate task of trimming infant nails. Many parents prefer scissors for newborns because they offer superior visibility and control over the cutting angle compared to traditional clippers. The thin blades allow you to slide carefully under the soft, paper-thin nail of a newborn, ensuring a precise cut.
The rounded tips act as a safety barrier, preventing accidental pokes if your baby twitches during the process. The handle loops are typically designed to fit adult fingers comfortably, providing a stable pivot point for smooth, controlled movements. This design makes it easier to follow the natural curve of the tiny nail bed.
Despite their precision, baby nail scissors require a steady hand and a calm environment. If your baby is highly active or prone to sudden startle reflexes, using scissors can be challenging. Furthermore, as the baby grows and their nails become harder and thicker, scissors become less effective and may bend the nail rather than cutting it cleanly.
Lever-Style Baby Nail Clippers
Lever-style baby clippers are scaled-down versions of traditional adult clippers, engineered specifically to handle the thicker, tougher nails of older infants. They are generally best suited for babies aged six months and older, whose nails have developed a more rigid structure that can be easily positioned within the clipper’s jaws.
To enhance safety, these clippers feature small, curved cutting edges that match the scale of tiny fingers. Many models include built-in nail catchers to prevent sharp clippings from scattering, and some offer ergonomic loop handles or textured thumb pads to maximize grip stability. The mechanical action is quick, allowing you to trim nails rapidly once you have the tool correctly positioned.
The primary limitation of lever-style clippers is the higher risk of nicking the skin if the baby moves suddenly. Because the blades close with a quick, snapping motion, parents must exercise extreme caution. These clippers require careful alignment and should only be used when the baby is completely calm and in a well-lit environment.
Quick Comparison of Baby Nail Care Tools
To help you quickly decide which tool type fits your current needs and your baby’s developmental stage, the table below summarizes the key differences between the three main categories of baby nail care tools.
| Tool Type | Best Age Group | Safety Level (Risk of Nicks) | Speed of Use | Key Limitation |
|---|---|---|---|---|
| Electric Trimmers | Newborn to 12+ months | Very High (Virtually no risk of cutting skin) | Slow | Requires battery power and replacement pads |
| Baby Scissors | Newborn to 6 months | High (Rounded tips prevent punctures) | Moderate | Requires a very steady hand from the parent |
| Lever-Style Clippers | 6 months and older | Moderate (Requires careful alignment) | Fast | Higher risk of nicks if the baby moves suddenly |
While this comparison serves as a general guideline, individual baby temperament and parent comfort level ultimately dictate the best choice. Some babies may be startled by the gentle hum of an electric trimmer, while others may sit quietly for it. Always inspect the packaging of your chosen tool to verify the manufacturer’s specific age recommendations before use.
Step-by-Step Guide to Safely Trimming Infant Nails
Trimming your baby’s nails does not have to be a stressful experience. By preparing the right environment and using proper techniques, you can ensure the process is safe, quick, and comfortable for both you and your infant.
Timing is critical when planning a nail trim. The ideal time to trim a baby’s nails is immediately after a warm bath, as the warm water softens the nails, making them much easier to cut or file. Alternatively, trimming while your baby is deeply sleeping or during a quiet feeding session can minimize movement and resistance. If your baby is awake, ensure they are calm, well-fed, and not overtired to reduce the likelihood of sudden jerks.
Proper holding techniques are essential for maintaining control and safety. Sit in a well-lit area, such as near a bright window or under a direct reading lamp. Hold your baby securely in your lap, facing away from you, so you can easily control their arm and hand movements. Grasp the baby’s finger firmly but gently between your thumb and index finger, and use your thumb to gently press the fleshy finger pad downward and away from the nail edge. This action isolates the nail and creates a clear space for the cutting tool, significantly reducing the risk of pinching the skin.
Depending on the tool you have chosen, follow these specific cutting instructions:
- For Electric Trimmers: Hold the device at a slight angle and apply gentle pressure. Move the filing pad in a single direction across the nail edge rather than sawing back and forth, which can cause friction heat and discomfort. Regularly check the nail smoothness with your own finger.
- For Baby Scissors: Insert your fingers into the loops and make small, controlled cuts. Follow the natural curve of the fingernail, keeping the blades parallel to the nail bed. Avoid cutting too close to the sides of the nail to prevent ingrown nails.
- For Lever-Style Clippers: Position the clipper jaw around the nail, ensuring you can see the tip of the finger clearly underneath. Make quick, clean cuts. For fingernails, cut along the natural curve; for toenails, cut straight across to prevent painful ingrown toenails.
Despite your best efforts, accidental nicks can happen. If you cut the skin, remain calm to avoid startling your baby. Immediately apply gentle pressure to the area using a clean, sterile gauze pad or a clean cloth until the bleeding stops. Do not apply liquid bandages, standard adhesive plasters, or chemical styptic pencils to an infant’s fingers. These products pose a severe choking and ingestion hazard, as babies frequently put their hands in their mouths, and the chemicals can irritate their sensitive skin. If the bleeding does not stop after several minutes of continuous, gentle pressure, or if you notice any signs of infection (such as redness, swelling, warmth, or pus) in the days following the trim, stop home care immediately and consult a pediatrician or visit a local clinic in Singapore.
Frequently Asked Questions (FAQ)
How often should I trim my newborn's nails?
Newborn nails grow surprisingly fast and may need to be trimmed once or twice a week to prevent them from scratching their delicate skin. Their toenails, however, grow at a much slower rate and typically only require attention once or twice a month. Rather than following a strict calendar schedule, parents should rely on visual and tactile checks. Gently run your fingertip over your baby’s nails; if you feel sharp edges or see the nails extending past the fingertips, it is time for a trim.
Is it safe to use an adult nail clipper on a baby?
No, it is highly unsafe to use adult nail clippers on a baby. Adult clippers are designed with much larger, thicker blades that lack safety guards, making it nearly impossible to see what you are cutting on a tiny infant finger. The leverage and force of adult clippers are also far too strong for delicate baby nails, which can lead to severe nicks, deep cuts, or damage to the nail bed. Always use tools specifically engineered and scaled for infant anatomy to ensure a safe grooming process.
What should I do if I accidentally cut my baby's finger?
If you accidentally nick your baby’s finger, the first step is to stay calm and immediately apply gentle pressure with a clean, sterile gauze or cloth. Avoid using standard adult first-aid treatments like liquid bandages, styptic pencils, or adhesive plasters, which present chemical irritation and choking risks for infants. If the bleeding does not subside after a few minutes of steady pressure, or if the cut appears deep, seek professional medical attention at a nearby clinic or hospital. Keep a close eye on the finger over the next few days, and consult a doctor immediately if you observe any redness, swelling, or discharge that could indicate an infection.
Community discussion
Share your experience or ask a question. Comments are reviewed before publication.