
Selecting the right sterilization method for your baby bottles depends entirely on the materials in your collection. Glass, polyphenylsulfone (PPSU), polypropylene (PP), and silicone each possess distinct physical properties that dictate how they respond to high-temperature steam, ultraviolet (UV) light, and microwave radiation. Using an incompatible sterilization method can lead to warped components, accelerated material degradation, or compromised structural integrity.
To keep your feeding equipment in optimal condition, you must match the sterilizer’s operating mechanism with the heat and light tolerances of your bottles. While some materials withstand multiple sterilization methods with ease, others require gentle, low-temperature care or specific cycle adjustments. Understanding these material-specific boundaries allows you to establish a safe, efficient, and reliable sanitization routine at home.
How to Verify Sterilization Compatibility for Your Bottles
Before purchasing a sterilizer or placing any feeding accessories into a new device, you should perform a systematic check of your current bottle collection. Most manufacturers stamp essential material information directly onto the base or collar of the bottle. Look for molded recycling codes, material acronyms, or specific temperature symbols that indicate the maximum heat threshold the item can safely endure.
Products mentioned in this guide
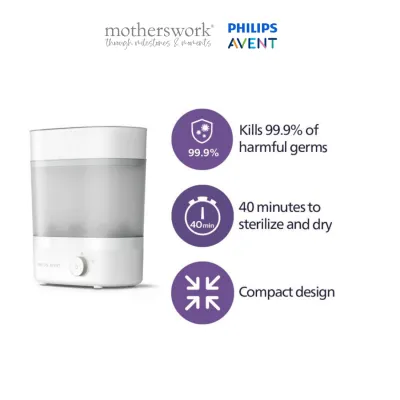
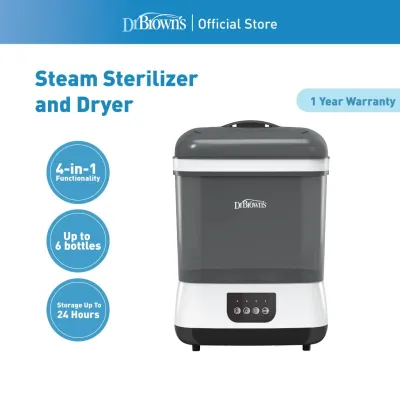
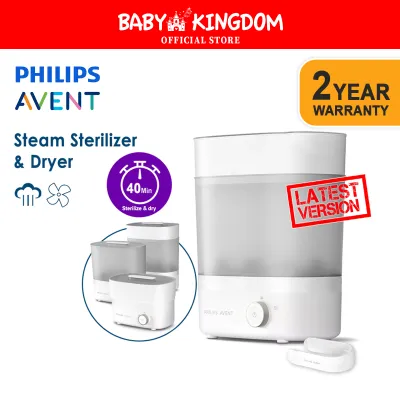
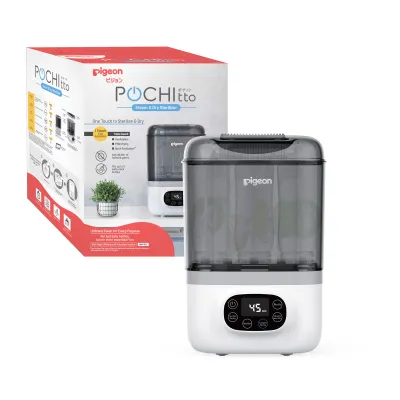
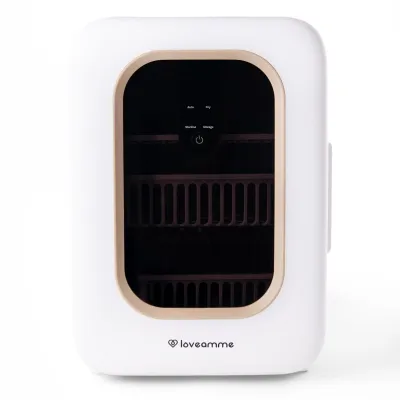
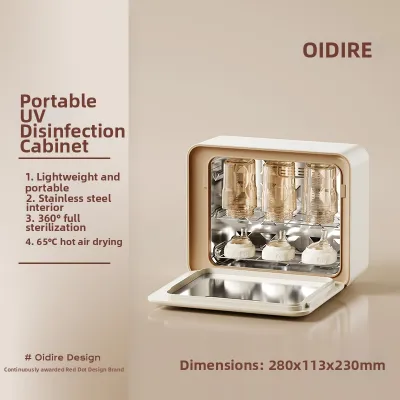
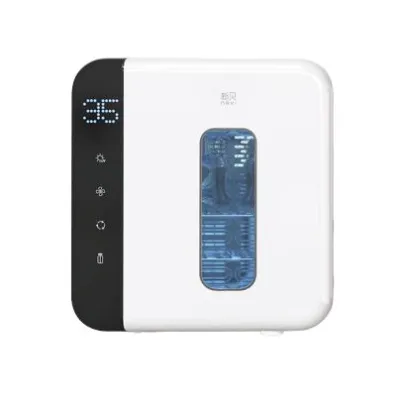
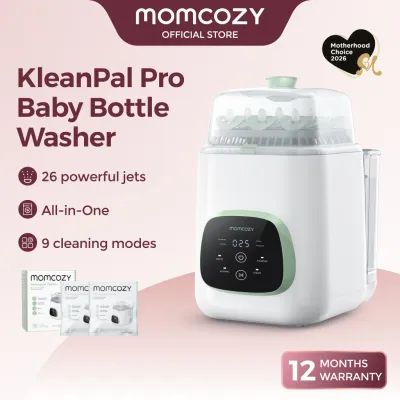
Prices are valid at publication and may change. Please refer to the product page for the latest price.
For instance, a recycling triangle containing the number 5 indicates polypropylene, which generally has a lower heat tolerance than other plastics. Bottles made of PPSU or borosilicate glass often feature clear lettering on the packaging or the bottle body itself. If these markings have worn away or are difficult to decipher, refer to the original product packaging or the manufacturer’s digital user manual.
Consulting the official brand documentation is a reliable way to identify explicit sterilization limits and avoid voiding your product warranty. Manufacturers frequently update their guidelines based on material reformulations, specifying which parts are safe for steam, boiling, microwave, or UV exposure. These manuals also outline the maximum duration for each cycle, helping you prevent accidental overheating.
In addition to checking official specifications, you should regularly inspect each bottle for physical signs of wear and tear. Over time, repeated exposure to heat and cleaning agents causes materials to age, which can alter their structural stability. If you notice persistent cloudiness, fine cracks, or a sticky texture during your pre-sterilization checks, the material has likely reached the end of its usable lifespan and should be replaced.
Steam Sterilization: Material Tolerance and Safety Checks
Steam sterilization relies on high-temperature water vapor to eliminate household germs, making it a highly effective and popular option for busy parents. Glass and PPSU bottles are exceptionally well-suited for this method due to their high thermal resistance. High-quality borosilicate glass can withstand rapid temperature shifts, while PPSU maintains its structural integrity even when exposed to intense, repetitive steam cycles.

However, even highly durable materials require careful handling before and after a steam cycle. Glass bottles must be inspected regularly for microscopic hairline cracks, which can expand rapidly under the pressure of hot steam and cause the bottle to shatter. Allow glass components to cool down gradually inside the sterilizer chamber rather than exposing them to cold countertops or drafty air immediately after the cycle ends.
Polypropylene (PP) and silicone components require closer monitoring when subjected to steam sterilization. PP is a softer plastic that can deform or warp if it rests directly against a heating element or if the steam cycle exceeds the material’s thermal limits. When loading the sterilizer, ensure that PP bottles are positioned securely on the racks and do not touch the inner walls of the machine.
Silicone parts, such as bottle teats and anti-colic valves, are generally highly heat-resistant but can become soft or lose their elasticity over prolonged periods of steam exposure. Check these smaller accessories frequently for changes in texture, stretching, or tearing. If an anti-colic valve loses its original shape due to heat exposure, it may no longer regulate airflow correctly, potentially leading to feeding difficulties.
UV Sterilization: Understanding Light Exposure Limits
UV sterilizers use ultraviolet light, typically in the UV-C spectrum, to disrupt the DNA of microorganisms without relying on heat or moisture. This dry process is highly convenient, but the continuous exposure to UV radiation can accelerate the aging process of certain plastics and elastomers. Polypropylene and silicone are particularly sensitive to UV light, which can break down their chemical bonds over time.
When PP bottles and silicone teats undergo frequent UV sterilization, they may exhibit visible signs of degradation much sooner than they would under steam sterilization. You might notice the plastic becoming brittle, losing its flexibility, or developing a distinct yellow tint. If a silicone teat feels sticky, stiff, or shows signs of micro-cracking under light, it has degraded and must be discarded immediately to prevent tearing during feeding.
In contrast, glass and PPSU bottles demonstrate excellent tolerance under prolonged UV exposure. Glass is completely impervious to UV-C light, making it a highly suitable candidate for UV sterilizers as it will not degrade, discolor, or release any chemical byproducts. PPSU also maintains its strength and shape well under UV light, though some manufacturers note that cosmetic yellowing may occur over time without affecting the bottle’s structural safety.
Because UV light degrades plastics at varying rates, you must adhere strictly to the replacement intervals recommended by your bottle manufacturer. Even if a plastic bottle appears visually intact, its internal structure may have weakened after months of daily UV cycles. Regularly rotating your bottle inventory and replacing plastic components according to the manufacturer’s guidelines helps ensure a safe feeding experience.
Microwave Sterilization: Avoiding Hotspots and Material Damage
Microwave sterilizers utilize the rapid heating power of a household microwave to turn water into steam inside a specialized, enclosed container. This method is fast and highly efficient, but it requires absolute certainty that both your bottles and the sterilizer unit are explicitly rated as microwave-safe. Never assume a bottle is microwave-compatible unless the manufacturer clearly states so on the product label or packaging.
A critical safety rule for microwave sterilization is the complete exclusion of any metal parts or metallic-coated accessories. Some baby bottles feature metallic foil seals, decorative gold or silver lettering, or internal temperature-sensing elements containing metal. Placing these items in a microwave sterilizer can cause electrical arcing, sparks, permanent damage to your microwave, and potential fire hazards.
Furthermore, microwave heating is notoriously uneven, which can create localized hotspots within the sterilizer chamber or on the bottles themselves. If a bottle is placed incorrectly or if the sterilizer lacks sufficient water, certain areas of the plastic can overheat rapidly, leading to localized melting or warping. Always measure the exact volume of water specified by the sterilizer manufacturer to ensure proper steam generation and even heat distribution.
To prevent material damage, always allow the microwave sterilizer to sit undisturbed for several minutes after the cycle finishes. This cooling period allows the steam to condense and the temperatures to equalize, reducing the risk of thermal shock to glass bottles and preventing steam burns when you open the lid. Use the provided tongs to handle the sterilized components to maintain hygiene and protect your hands from residual heat.
Choosing the Right Sterilizer for Your Bottle Collection
Selecting a suitable sterilizer involves evaluating the specific mix of materials currently in your baby feeding inventory. If your collection consists primarily of glass and PPSU bottles, you have the flexibility to choose almost any sterilization method, including high-heat steam, microwave, or UV systems. These robust materials adapt well to diverse sanitizing environments, allowing you to prioritize convenience, speed, or capacity.
If your inventory relies heavily on PP bottles and delicate silicone accessories, a low-temperature UV sterilizer or a steam sterilizer with an integrated hot-air drying function may be the most suitable choice. Multi-function steam sterilizers that dry the bottles immediately after sanitizing help prevent moisture buildup, which can otherwise encourage mold growth. Ensure that the drying cycle’s temperature does not exceed the safe limits specified for your PP components.
Beyond material compatibility, you must verify that the physical dimensions and rack configurations of the sterilizer match your bottle sizes. In typical urban homes where kitchen counter space is limited, finding a unit with a compact footprint but sufficient vertical capacity is essential. Look for adjustable racks that can accommodate tall bottles, wide-neck designs, and small pump parts simultaneously without crowding.
Proper spacing inside the sterilizer chamber is vital for effective sanitization. If bottles are packed too tightly or overlap, steam or UV light may not reach all surfaces, leaving some areas unsterilized. Choosing a unit with dedicated pegs or compartments ensures that each item remains upright and fully exposed to the sterilizing agent throughout the entire cycle.
Frequently Asked Questions (FAQ)
Can I mix different bottle materials in the same sterilizer cycle?
Yes, you can sterilize different bottle materials together, provided that the selected cycle does not exceed the temperature or light tolerance of the most sensitive material in the batch. For example, if you are sterilizing glass and PP bottles together in a steam sterilizer, you must ensure the cycle temperature is safe for the PP bottles. If there is a conflict in material tolerances, it is recommended to run separate batches or adjust the sterilizer settings to match the most fragile component to prevent warping or accelerated wear.
How do I know if a plastic bottle is no longer safe to sterilize?
You can determine if a plastic bottle is no longer safe by inspecting it for clear visual and tactile signs of degradation. Look for persistent cloudiness that does not wash away, deep scratches where bacteria can accumulate, structural brittleness, or a sticky surface texture. If the bottle has developed a strong, lingering odor or has turned significantly yellow, these are indicators that the polymer structure has broken down. Sterilizing degraded plastic under high heat or UV light can increase the risk of structural breakdown or chemical leaching, meaning the bottle should be replaced immediately.

Community discussion
Share your experience or ask a question. Comments are reviewed before publication.